Hello guys,
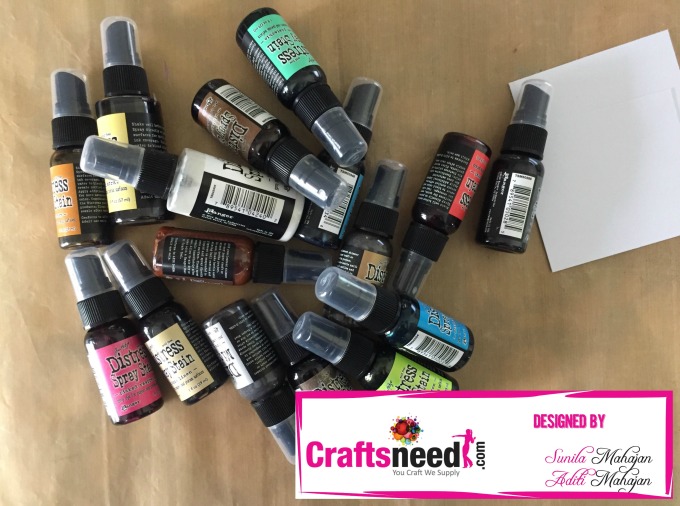
Today we are continuing our post on distress products and dwelling into the spray stains by Tim Holtz, manufactured by Ranger Ink.
These are the most sought after products in the mixed media and crafting world. People use them for different purposes, however, we still think there is a lot to explore.
"60 colors that include White Picket Fence and 3 metallics are available in the first release of Distress Spray Stains. The same fluid, water reactive formula crafters have come to love in the Distress Stains is now available in a spray format.The 1.9 fl. oz Distress Spray Stains feature a quality mist sprayer. Use for quick and easy ink coverage on porous surfaces."
Spray through stencils, layer colours, spritz with water and watch the colour mix & blend.These inks are great for backgrounds, stamping, stenciling, embossing, colouring & shading. They work well with the other products in the distress range like paints, sprays, crayons, markers, etc.
We'll take you through few of the different techniques with the sprays. For convenience, we stuck to using Antique Linen, Wild Honey, Vintage Photo, Walnut Stain, Hickory Smoke and Scattered Straw for all the techniques.
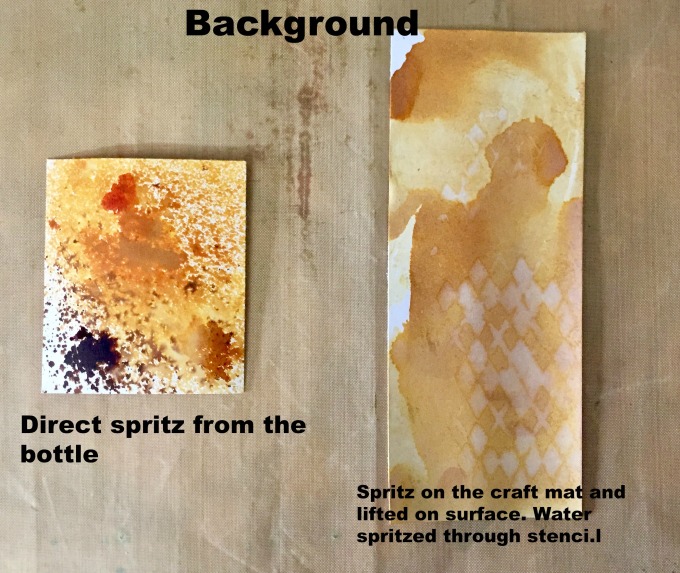
- Backgrounds- These are great to create backgrounds. Spray directly on your paper, spritz water and heat set. Water lightens the colour, so if you like brighter shades add the sprays will lesser water. Another way of doing it is to spray the colours on the craft mat, spritz water as you desire and lift the colour on your work surface (paper/tag, etc..) by swirling it on the craft mat. Dry with the heat tool after each lift to set the colour and continue lifting colour. You can go on and stop once you're happy. In between spritz water as that creates some marvellous effects especially where two colours blend.
- Stenciling - Use a stencil and spray your colours through it. You can use two- three different stencils on one surface. You can add two-three colours also. These create great backgrounds as well as ready projects. Once you spray through a stencil, you can lift and take another print by overturning a stencil on the surface. Another great effect can be achieved by spritzing water through a stencil on an inked background.

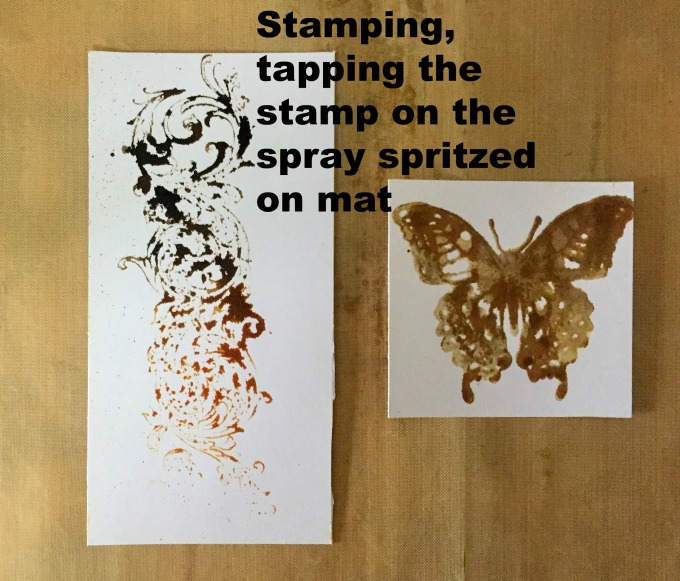
- Stamping- You can use them with clear acrylic as well as rubber stamps. These are water based inks remember? So when stamping you'll achieve a watercolour effect. You could mist the stamp with water (without any ink) and stamp it on an inked background. This lifts the colour, with the stamp design appearing.
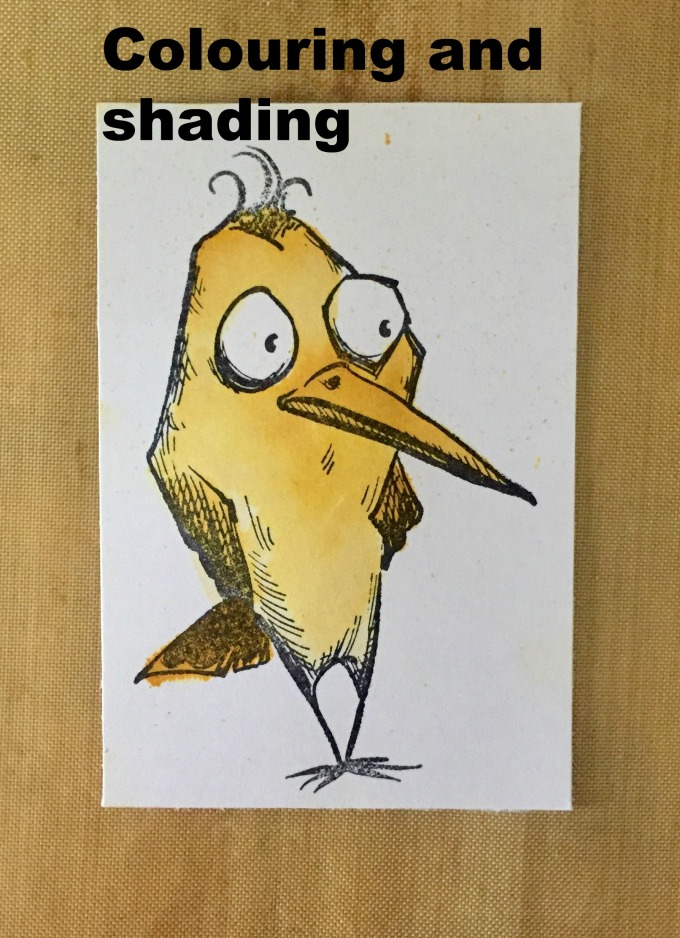
- Colouring/Shading- These are great for water-colouring your stamped images as well. Simply use a water brush and the ink. You can spray some on your mat or acrylic block.
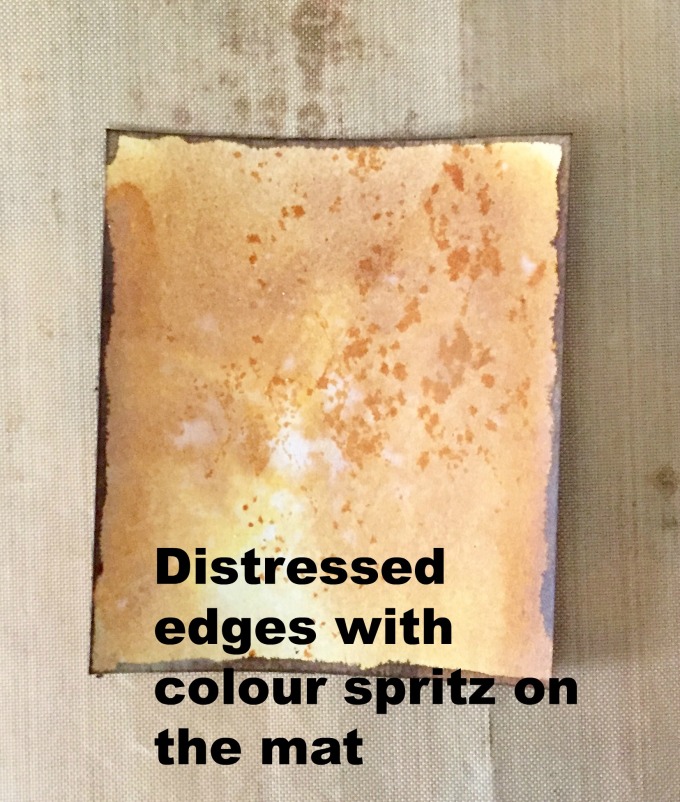
- Distressing- The spray stains are great for distressing the surface especially paper to achieve a grungy, vintage or shabby-chic look. This is best achieved with the brown tones. Run the edges of the paper on the craft mat where you spray and this gives a great watercolour effect.
- Embossing- You can also use it for the resist- emboss technique. Stamp an image using Versa mark and heat emboss it using clear embossing powder. Spray the stains and let dry. Wipe the embossed image for it to magically appear.
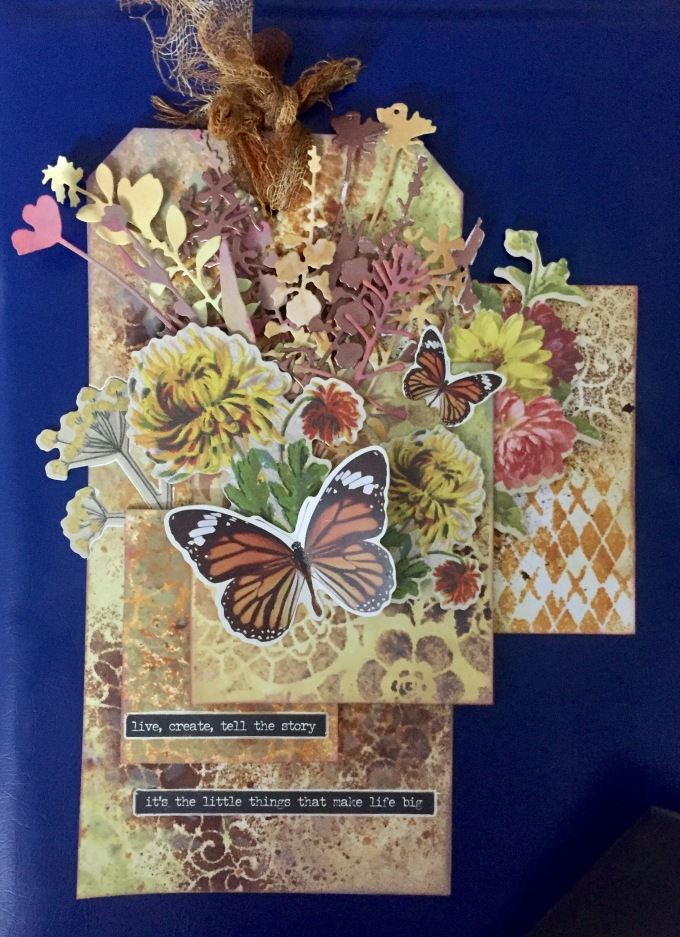
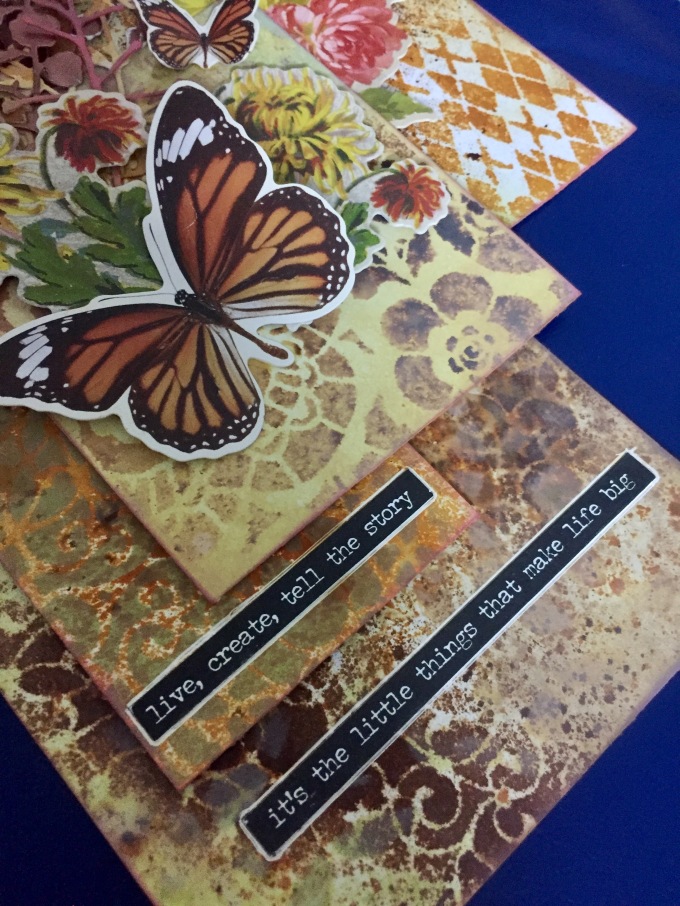
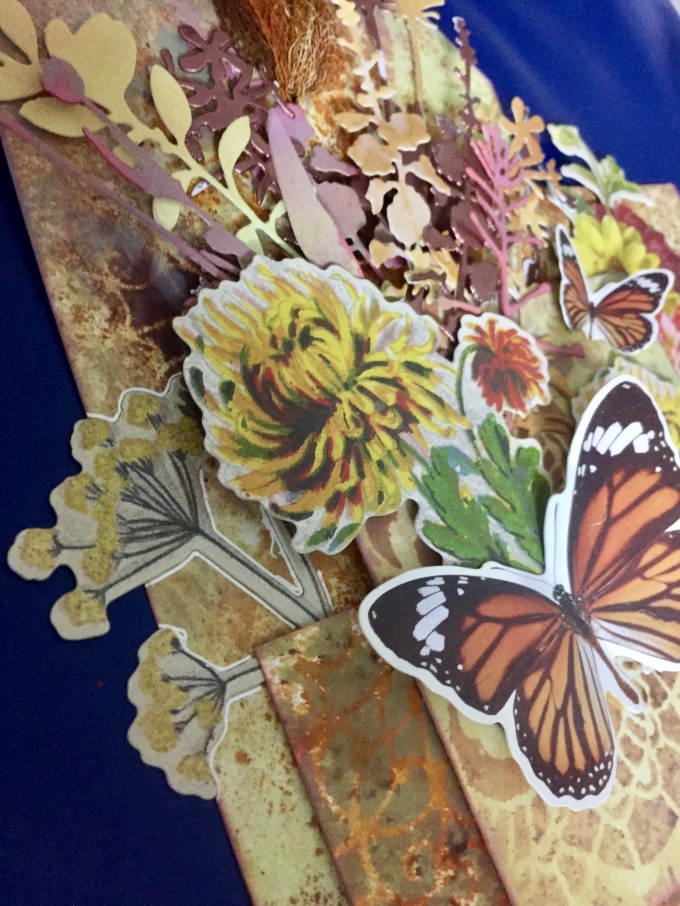
The other distress products are also as versatile as the spray stains and can be used with each other to create final projects. We've used the above swatches with inks and oxides to create this tag.
Hope you're inspired:)! Happy crafting!
Sunila & Aditi
An information post cannot be better than this...thnk u sunila mam and Aditi for this...u both rock!!
ReplyDelete