Friday 28 April 2017

Altered MDF Box


Hello Folks...

 This is Afreen here, today i will be showing you , how to decorate your plain MDF box in to beautiful one.. first will show you what I made 


Lets move on to the procedure of making this pretty box ... All you need is few embellishments, Acrylic paints and MDF box of desired size

This is the Raw MDF box am using here..

I added Gesso to cover all sides of the boxes 

Then added camlin texture paste using TIM Holtz stencil.. Add textures on the top and side portion of the box 


Add embellishments.. arrange them as you wish.. here i used Paper flowers,Metal embellishments, MDF, chipboard, pearls, lace.. 


Cover the embellishments and all sides of the box with black acrylic paint


Then apply some acrylic colors as you wish here and there .. use your fingers to apply paints, so that you can get  nice blending of colors..below is the sample pic i applied single color ..

These are the colors i will be using 


I added more layers of acrylic colors like Green, turquoise blue, pink, and mica powder to give royal look for it..
added some glitter balls using glossy accent.. thats all.. its done now.. here is the some more  glipmse of my box

\


some more shot

close up shot

close up shot

flower close up

side view

side view
Supplies used
  1. MDF box (http://www.craftsneed.com/box-mdf-wooden)
  2.  Acrylic colors ( black, pearl pink, turquoise blue, Light green, violet)
  3. Gold Mica powder
  4. Gesso (http://www.craftsneed.com/papericious-heavy-gesso-black)
  5. Camlin texture paste
  6. Stencils (http://www.craftsneed.com/stencils )
  7. Mdf laser  cut outs (http://www.craftsneed.com/laser-cut-outs )
  8. Metal charms , flowers (http://www.craftsneed.com/embellishments-2 )
  9. Glitter balls (http://www.craftsneed.com/glitter-ball-box-20)
  10. Glossy accent (http://craftsneed.com/ranger-glossy-accents-mini )
All products are available at craftsneed
Pre orders available.. EMI facility available
Thank you for stopping by,
Do leave some love,
Happy crafting
With love
Afreen


Tuesday 25 April 2017

Mixed Media Wall Clock Art

Hello Friends,

Today I have a lovely tutorial post for you all.For this post I have used variety of products and believe me getting them all together worked like magic.This particular piece was in my mind for long,finally able to complete it,Big thanks to http://www.craftsneed.com/ for getting everything under one roof.It was really easy to shop all at one click.Without taking much time let me show you the picture of final work.


Sharing few close ups and more pictures of final frame


Let me start with my tutorial for this project.I have used a cardboard sheet, Bob and Betty decoupage sheets  for this.I started by attaching them to the base cardboard with the help of Mod Podge. These sheets are just wow both by designs and textures.The craftsneed store has many more such beautiful options.


This is how it looks after attaching all paper.


Now I started doing some stencil work with modelling paste.I have used stencil from Crafters companion.I added some white acrylic to the paste to give white popped up effect on the design.


Then I have used some Mdf and Metal embellishments to adorn the piece


After that I started making some Handmade flowers on Papericious Sigma Cardstock.I have used distress ink to give the color to flowers.


After completing the flowers this is how I have arranged them on the frame.Trust me they look much more beautiful than what is looking in picture.


Here completes my frame finally.I am also planning to attach real clock machine and hands to the frame.If that works out will surely post it soon.Otherwise also my beautiful mixed media frame is ready to adorn my wall.


Hope I am able to inspire you.All material used is from http://www.craftsneed.com

 Bob and Betty decoupage sheets - http://www.craftsneed.com/decoupage-papers-2
Mod Podge - http://www.craftsneed.com/mod-podge-matte-finish

Happy Crafting!!
Anushree


Friday 21 April 2017

Distress Spray Stains

Hello guys,
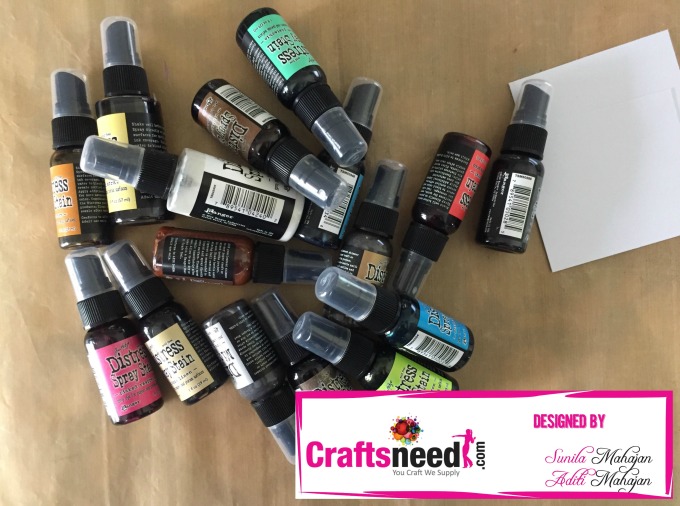
Today we are continuing our post on distress products and dwelling into the spray stains by Tim Holtz, manufactured by Ranger Ink.
These are the most sought after products in the mixed media and crafting world. People use them for different purposes, however, we still think there is a lot to explore.
FullSizeRender 100
"60 colors that include White Picket Fence and 3 metallics are available in the first release of Distress Spray Stains. The same fluid, water reactive formula crafters have come to love in the Distress Stains is now available in a spray format.The 1.9 fl. oz Distress Spray Stains feature a quality mist sprayer. Use for quick and easy ink coverage on porous surfaces."
Spray through stencils, layer colours, spritz with water and watch the colour mix & blend.These inks are great for backgrounds, stamping, stenciling, embossing, colouring & shading. They work well with the other products in the distress range like paints, sprays, crayons, markers, etc.
We'll take you through few of the different techniques with the sprays. For convenience, we stuck to using Antique Linen, Wild Honey, Vintage Photo, Walnut Stain, Hickory Smoke and Scattered Straw for all the techniques. 
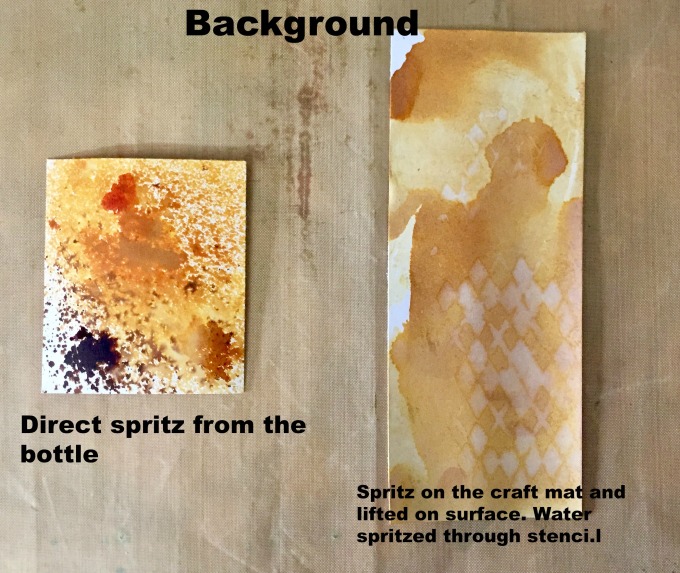
  1. Backgrounds- These are great to create backgrounds. Spray directly on your paper, spritz water and heat set. Water lightens the colour, so if you like brighter shades add the sprays will lesser water. Another way of doing it is to spray the colours on the craft mat, spritz water as you desire and lift the colour on your work surface (paper/tag, etc..)  by swirling it on the craft mat. Dry with the heat tool after each lift to set the colour and continue lifting colour. You can go on and stop once you're happy. In between spritz water as that creates some marvellous effects especially where two colours blend.                                                                                                            FullSizeRender 99
  2. Stenciling - Use a stencil and spray your colours through it.  You can use two- three different stencils on one surface. You can add two-three colours also. These create great backgrounds as well as ready projects. Once you spray through a stencil, you can lift and take another print by overturning a stencil on the surface. Another great effect can be achieved by spritzing water through a stencil on an inked background.         FullSizeRender 101
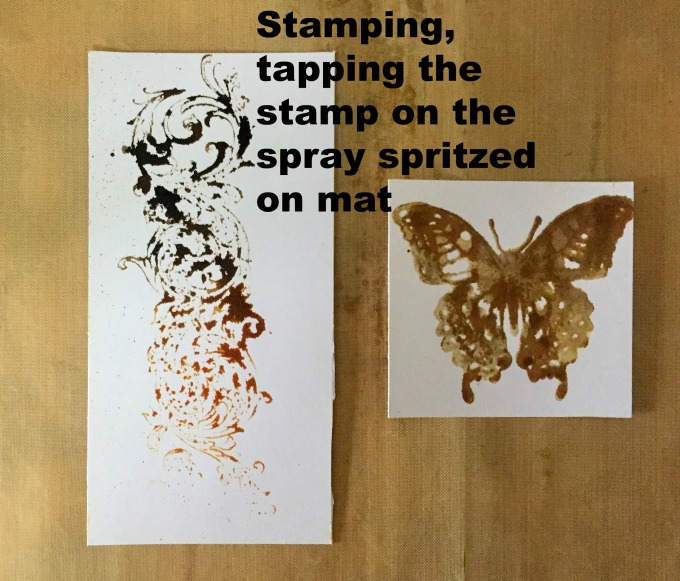
  3. Stamping-  You can use them with clear acrylic as well as rubber stamps. These are water based inks remember? So when stamping you'll achieve a watercolour effect. You could mist the stamp with water (without any ink) and stamp it on an inked background. This lifts the colour, with the stamp design appearing.FullSizeRender 103
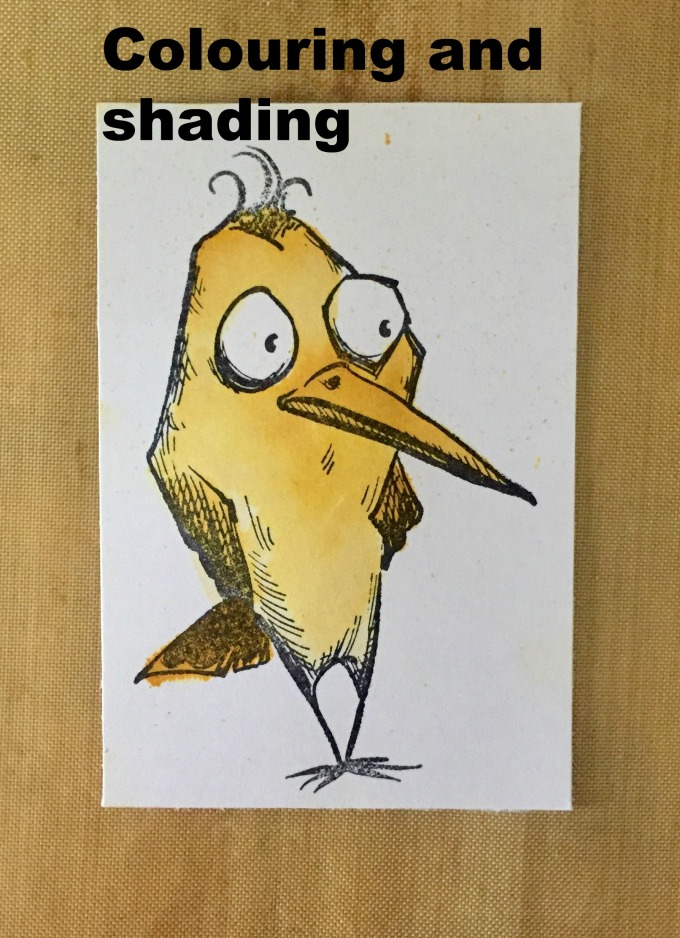
  4. Colouring/Shading- These are great for water-colouring your stamped images as well. Simply use a water brush and the ink. You can spray some on your mat or acrylic block. FullSizeRender 96
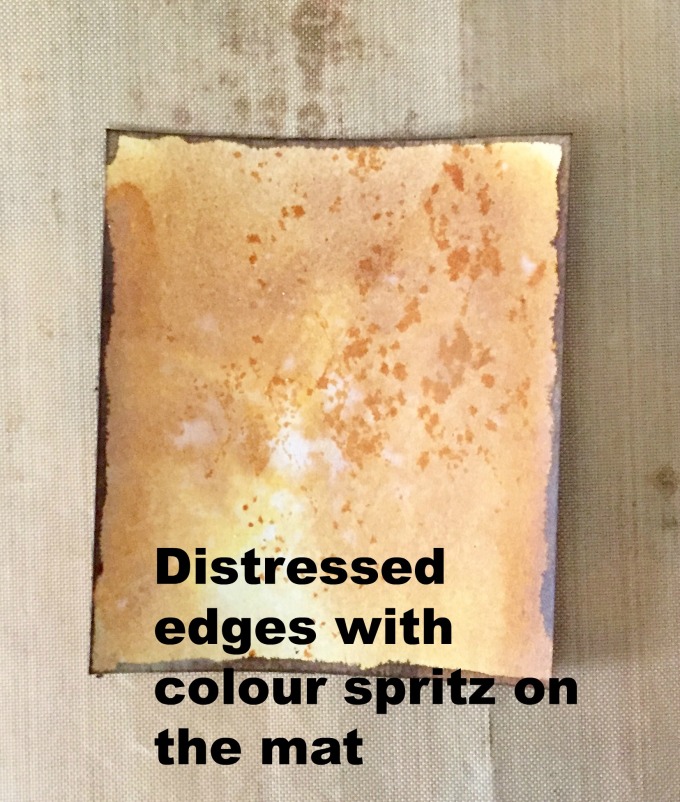
  5. Distressing- The spray stains are great for distressing the surface especially paper to achieve a grungy, vintage or shabby-chic look. This is best achieved with the brown tones. Run the edges of the paper on the craft mat where you spray and this gives a great watercolour effect.FullSizeRender 104
  6. Embossing-  You can also use it for the resist- emboss technique. Stamp an image using Versa mark and heat emboss it using clear embossing powder. Spray the stains and let dry. Wipe the embossed image for it to magically appear.
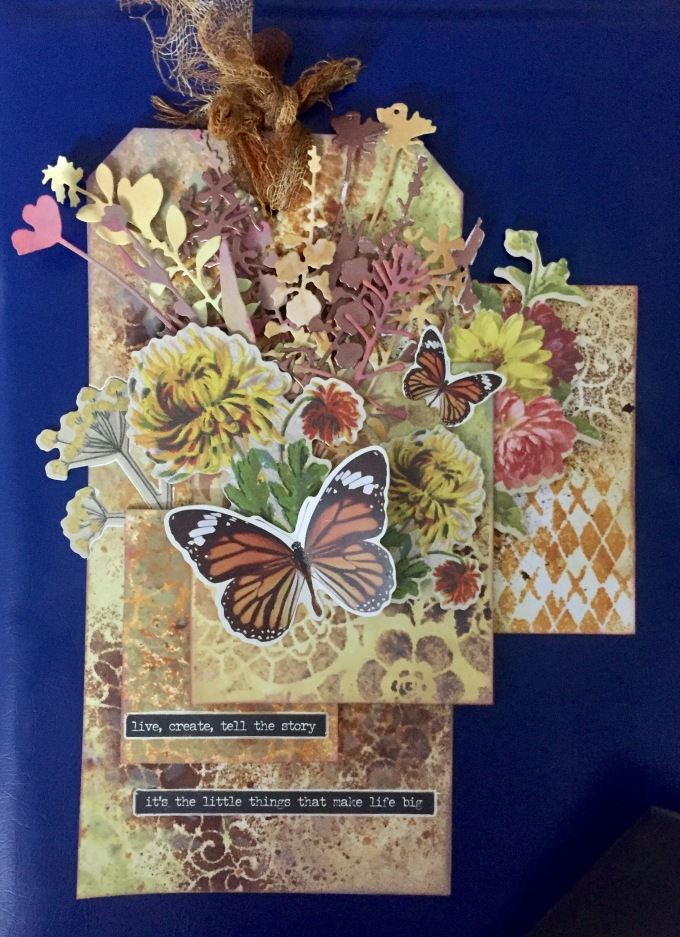
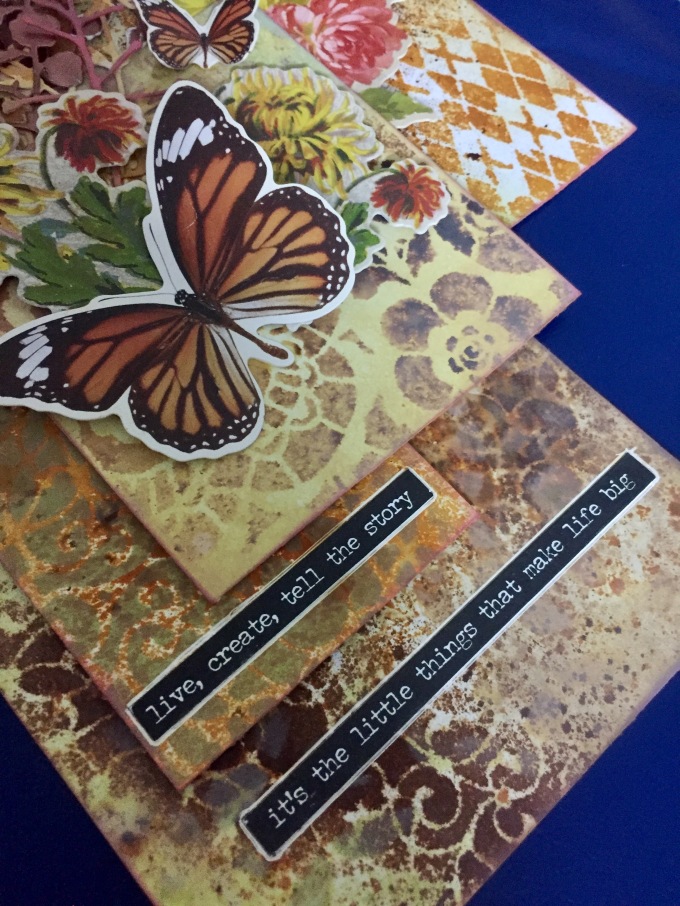
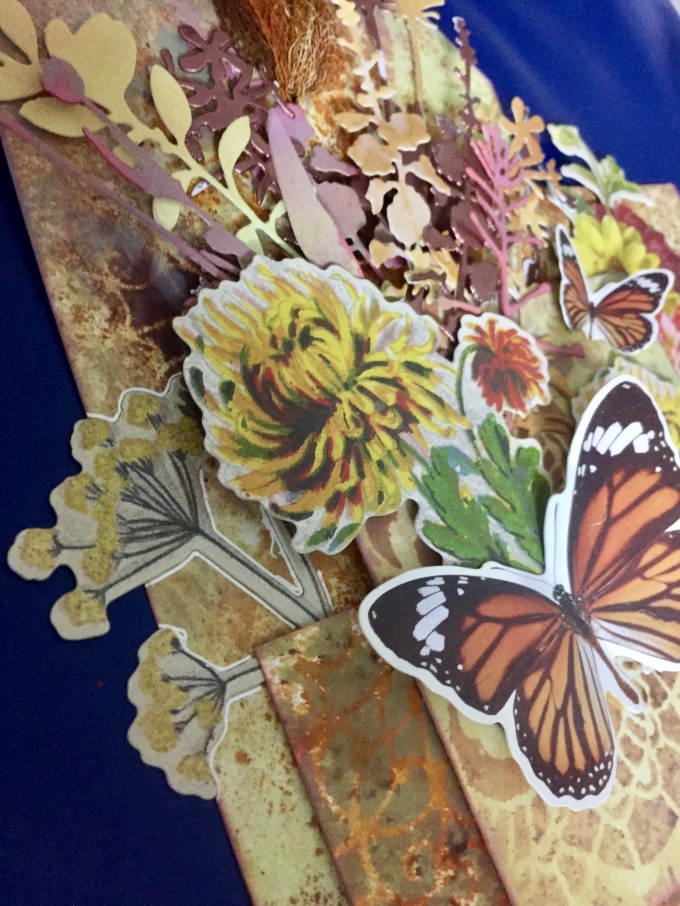
The other distress products are also as versatile as the spray stains and can be used with each other to create final projects. We've used the above swatches with inks and oxides to create this tag.
FullSizeRender 97FullSizeRender 98FullSizeRender 95
Hope you're inspired:)! Happy crafting!
Sunila & Aditi 

Wednesday 19 April 2017

Altered Shadow Box

Hi
This is Hema sharing a new GDT project for CraftsNeed …..a one stop collection for all your Craft Supplies.  I have used the supplies from Crafts Need in this project.  Since the last theme was Shadow Box.....I thought of sharing a different approach of making the same, here I share a tutorial for shadow box which can be customized as per the occasion and gift it to your loved ones or as a keepsake. So let me share this fun project with you all and hope you guys can do it and gift it for your loved ones.


Here I picked a ready photo frame which is available in any stores and this we are using as a shadow box.


So here  I have applied black gesso on to the frame and heat set it. Next I adhered few metal charms on to the frame.
Now once we have finished with the gesso …..now is the main frame work.  Take a thick chipboard and cut strips measuring the glass of your photo frame......ensure the measurements are according to the glass because we need to ensure the box fits into the frame perfectly into it.


After your chipboard pieces are cut, paint them with black acrylic and dry it. And stick these on to your glass with adhesive and allow to dry. After its set ….now start assembling your embellishments.  I picked flowers,  fussy cut nakshatra papers, golden bead string, wooden chipboard and started decorating the shadow box.


I took Nakshatra Design paper cut it to the size of the box and used the strip paper for decoration, I used the negative side of the small strip and attached it behind the border strip for a lace effect.....you can see this inside the shadow box.
This is how I finished the inner decoration with some fussy cut wording with the same paper pack and rhinestones and I hand drew the gal and water colored with Koi water colors.
Sharing the finished project and few close up shots.  Here you can use personalize pictures instead of the girl and decorate it for your keepsake or gifting purpose.


Hope you all like this what I shared with you here.  And do share with us your views and what you learnt here......I would be happy to showcase my projects here.
Will share another project with you all till then.........
HAPPY CRAFTING!!
Lots of Love
Hema

a quick candlight