Tuesday, 7 March 2017

Magical Shadow Box

Hello everyone! We are so excited to begin our term with Crafts Need as Design Team Members.
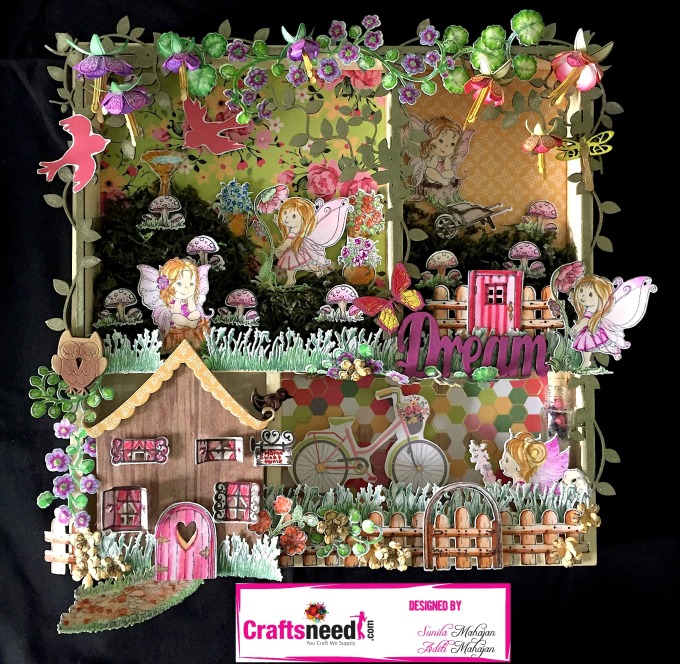
Today we are sharing a tutorial on a shadow box project. We’ve made it girly, dreamy and magical.
A shadow box is a craft device akin to a "deep frame" that is used for displaying three dimensional images or items. The craft probably originated centuries ago, whenever leisure time allowed for the assemblage of mementos. It was also used for sailors and army personnel to display their badges, medals and other service reminders. The beauty of using a shadow box to display items is that it looks neat and finished when hung on a wall or placed on a shelf.
Here is the final project and below is a step by step tutorial.
shadow-box-main-image
fullsizerender-88
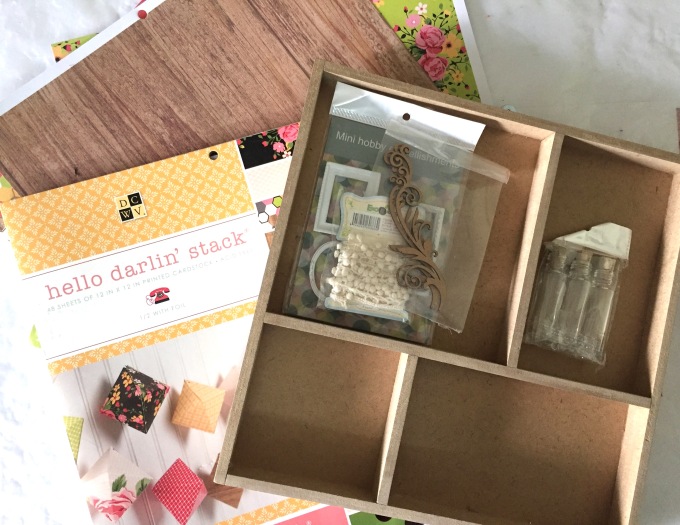
We ended up not using the resin frames and lace shown in the picture above as we began assembling our elements.
Here is the product list for your reference:
  • MDF shadow box
  • DCWV Hello Darlin Paper Stack
  • Mod Podge Matte
  • Paint brush
  • Off white/cream acrylic paint or chalk paint (any brand)
  • Paper trimmer
  • Scissors
  • Ruler
  • Pencil
  • Medium size glass bottles
  • Beads/sequins
  • Moss
  • Dusty Attic Chipboard (or any other brand)
  • Heartfelt Creations- Wildwood Cottage collection stamps and dies
  • Heartfelt Creations Cascading Fuchsia stamp and die
  • Die Cutting Machine -Sizzix Big Shot
  • Archival Inks- Jet Black, Library Green and Vermillion
  • Zig Clean Color Brush Pens
  • Versa Mark
  • Embossing powders- Lindy’s Spanish Moss Green & Weeping Willow Green Gold; Ranger’s Black, Red Geranium, Yellow, Magenta, Gold & Copper
  • Heat Tool
  • Flower shaping tools
  • Adhesive- Tacky Glue
  • Foam tape
  • Ivory sheet/cardstock/any paper for stamping, colouring and die cutting
  • We ended up not using the resin frames and lace shown in the picture above as we began assembling our elements.
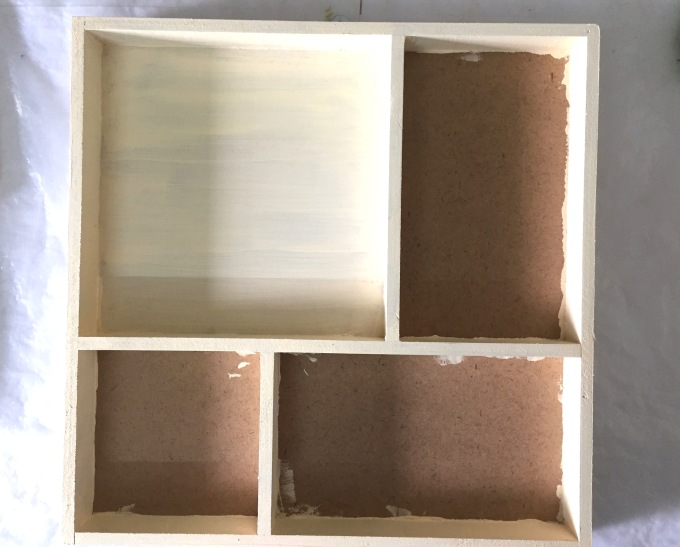
To begin, paint the shadow box. Since we want to use pattern paper for the inside of each compartment, paint only the sides, rim and back. (since we were in the stage of figuring out, we painted inside the box square compartment, but that is not required) Off white or cream colour isn’t readily available , so mix white, a dash of lemon yellow and a dash of birth sienna.
fullsizerender-86
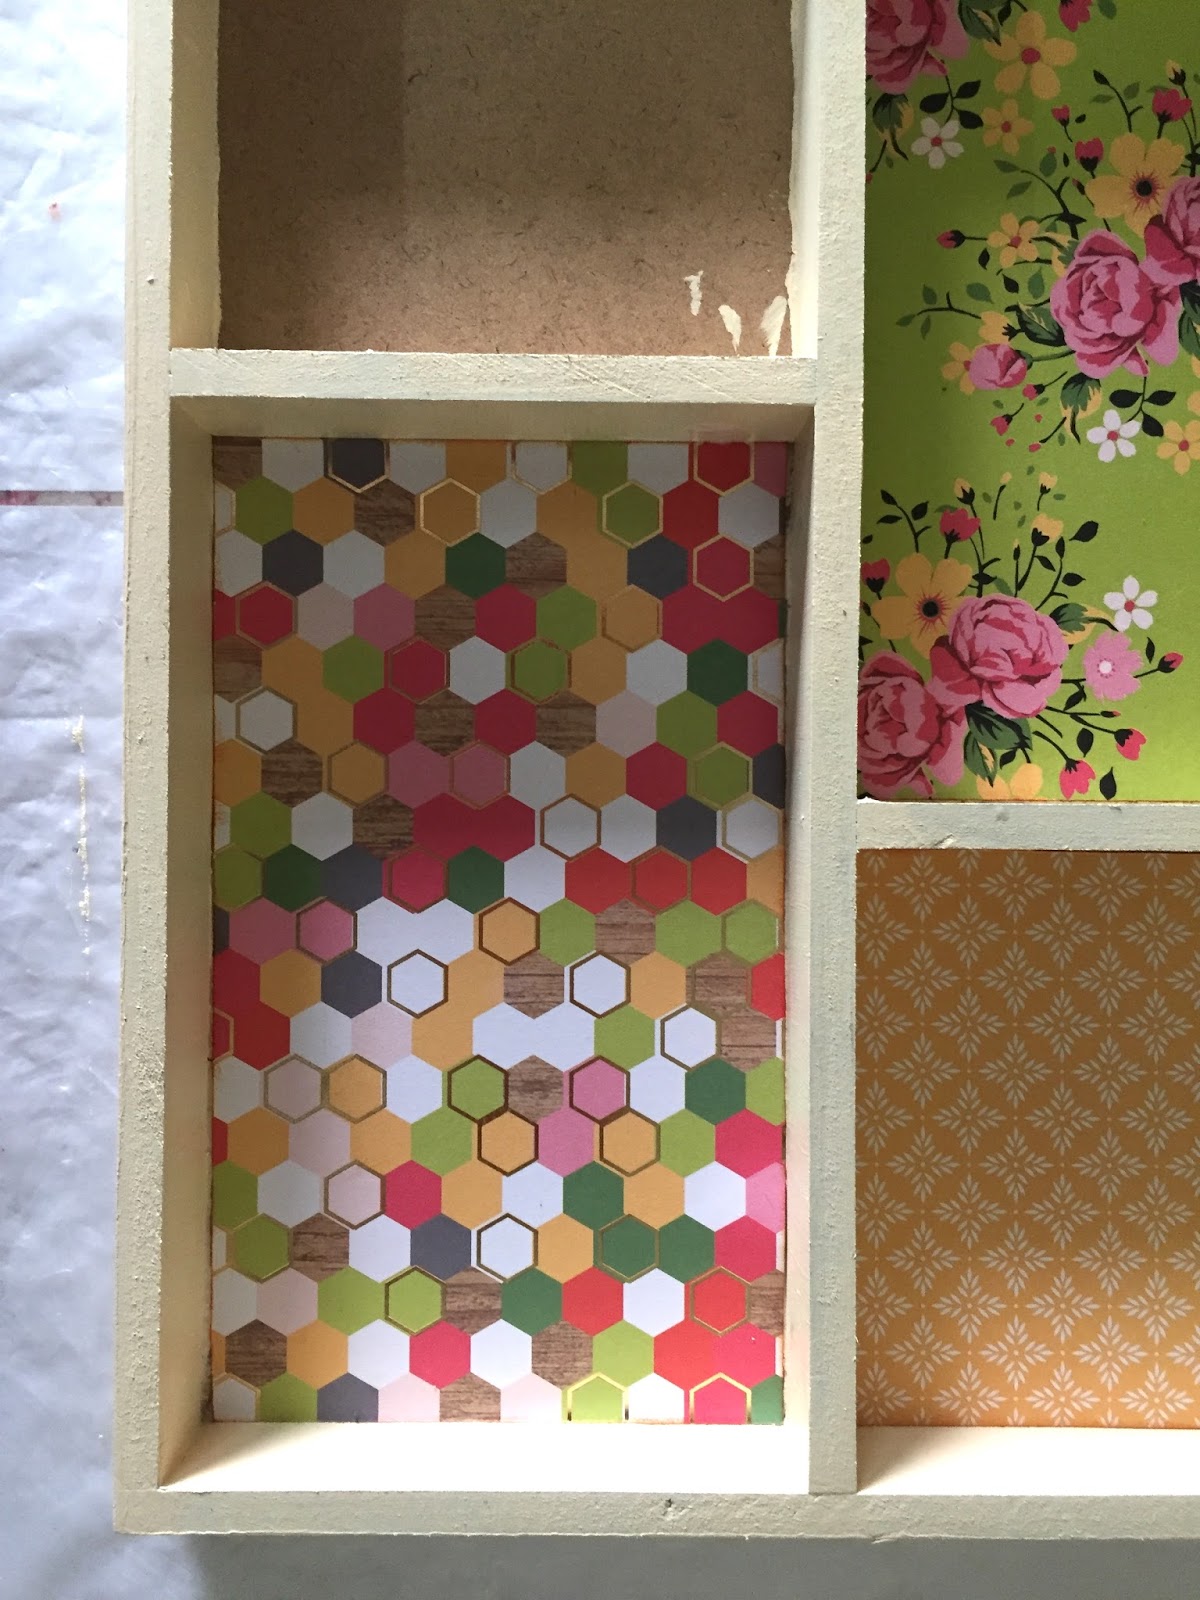
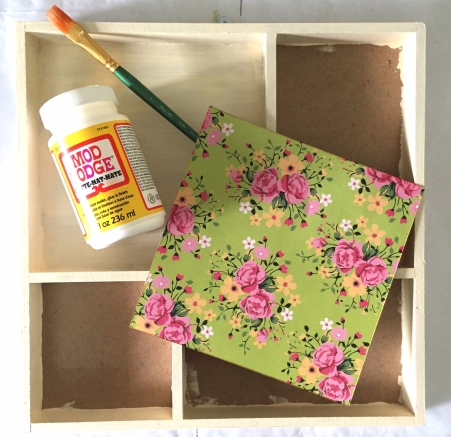
Next, measure the compartments, choose pattern paper from the stack and cut to fit. This will be adhered using mod podge.
img_0924
Spread mod podge with a brush and starting from one side stick the paper, pressing evenly as you go to the other side. Do not lay the paper in completely, as this will lead to bubbles. You could use a scrapper tool /or a used credit/debit/store card to run over the paper as you lay it from one end to another. We covered three compartments with paper and decided to paint inside the smallest square compartment. 


Once our base is ready, lets begin with our elements.
Fussy cut some elements from the paper stack itself- cycle and birds.
Next, stamp images from the wildwood cottage collection using archival inks. We stamped multiples, as we weren’t sure how many will be used. We then coloured are images with zig markers. You could colour them with any medium you are comfortable with- colour pencils, inks, watercolours, etc. Using our sizzix big shot and the coordinated die, we die cut these stamped images. 


The main house image, has been die cut using paper from the stack.
As you’ve read above, a shadow box is all about the theme and elements. Hence, once you've decided your theme and gotten ready with all your elements, its all about, playing, arranging, layering, assembling and bringing everything together.
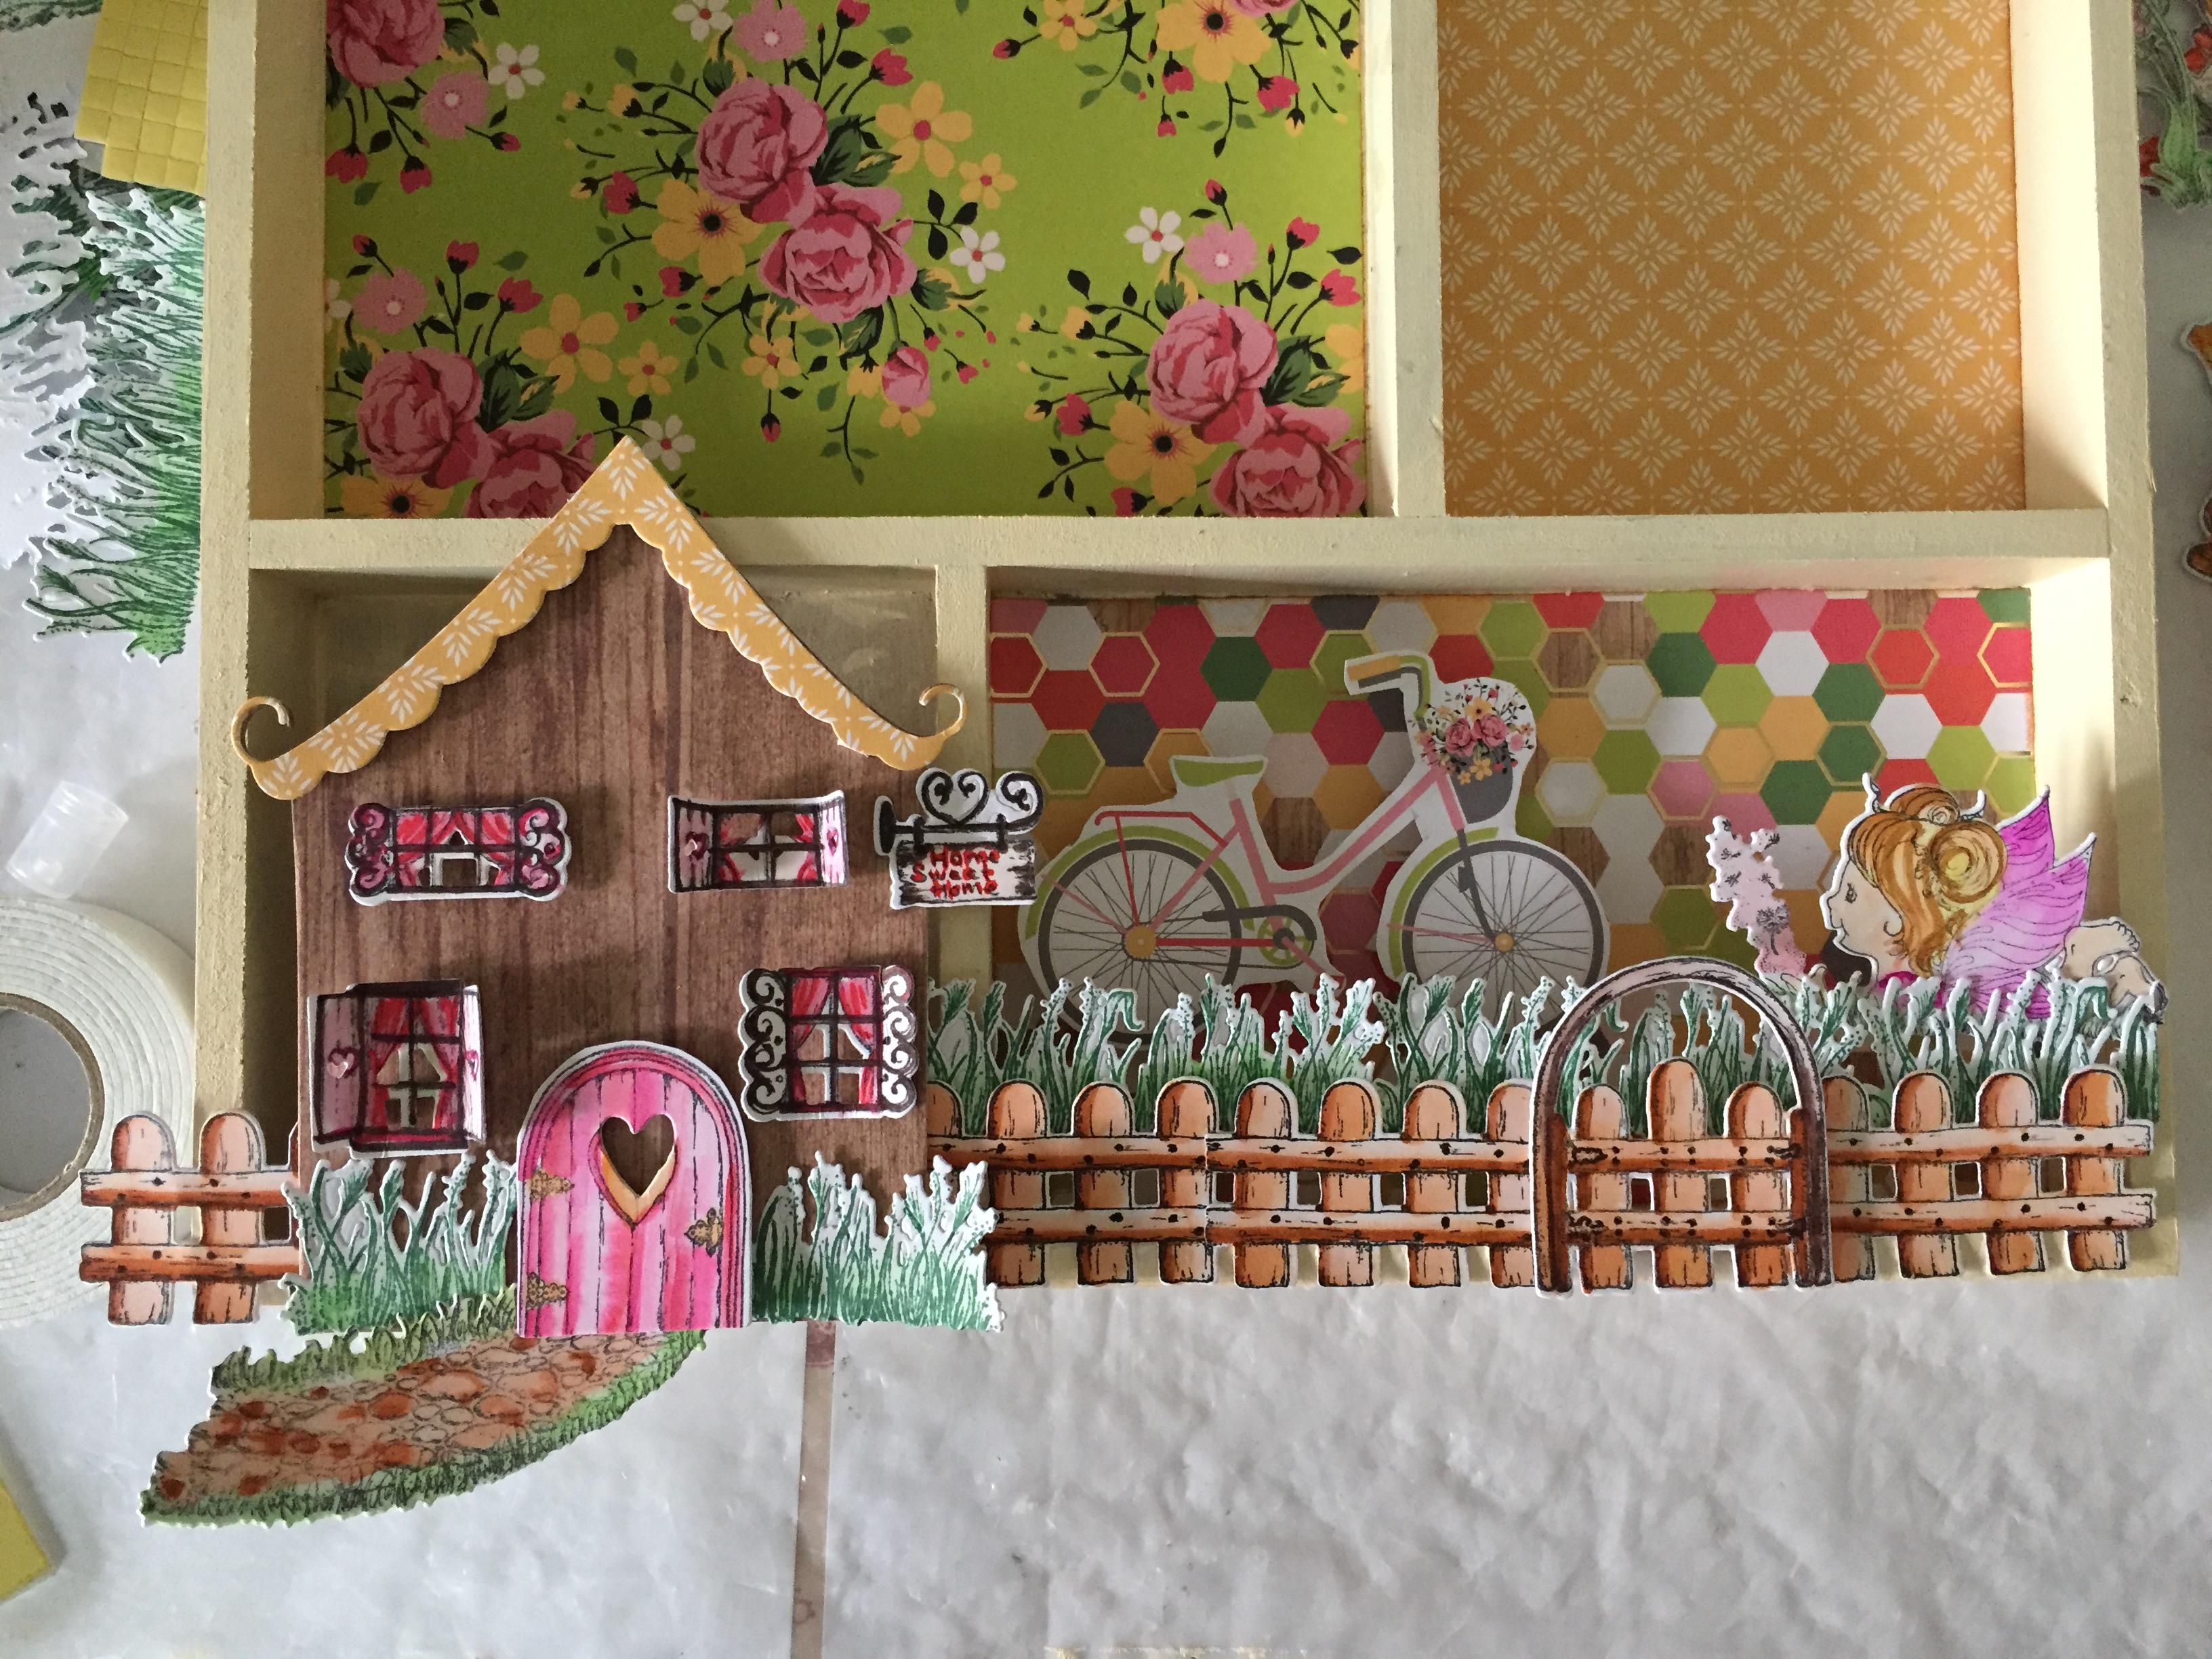
Here we will take you through our process. We started with the bottom of the shadow box.
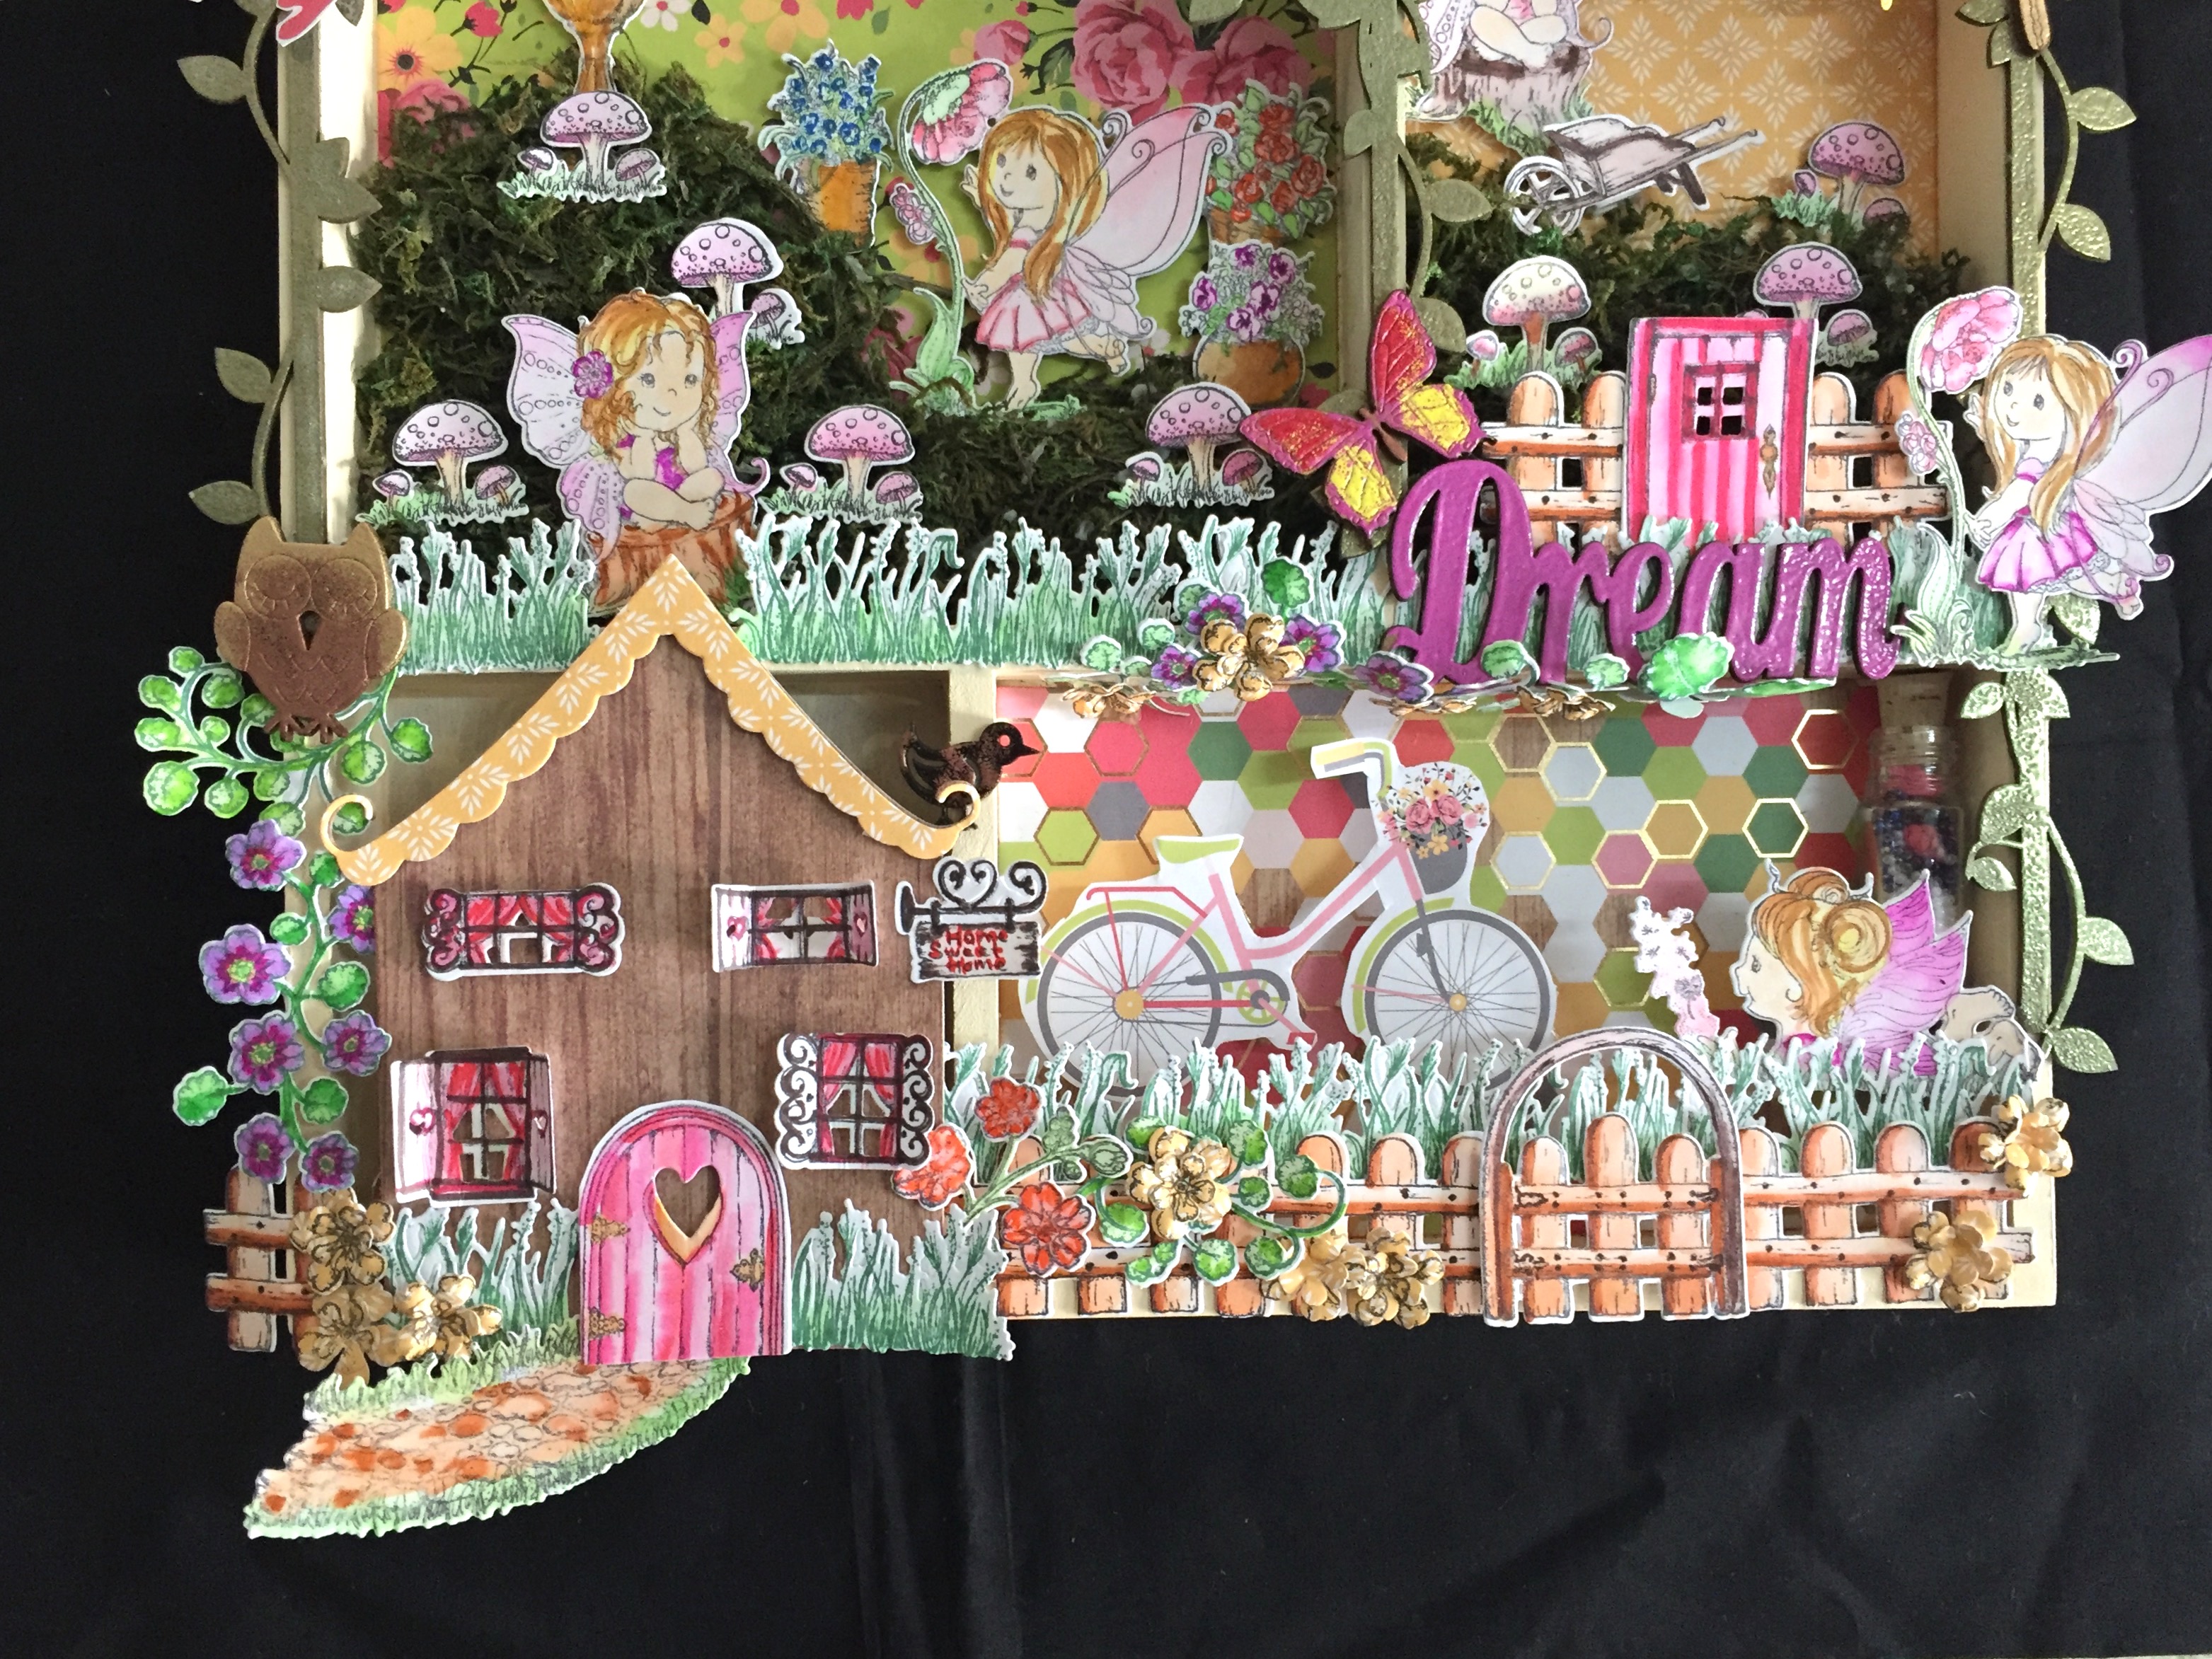
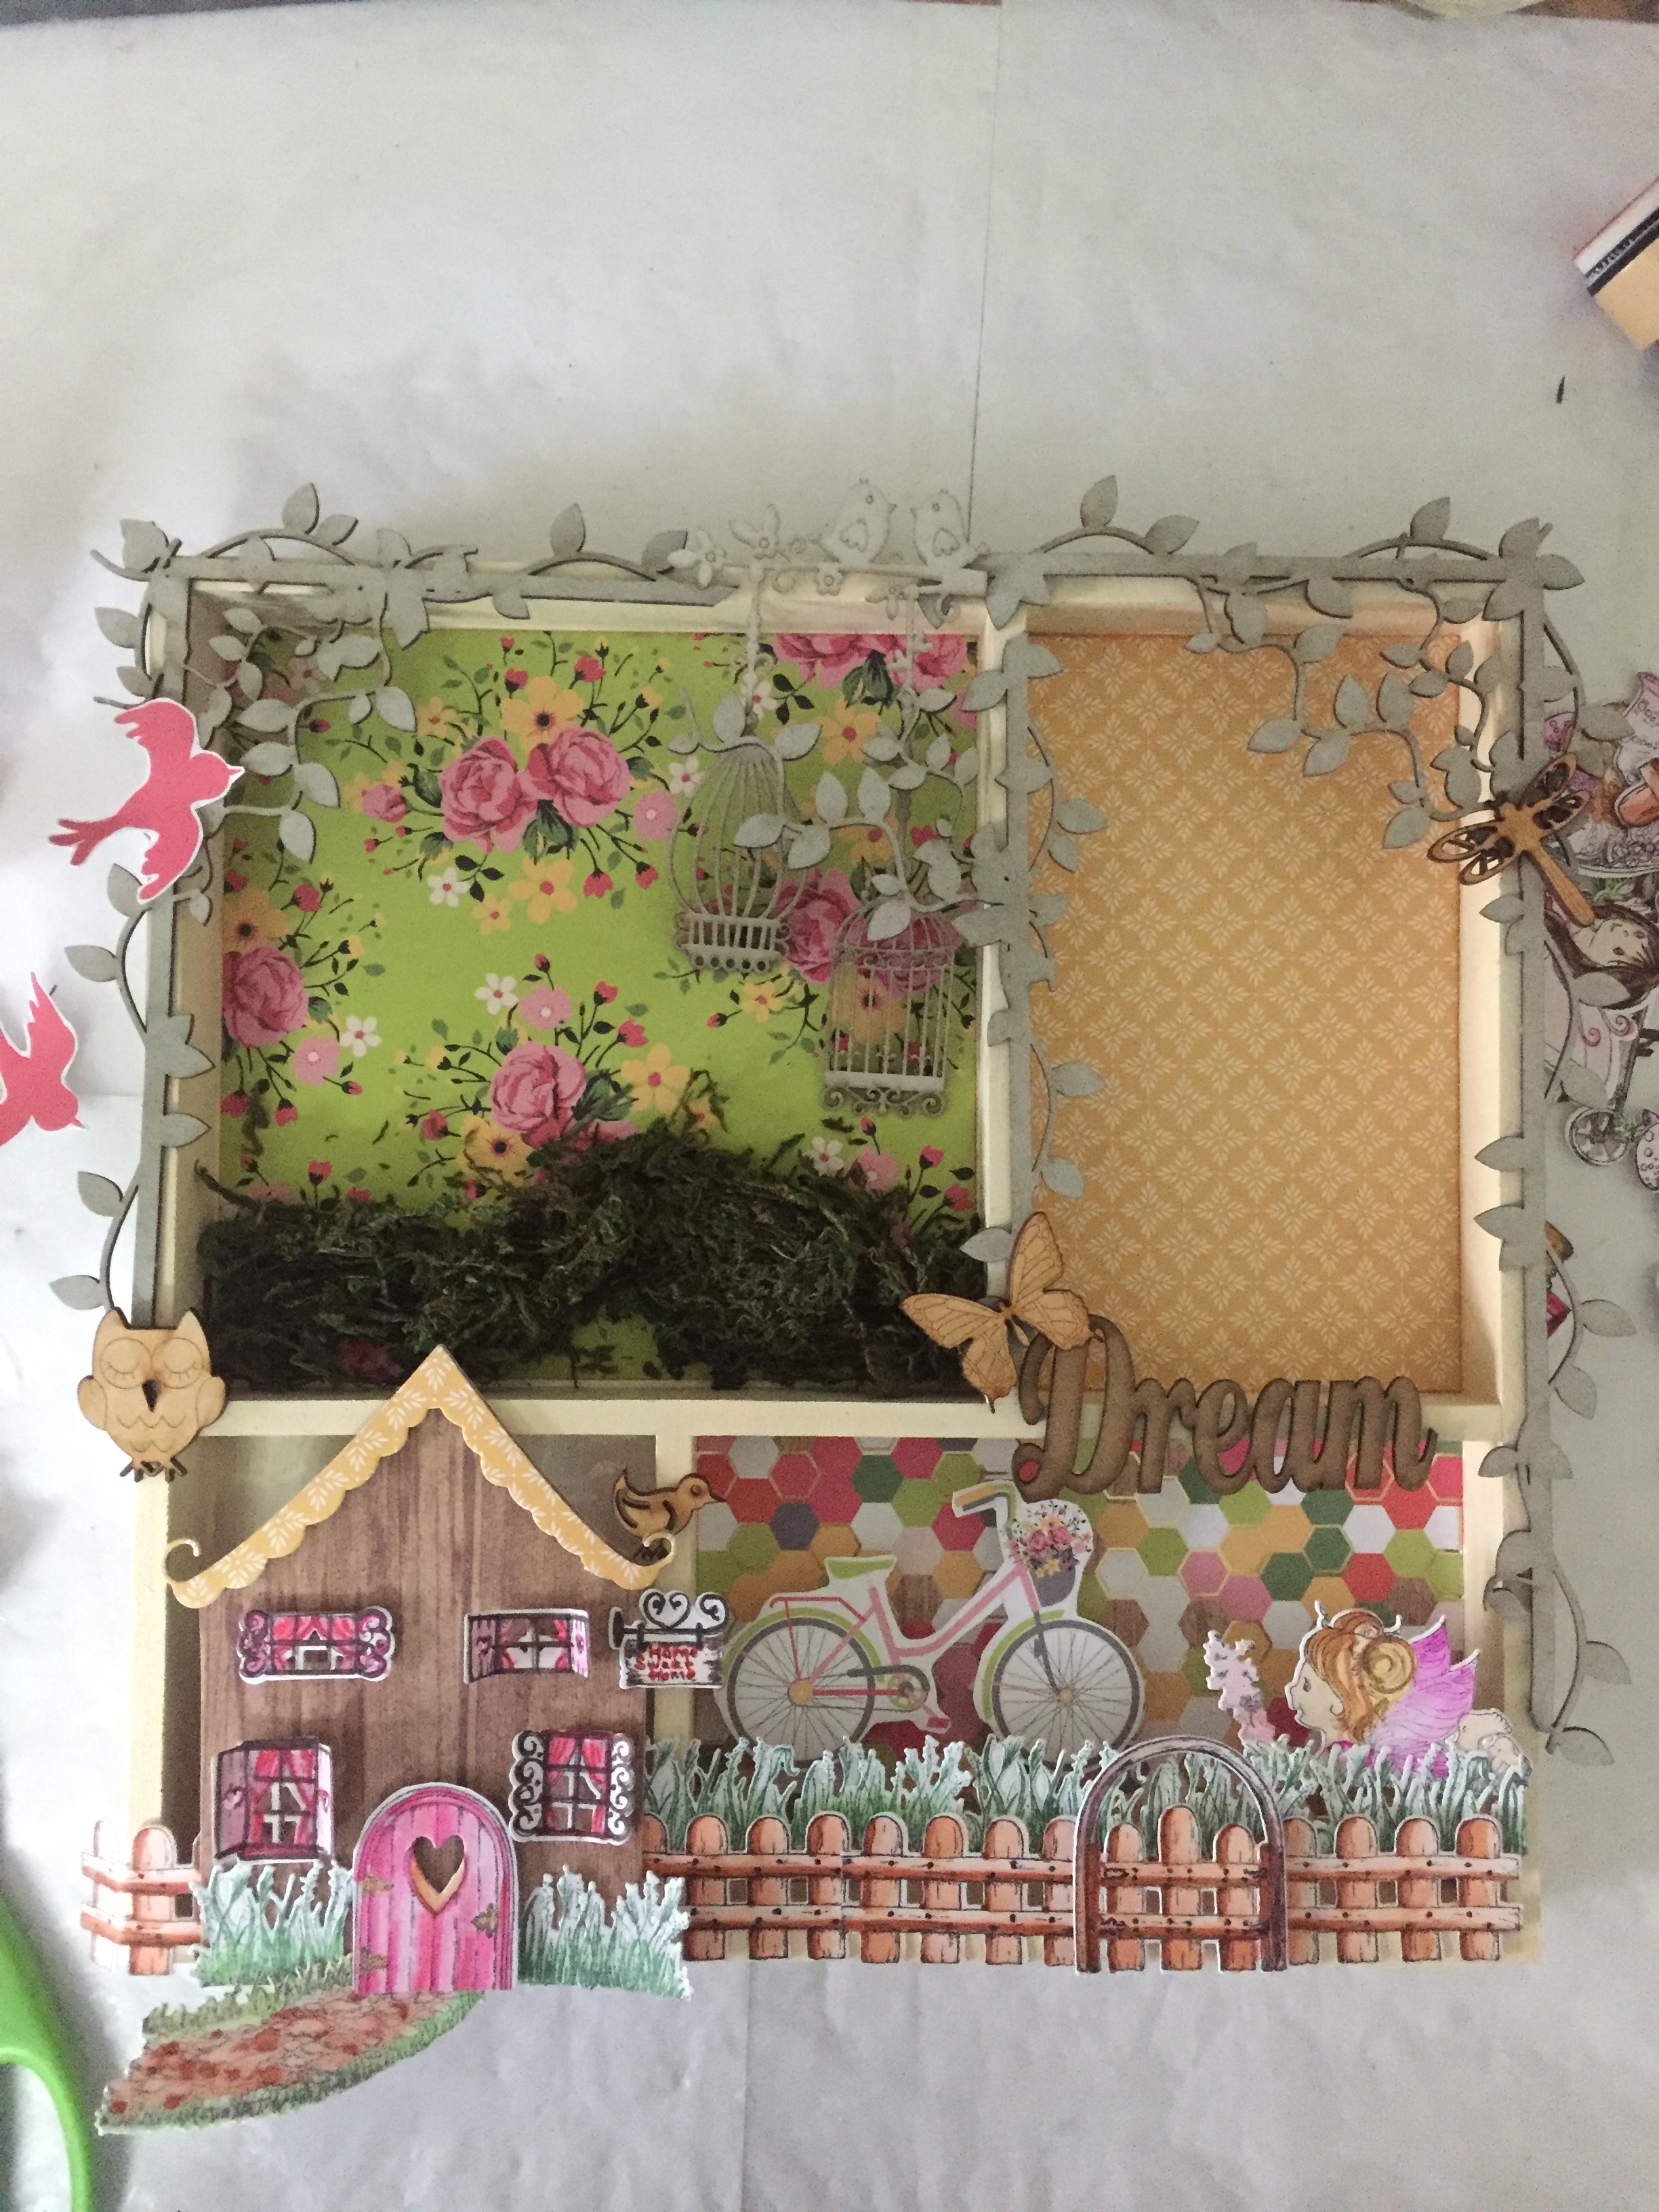
We assembled the house first. Used foam tape to adhere windows, roof, door onto the base of the house. Next we built our scene. Used the fence, the gate , grass, cycle and a girl and assembled them all onto our shadow box. We used tacky glue to adhere them in.
img_0938
We picked out some chipboard and pdf elements to go with our theme and arranged them around to see if they look good. 
img_0946
Once we were happy, we decided to colour our elements. The easiest way was to heat emboss them. So we first ran versa mark over them, poured the embossing powder and heat set them.


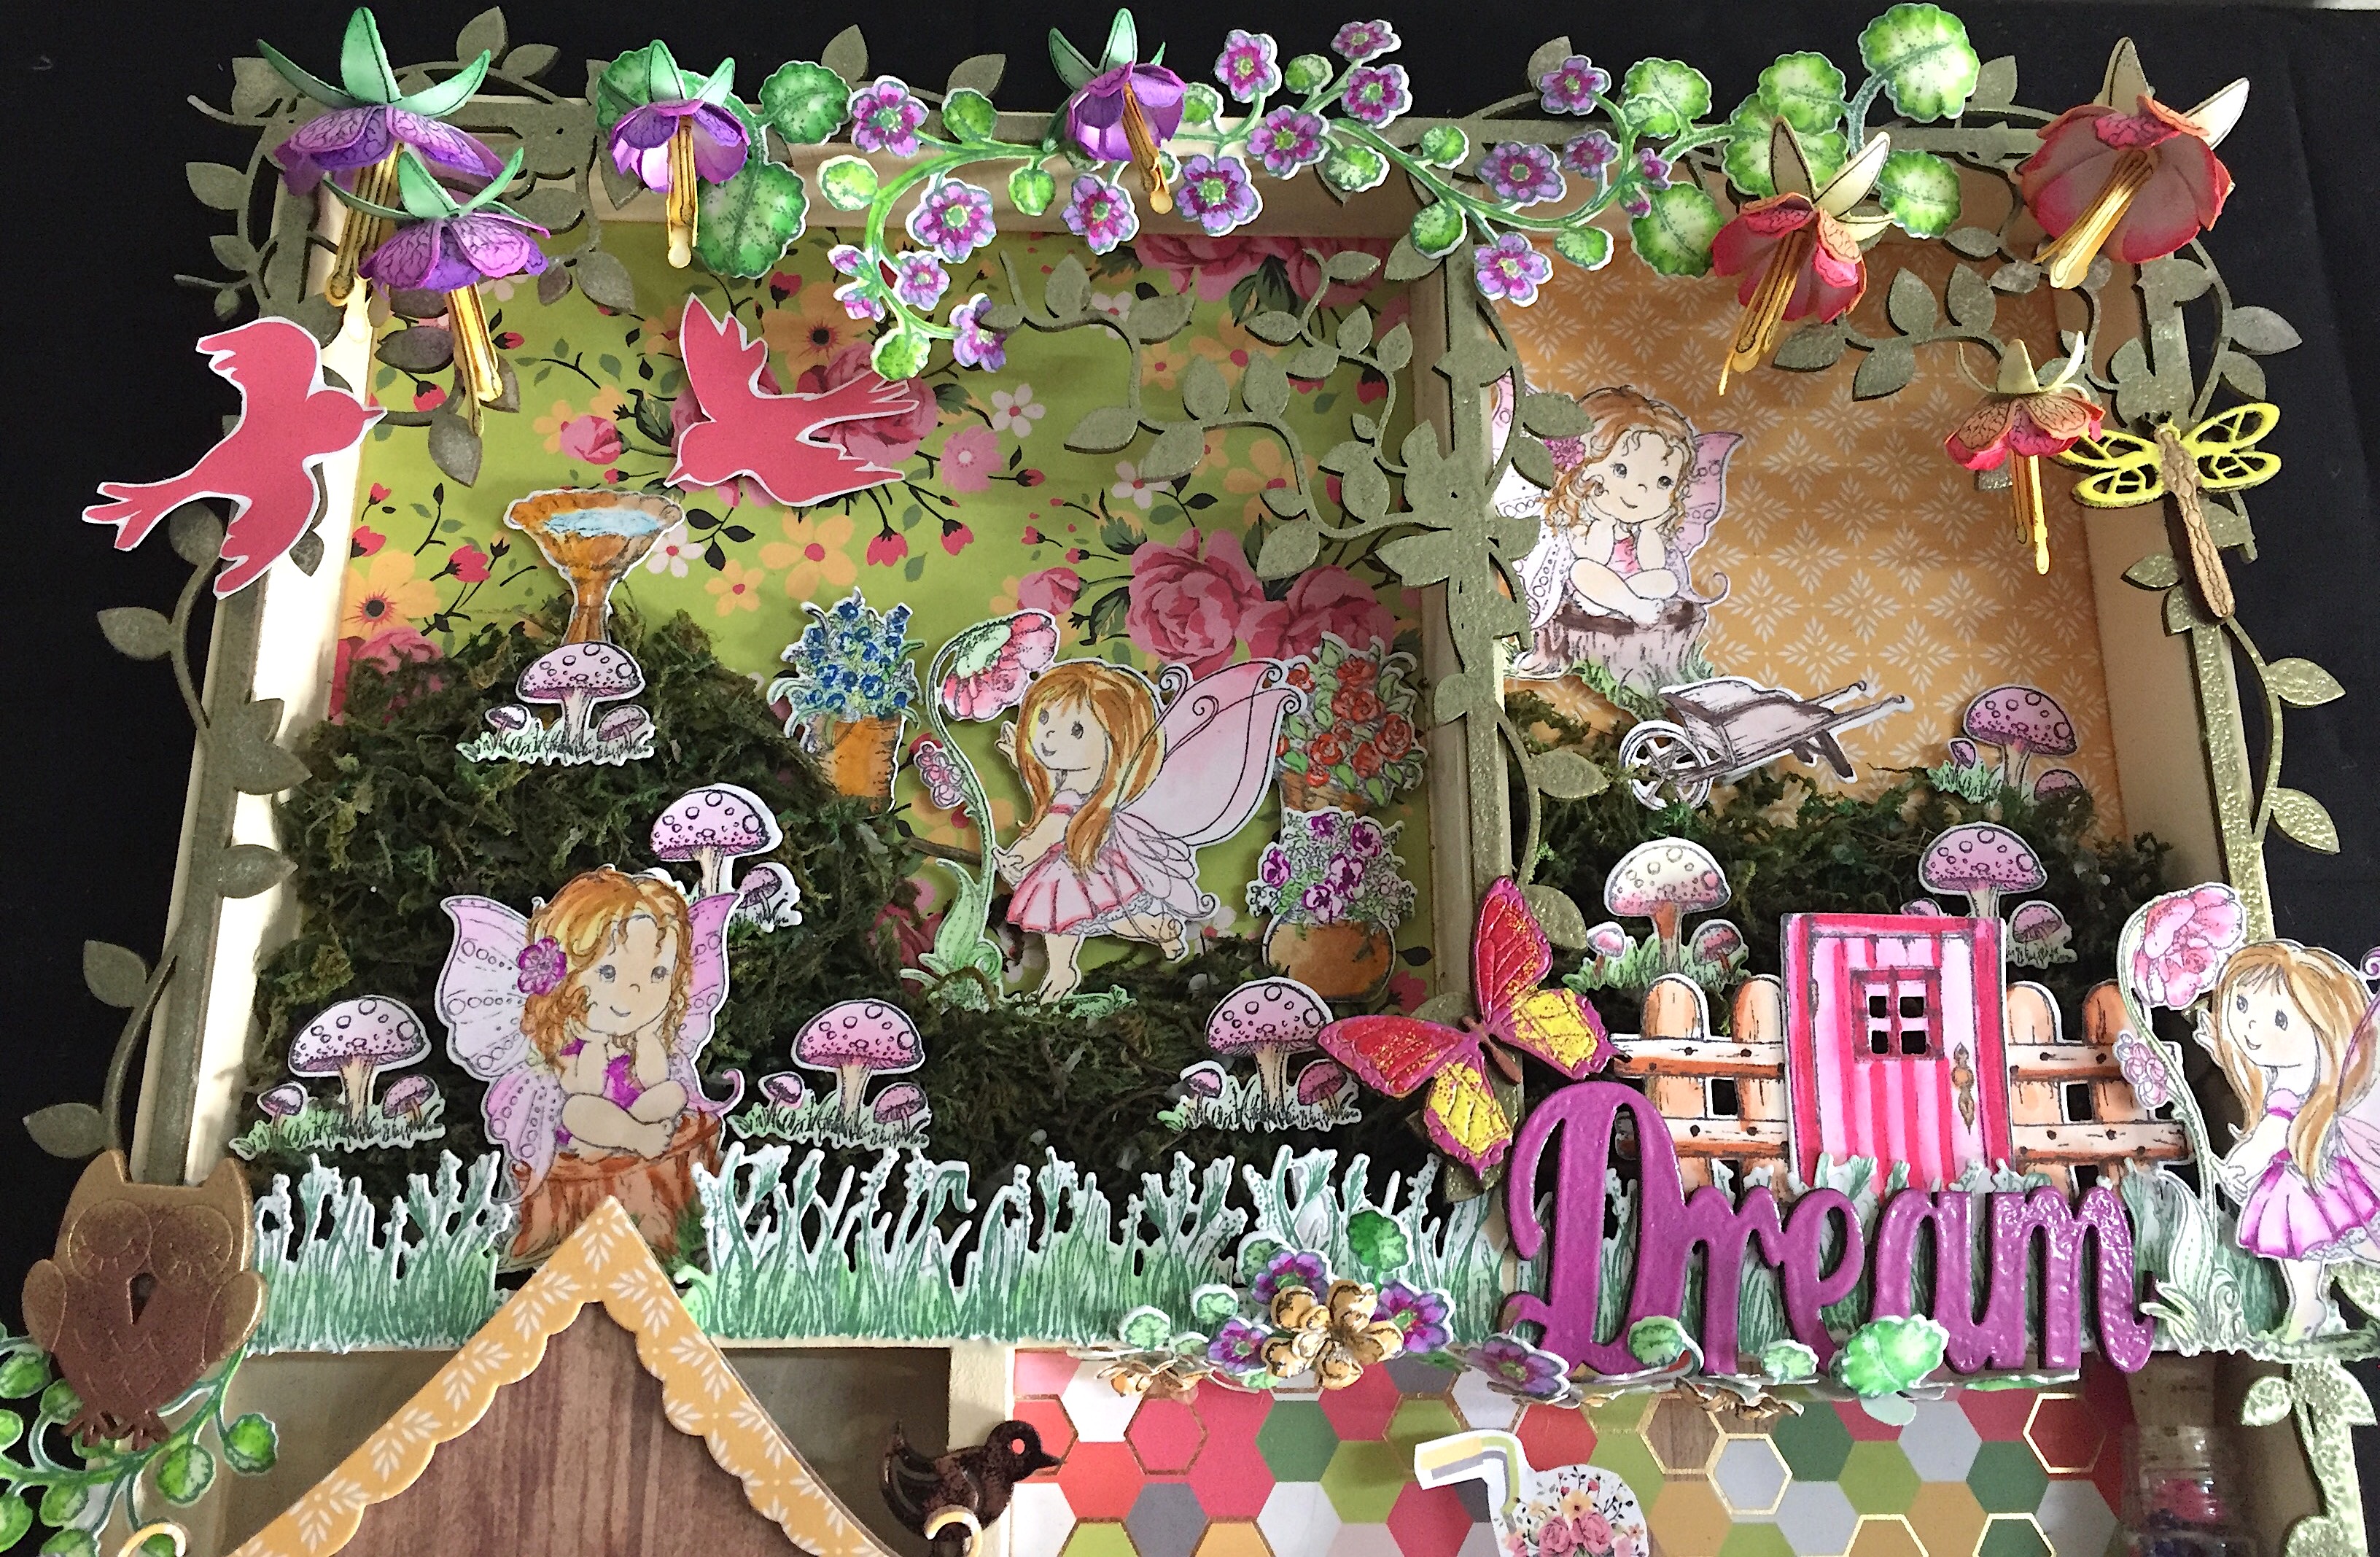
Next we arranged all the elements together- the moss, the wildwood cottage elements and the chipboard elements. While arranging, our key factor was perspective, some things front, some back, giving an illusion of space. We stuck some with glue and some with foam tape. We also shaped flowers for this project. However, ready flowers can be used to.
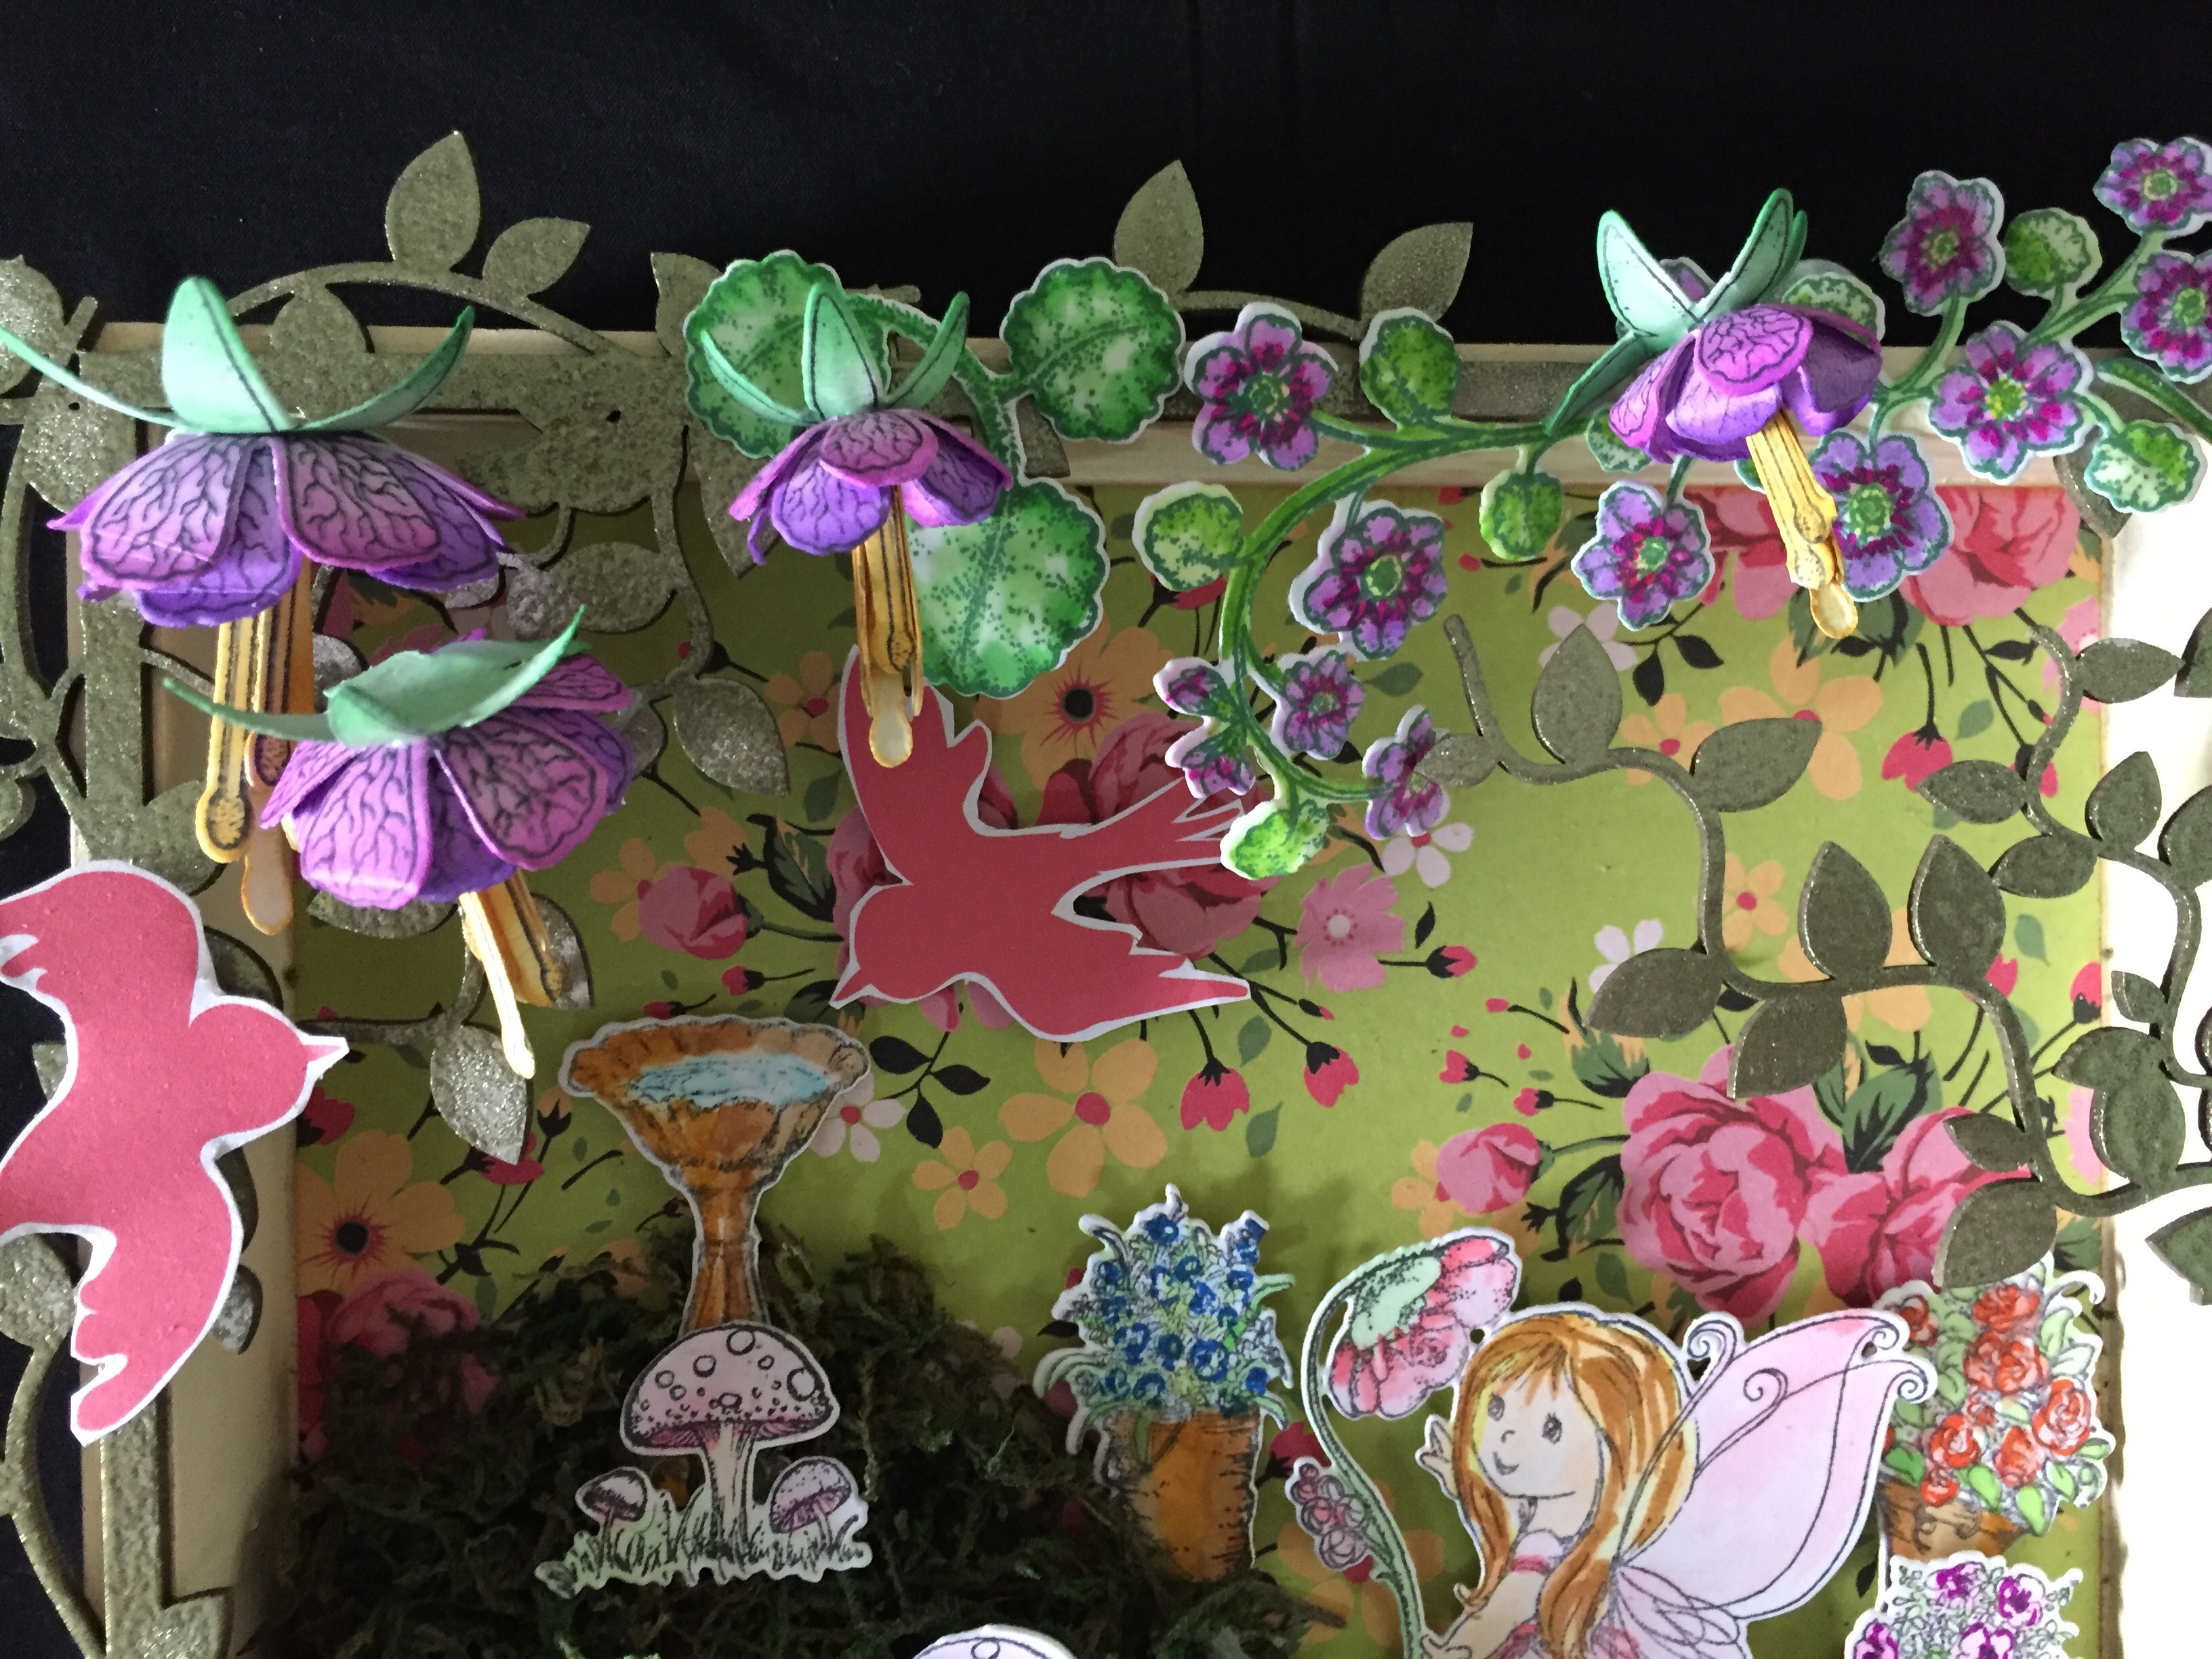
Below are some close ups of our project.    
fullsizerender-60
fullsizerender-76
fullsizerender-73
Hope you enjoyed this project!
Sunila & Aditi

Friday, 3 March 2017

Pop Up Shadow Box

Hello Folks,
Afreen here, Am back with another project , Pop up shadow box..  In this we are going to see various use of glossy accent and diamond dust.. will go with the project pictures first..


close up shots


clear view

I have used Mudra February release Stay Magical stamp set,its simply awesome, I adore the beauties. In this i used Glossy accent almost for all fussy cut elements.. added glitters , glitter balls, diamond dust to it..

Without any brief detailing i will put up uses of Glossy accent in points..
  • Glossy accent can be used as strong adhesive for sticking metal embellishments
  • can be used as epoxy
  • can be used as water droplets for cards
  • can be used as enamel accents
  • can be used for sticking glitters, diamond dust , glitter balls, & so on..
Few pics in which i used glossy accent..

Here i used glossy accent as enamel.. used acrylic drop and coated with glossy accent

enamel accent

 in this i tried water droplet effect

 
water drop effect


glitters using glossy accent


Coming to  Diamond dust.. can be used for glittery look
  • can be used for flower to give nice texture
  • can use for shaker elements too.. its depends on how much we use them in different ways

This is shaker which i received from my friend Sylvia, she used diamond dust along with the sequins to get tat sugary glass look


diamond dust in shaker card
adhered diamond dust using glossy accent


So its all depends on how we use our supplies in different ways.. i hope you all liked my project and information provided


Materials Used
                                                

1. White , blue, green card stock 250 gsm (http://craftsneed.com/card-stock )
3. Zig brush pen (can be pre ordered )
5. Archival black ink pad ( http://craftsneed.com/archival-ink-pads )
6. Mudra - Stay magical stamp set ( http://craftsneed.com/mudra-stamps )
7. Eno greetings paper pack (http://craftsneed.com/scrab-book-paper-stacks )
8. White glue
9. Cherry lynn leaf die  ( http://craftsneed.com/cherry-lynn )
10. Joy craft flourish die#5 ( http://craftsneed.com/joy-craft )
12. Memento ink ( can be pre ordered )
13. Color box for leaves (can be pre ordered )
14. Grooved golf tool ( http://www.craftsneed.com/tools-4 )

Thank You for stopping by,
All products available at crafts need or can be pre ordered
Do leave some love..
With love 
Afreen


Tuesday, 28 February 2017

Vintage Album


Hello crafty people ,Rashmi here
Thanks for joining me today .I have a lovely project with a tutorial for my GDT post on Craftsneed blog.

If you are someone who likes vintage then I'm sure u will wish to try this out! 
But if u are not a vintage fan like me u
can still make it in any theme of your choice
I have listed a step by step tutorial for u guys.  Hope u like what I made .


Before hopping to the tutorial let's see what all we need and what we are actually going to make


Supplies we need :

Pattern paper ( Nakshathra designs, Papericious , Enogreetingsand few other papers )
Cardstock
Tackytape
Scoreboard 
Scissor/paper cutter 
Glue 
Clock charm 
Antique chain 
Magnets 
Papericious chippies
Brads
Chipboard 

Grab all your supplies and now  let's begin :

Take card stock of size A3*7 inches 
Score the way shown in the pic below :
(Remember to leave margin on all sides ) 


Cut chipboard to fit the scored lines leaving a slight margin as shown in the pic :


Adhere tacky tape to it, also remember to taper the edges just as in the pic attached :


Stick the tape inwards as shown  below 


Attach a black sheet leaving 1\4th margin and attach magnets to the flap (I added a cover up flap to create some interest,  you can use ribbons also to tie the album together) 


For the pages I chose to do accordion style pages and used 2 sheets of size A3 *4.75 inches and scored them like below: 


Then pull out the papers of your choice (lady from vintage Melany pack of Nakshathra designs) 
Fussy cut lots of sheets 

As shown below :


Start making the layout till u r satisfied 


Add pattern paper on all sides and pages and add fussy cuts too .


So I hope u guys enjoyed the tutorial 
Thanks for dropping by. 

Love 

Rashmi 

Thursday, 23 February 2017

Our favourite DIES

Good Day all,Anushree here

Today I am on Craftsneed blog with small information on Dies.This whole topic is too long to cover in one post,so today I will focus on some portions and surely will cover rest soon in next post.In this post,I will talk about what are Dies,what is their use and how to use them and many more similar queries. Before that let me show you a card which I have made majorly by using Dies.


Now lets start with little flashback.Paper cutting always fascinated me from very childhood,I loved using scissors to cut various designs.When I started crafting professionally, I also tried my hands on various kinds of knives,few of which I still use occasionally. Then one day I saw this beautiful card with lovely intricate design...I was stunned.I just wanted to know how it was done.On asking I got to know its done with Dies...and that was just beginning,I am still hoarding them.

Dies are honestly one of most beautiful tool a crafter has.Yes it does involve some investment wherein we need Die cutting machine either manual or mechanical.A manual die cutting machine will also require Dies as their fuel.

For this post I will stick to manual machine and its working.I have a beautiful powder blue and teal color Sizzix Big shot machine ,This has cutting pads which actually helps in getting die cut.

So we place our dies and paper/felt/fabric/thin chipboard/acetate/craft foam/sticky back canvas/denim/sandpaper in between these pads and pass through the machine to get beautiful Die cuts.

Mostly dies are made of metal where companies use steel in manufacturing these dies.Other manual Die cutting machines are from brands like Cuttlebug,Vagabond and Wizard.Most of the dies works with all of these machines.So major job of a die is to cut shapes but there are also few dies which serve more purposes like embossing and stenciling.The die packaging will mention if they can serve multi purpose .

The price of these dies depends on various parameters like size, quality and yes foremost brand value. I have dies with starting range of rs 150 to rs 2200.I am not sure if there are more expensive dies than this but if customization is there, for price of dies, sky is the limit. Attaching few pics of metal dies.


pics of Die cuts


For storage, mostly people worldwide uses magnetic sheets (craftsneed also have these magnetic sheets) to store them with ease.


Craftsneed store has wide variety of Craft dies ,you can click on this link to actually witness whole collection of super quality dies http://www.craftsneed.com/craft-dies-2 .
The store has some major brands like Tattered lace, Spellbinders, Sizzix, Cheerylynn, Joy craft ,Penny black and many more.

So its time to explore this beautiful form of crafts. Hop on to the site and choose your favourite soon.
There are still many portions related to this topic which I will cover in my next post. Hope you enjoyed this one.

Happy Crafting!!
Anushree 


a quick candlight