Hello everyone! We are so excited to begin our term with Crafts Need as Design Team Members.
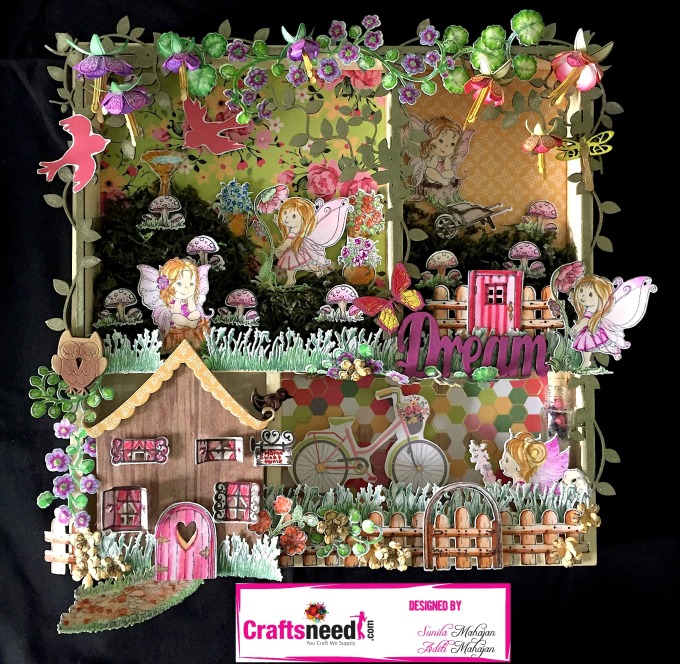
Today we are sharing a tutorial on a shadow box project. We’ve made it girly, dreamy and magical.
A shadow box is a craft device akin to a "deep frame" that is used for displaying three dimensional images or items. The craft probably originated centuries ago, whenever leisure time allowed for the assemblage of mementos. It was also used for sailors and army personnel to display their badges, medals and other service reminders. The beauty of using a shadow box to display items is that it looks neat and finished when hung on a wall or placed on a shelf.
Here is the final project and below is a step by step tutorial.
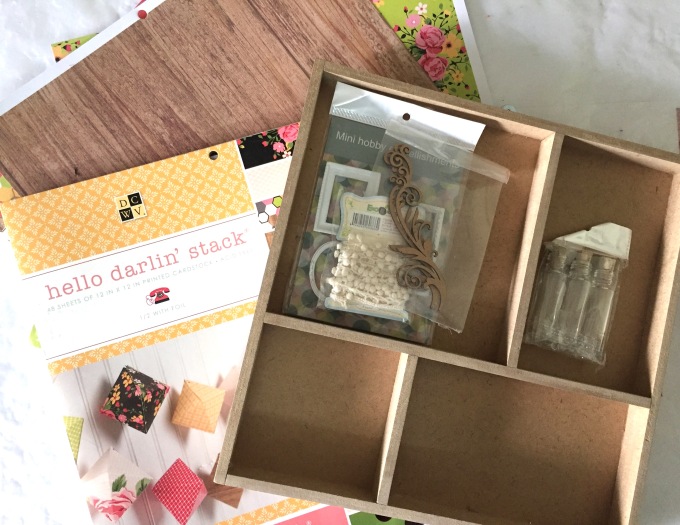
We ended up not using the resin frames and lace shown in the picture above as we began assembling our elements.
Here is the product list for your reference:
- MDF shadow box
- DCWV Hello Darlin Paper Stack
- Mod Podge Matte
- Paint brush
- Off white/cream acrylic paint or chalk paint (any brand)
- Paper trimmer
- Scissors
- Ruler
- Pencil
- Medium size glass bottles
- Beads/sequins
- Moss
- Dusty Attic Chipboard (or any other brand)
- Heartfelt Creations- Wildwood Cottage collection stamps and dies
- Heartfelt Creations Cascading Fuchsia stamp and die
- Die Cutting Machine -Sizzix Big Shot
- Archival Inks- Jet Black, Library Green and Vermillion
- Zig Clean Color Brush Pens
- Versa Mark
- Embossing powders- Lindy’s Spanish Moss Green & Weeping Willow Green Gold; Ranger’s Black, Red Geranium, Yellow, Magenta, Gold & Copper
- Heat Tool
- Flower shaping tools
- Adhesive- Tacky Glue
- Foam tape
- Ivory sheet/cardstock/any paper for stamping, colouring and die cutting
- We ended up not using the resin frames and lace shown in the picture above as we began assembling our elements.
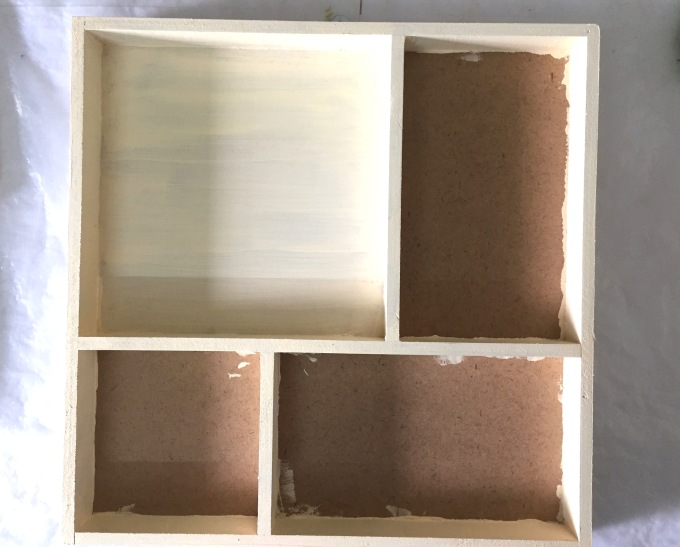
To begin, paint the shadow box. Since we want to use pattern paper for the inside of each compartment, paint only the sides, rim and back. (since we were in the stage of figuring out, we painted inside the box square compartment, but that is not required) Off white or cream colour isn’t readily available , so mix white, a dash of lemon yellow and a dash of birth sienna.
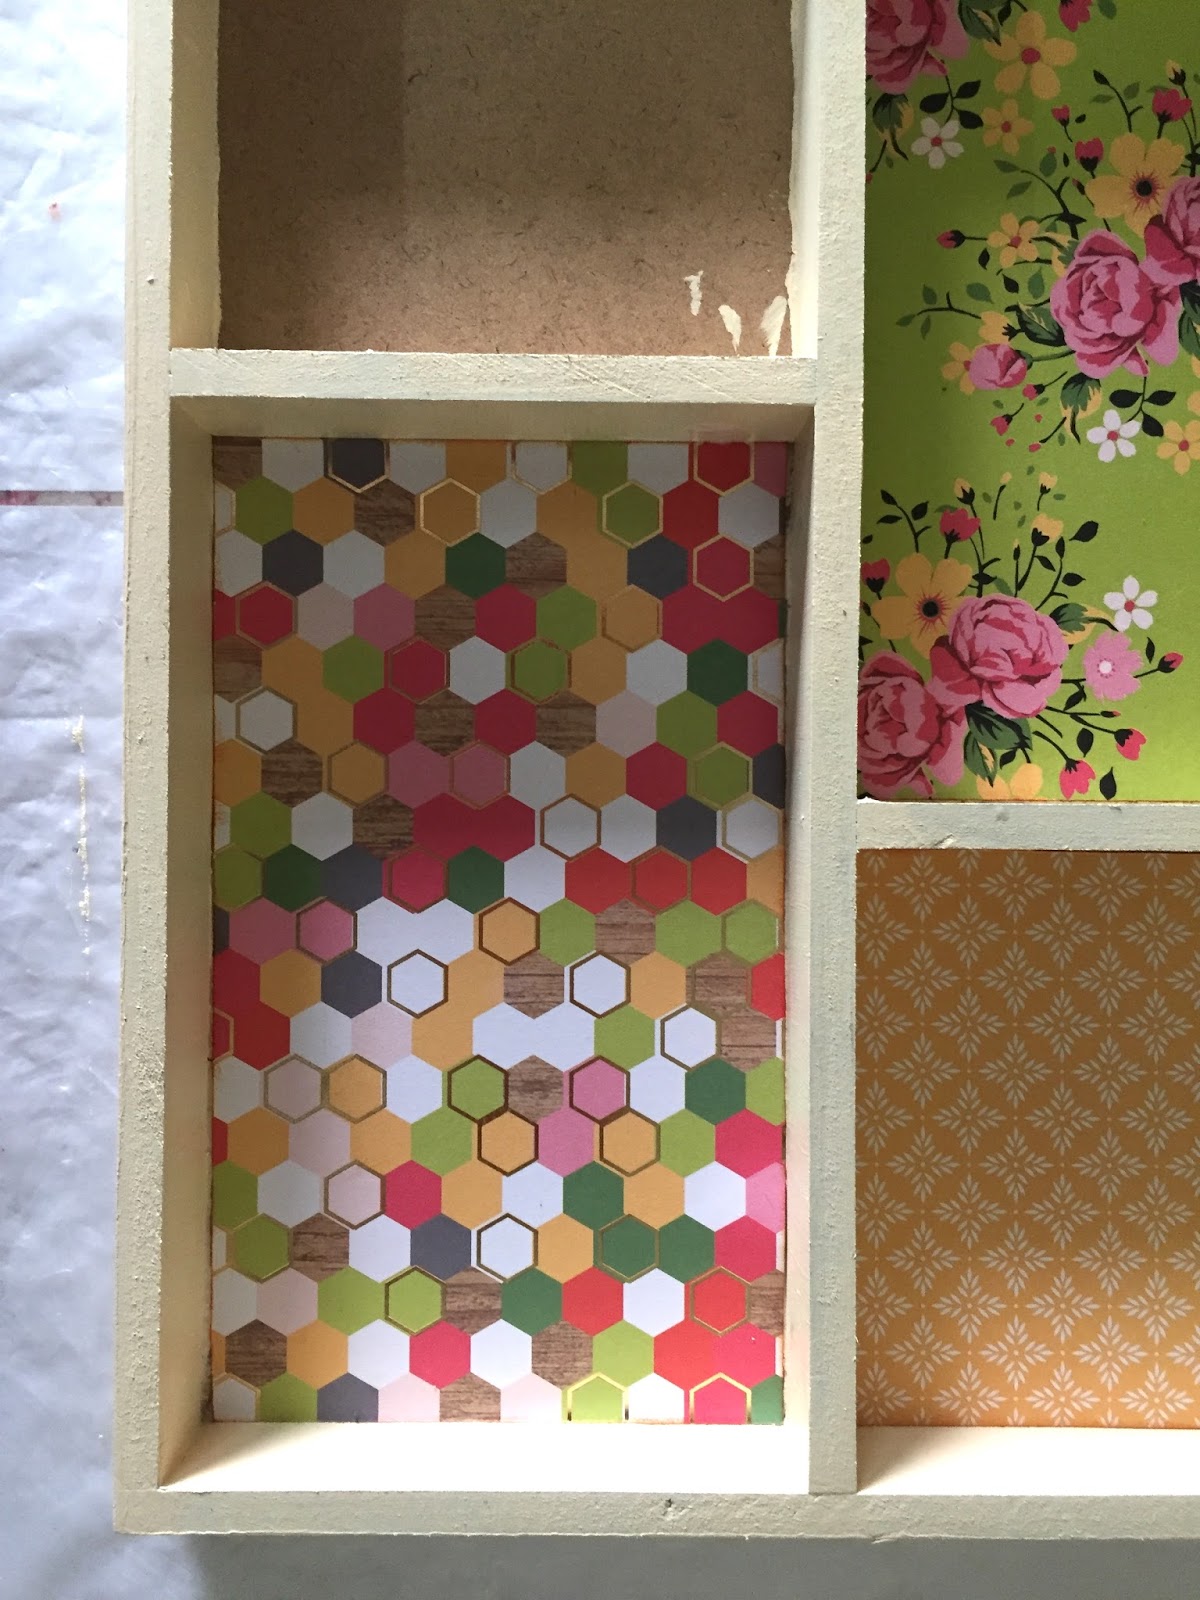
Next, measure the compartments, choose pattern paper from the stack and cut to fit. This will be adhered using mod podge.
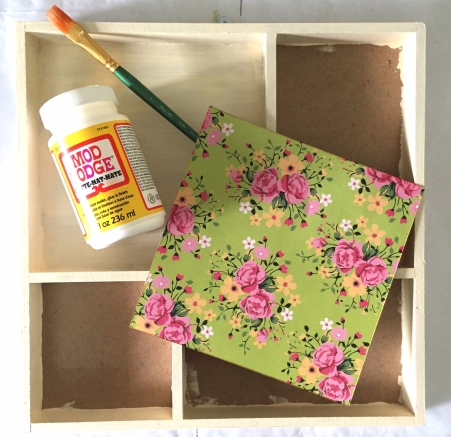
Spread mod podge with a brush and starting from one side stick the paper, pressing evenly as you go to the other side. Do not lay the paper in completely, as this will lead to bubbles. You could use a scrapper tool /or a used credit/debit/store card to run over the paper as you lay it from one end to another. We covered three compartments with paper and decided to paint inside the smallest square compartment.


Once our base is ready, lets begin with our elements.
Fussy cut some elements from the paper stack itself- cycle and birds.
Next, stamp images from the wildwood cottage collection using archival inks. We stamped multiples, as we weren’t sure how many will be used. We then coloured are images with zig markers. You could colour them with any medium you are comfortable with- colour pencils, inks, watercolours, etc. Using our sizzix big shot and the coordinated die, we die cut these stamped images.


The main house image, has been die cut using paper from the stack.
As you’ve read above, a shadow box is all about the theme and elements. Hence, once you've decided your theme and gotten ready with all your elements, its all about, playing, arranging, layering, assembling and bringing everything together.
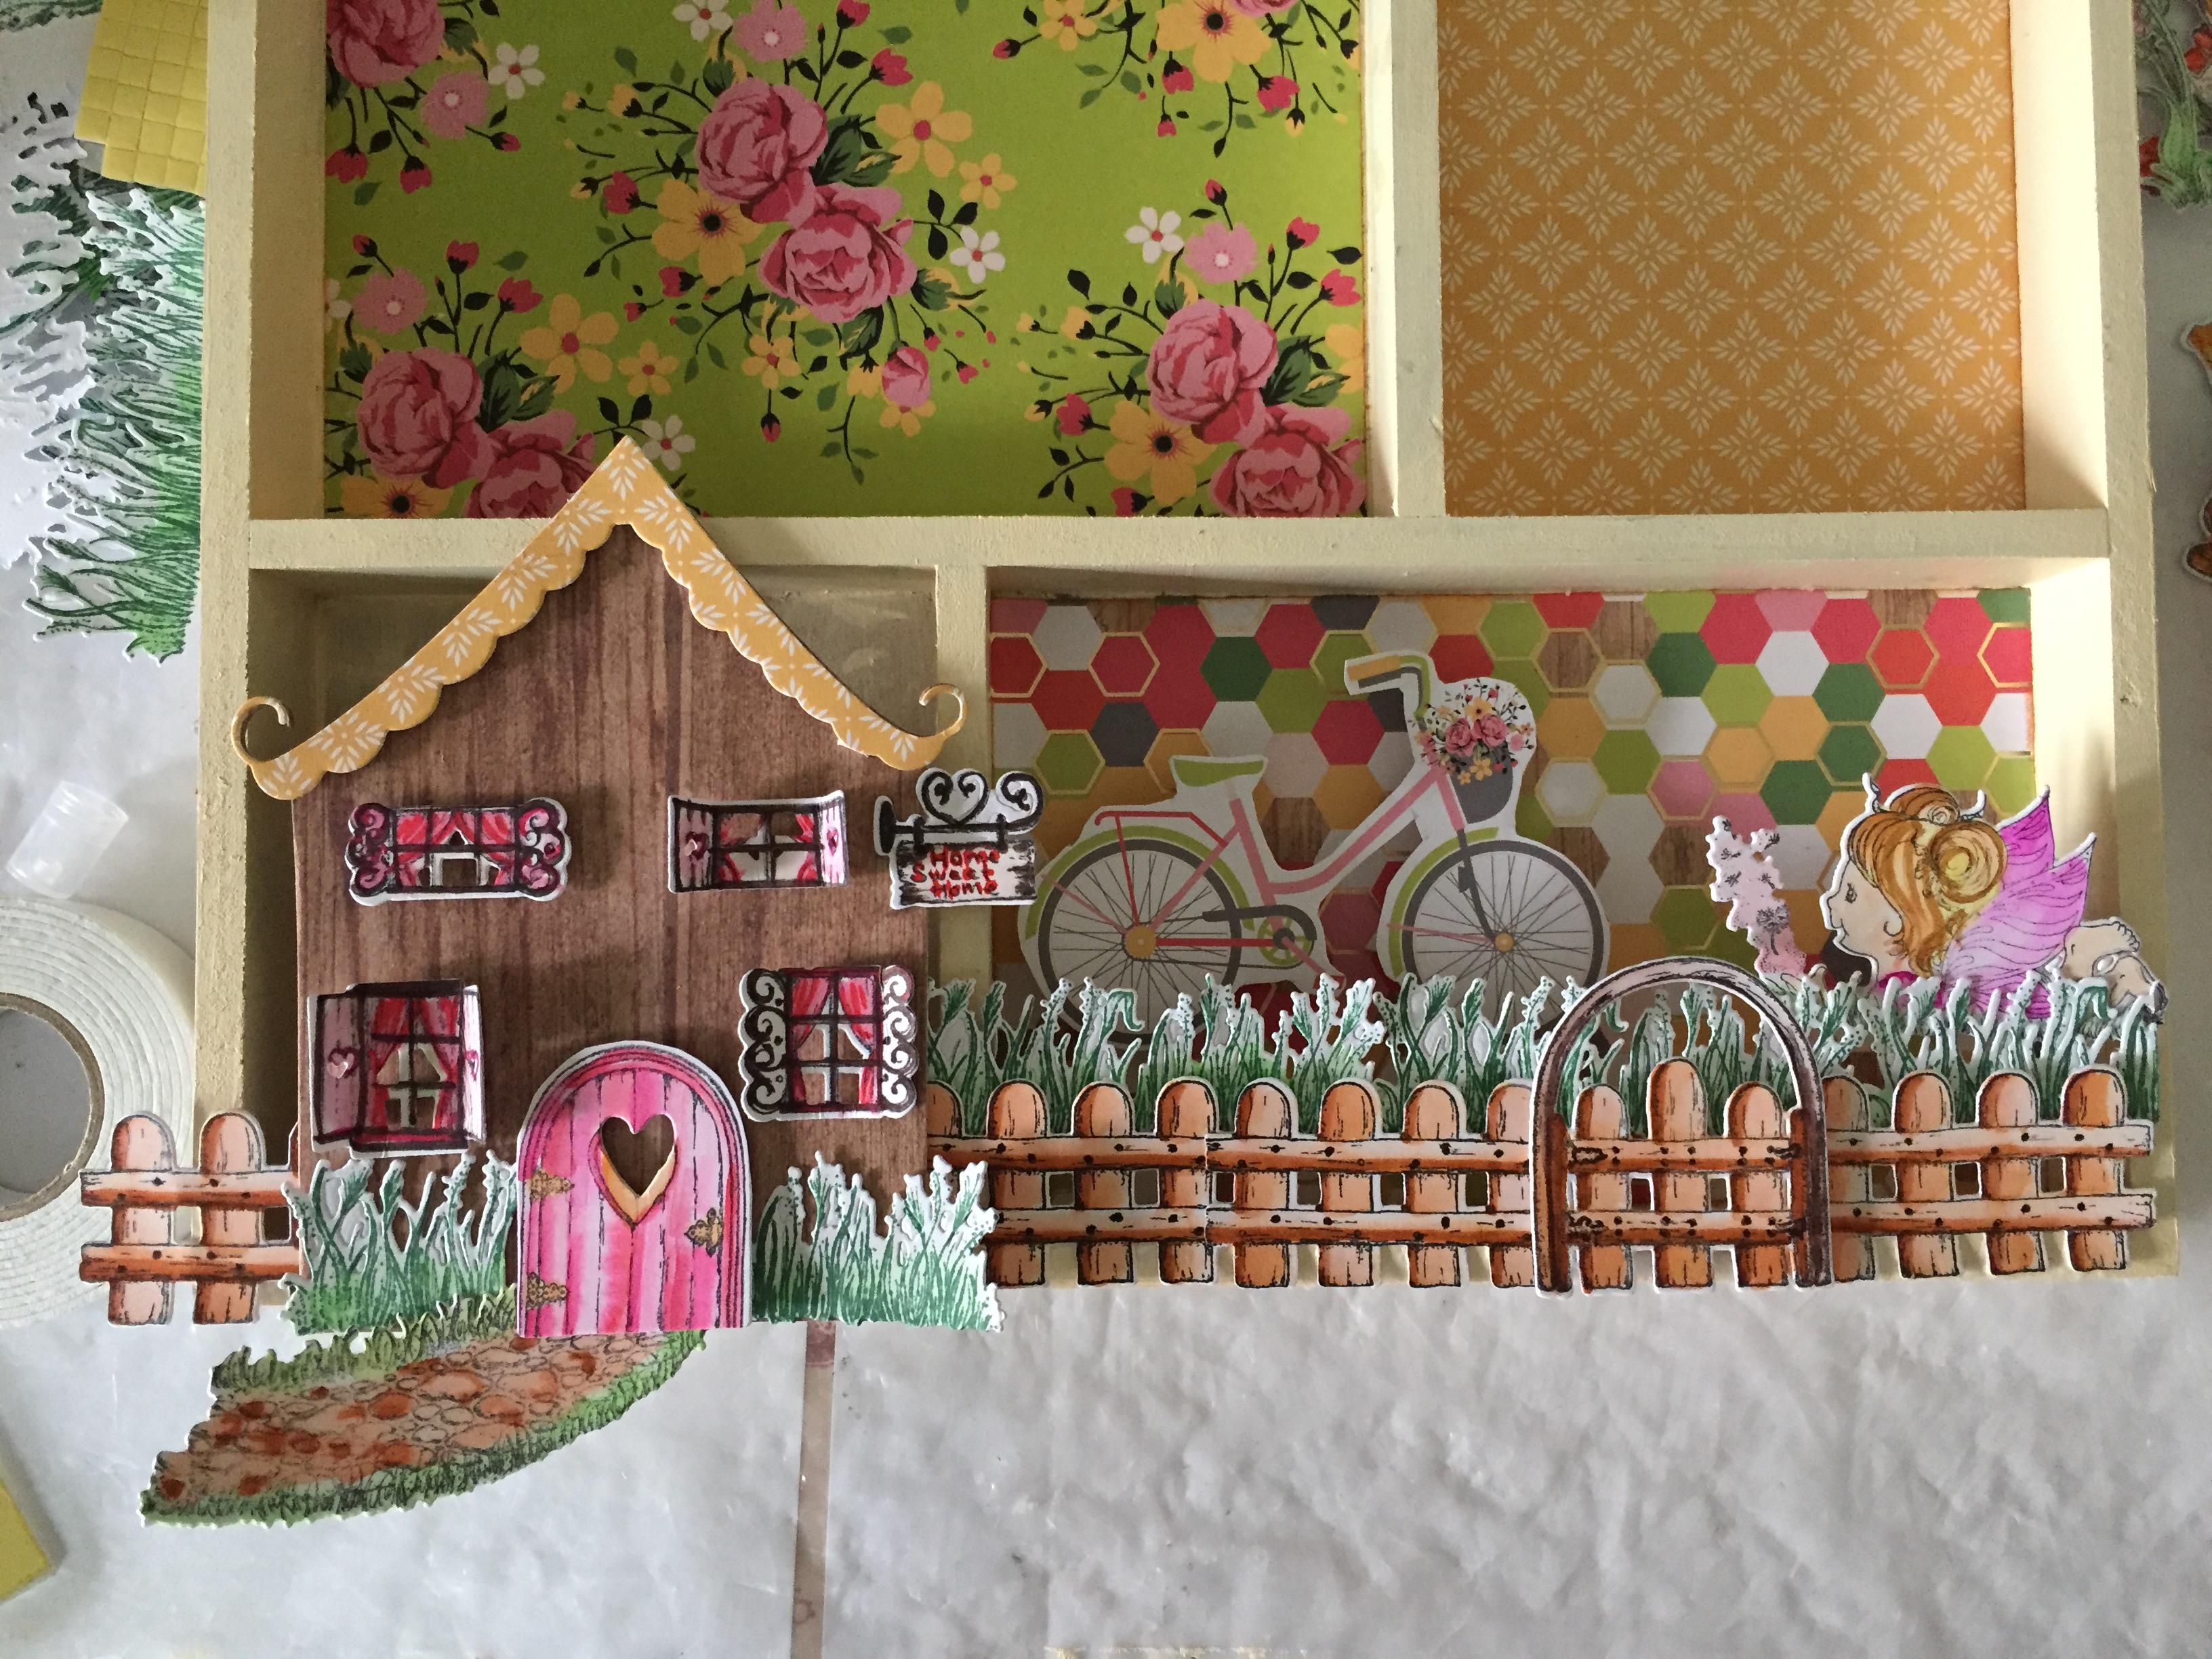
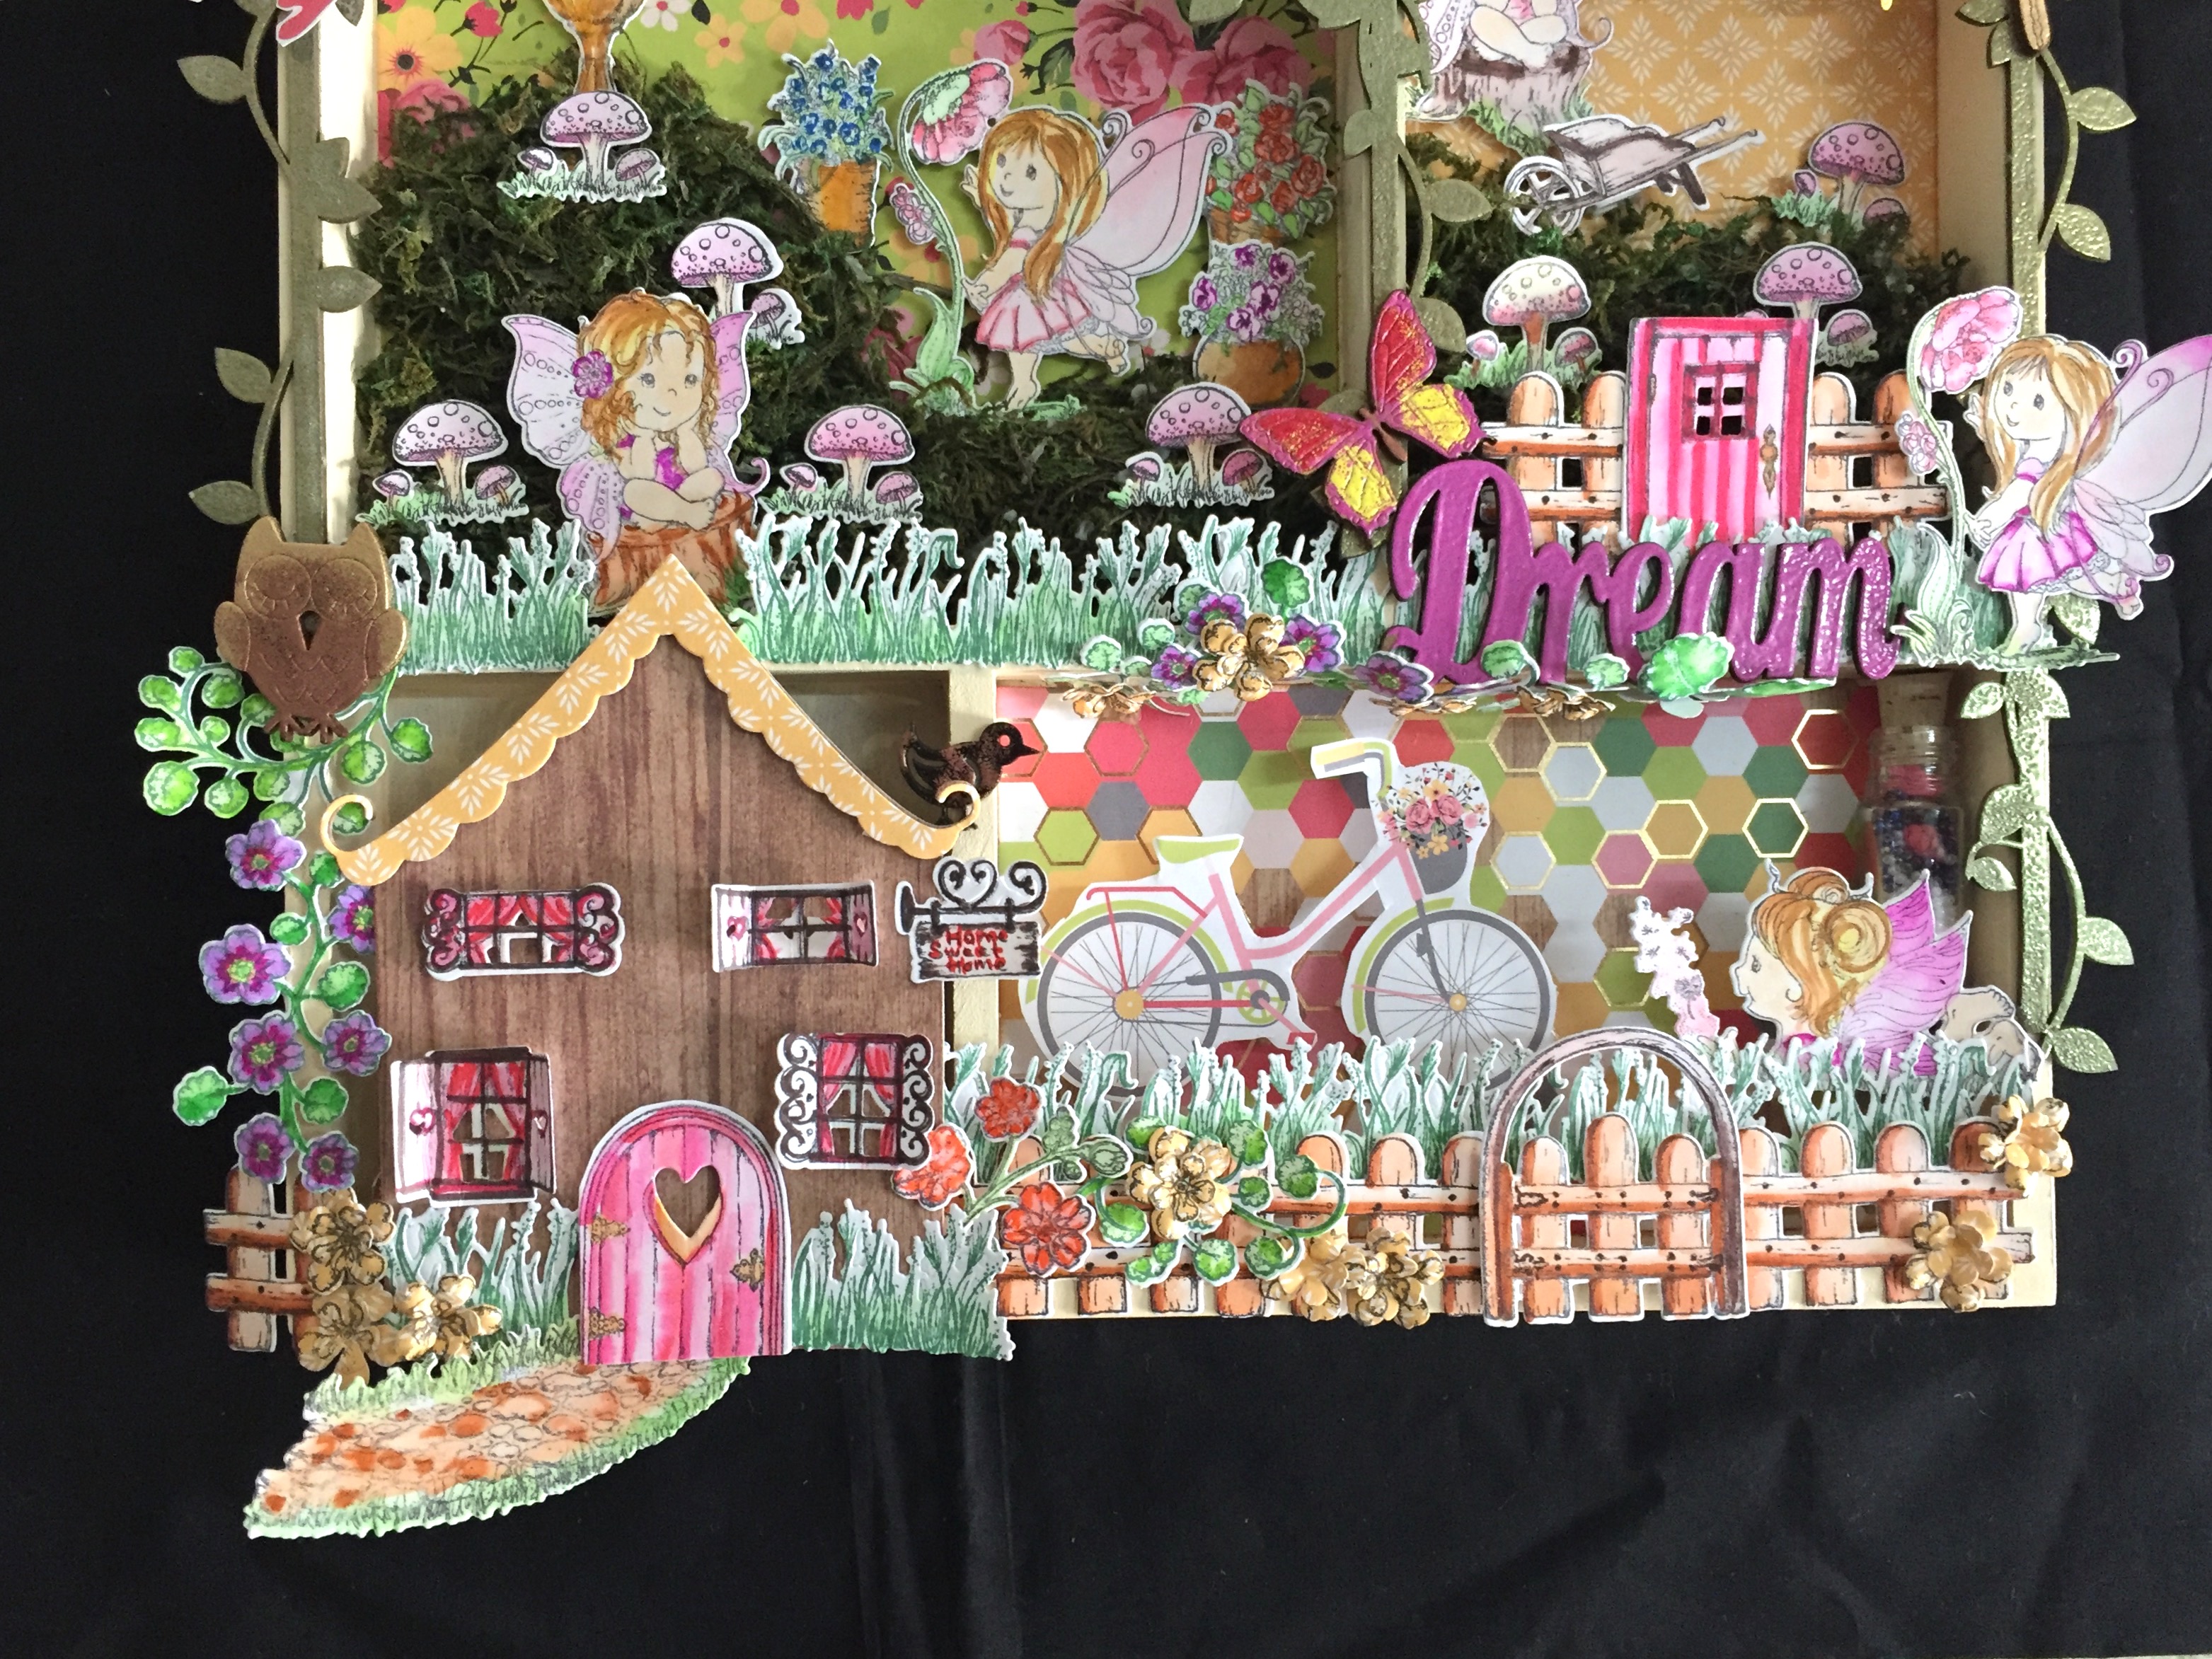
Here we will take you through our process. We started with the bottom of the shadow box.
We assembled the house first. Used foam tape to adhere windows, roof, door onto the base of the house. Next we built our scene. Used the fence, the gate , grass, cycle and a girl and assembled them all onto our shadow box. We used tacky glue to adhere them in.
We picked out some chipboard and pdf elements to go with our theme and arranged them around to see if they look good.
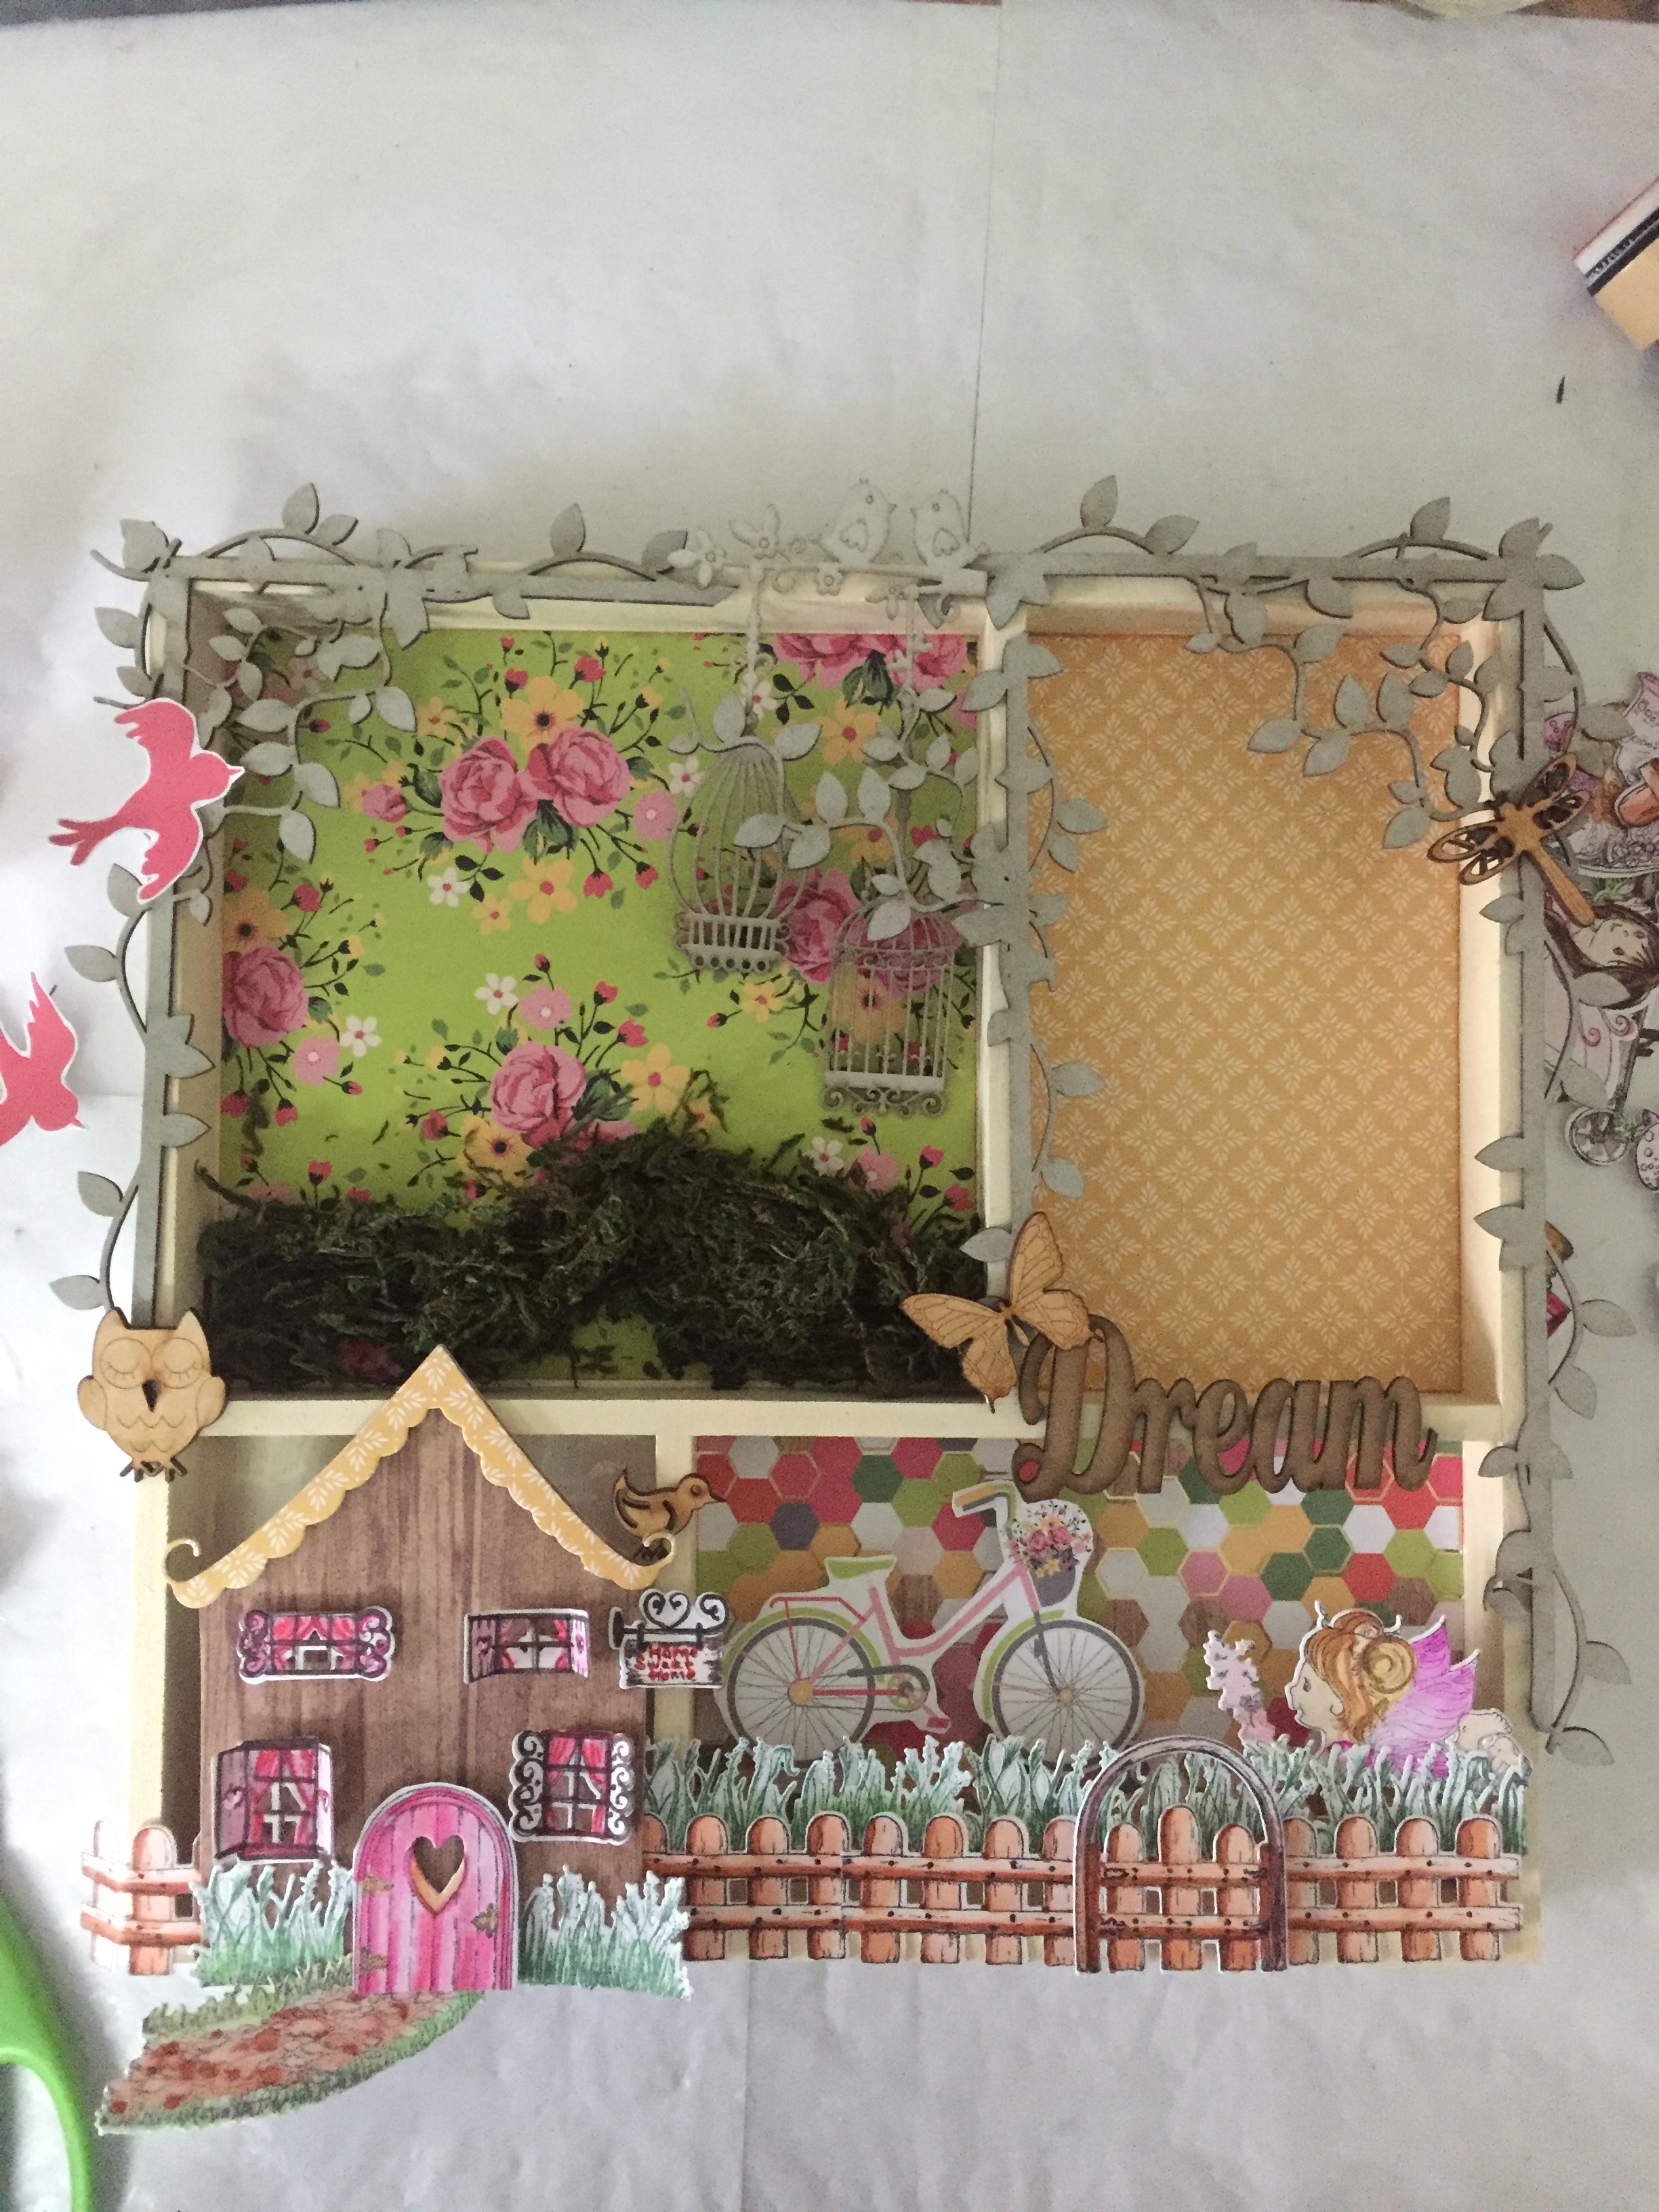
Once we were happy, we decided to colour our elements. The easiest way was to heat emboss them. So we first ran versa mark over them, poured the embossing powder and heat set them.


Next we arranged all the elements together- the moss, the wildwood cottage elements and the chipboard elements. While arranging, our key factor was perspective, some things front, some back, giving an illusion of space. We stuck some with glue and some with foam tape. We also shaped flowers for this project. However, ready flowers can be used to.
Below are some close ups of our project.
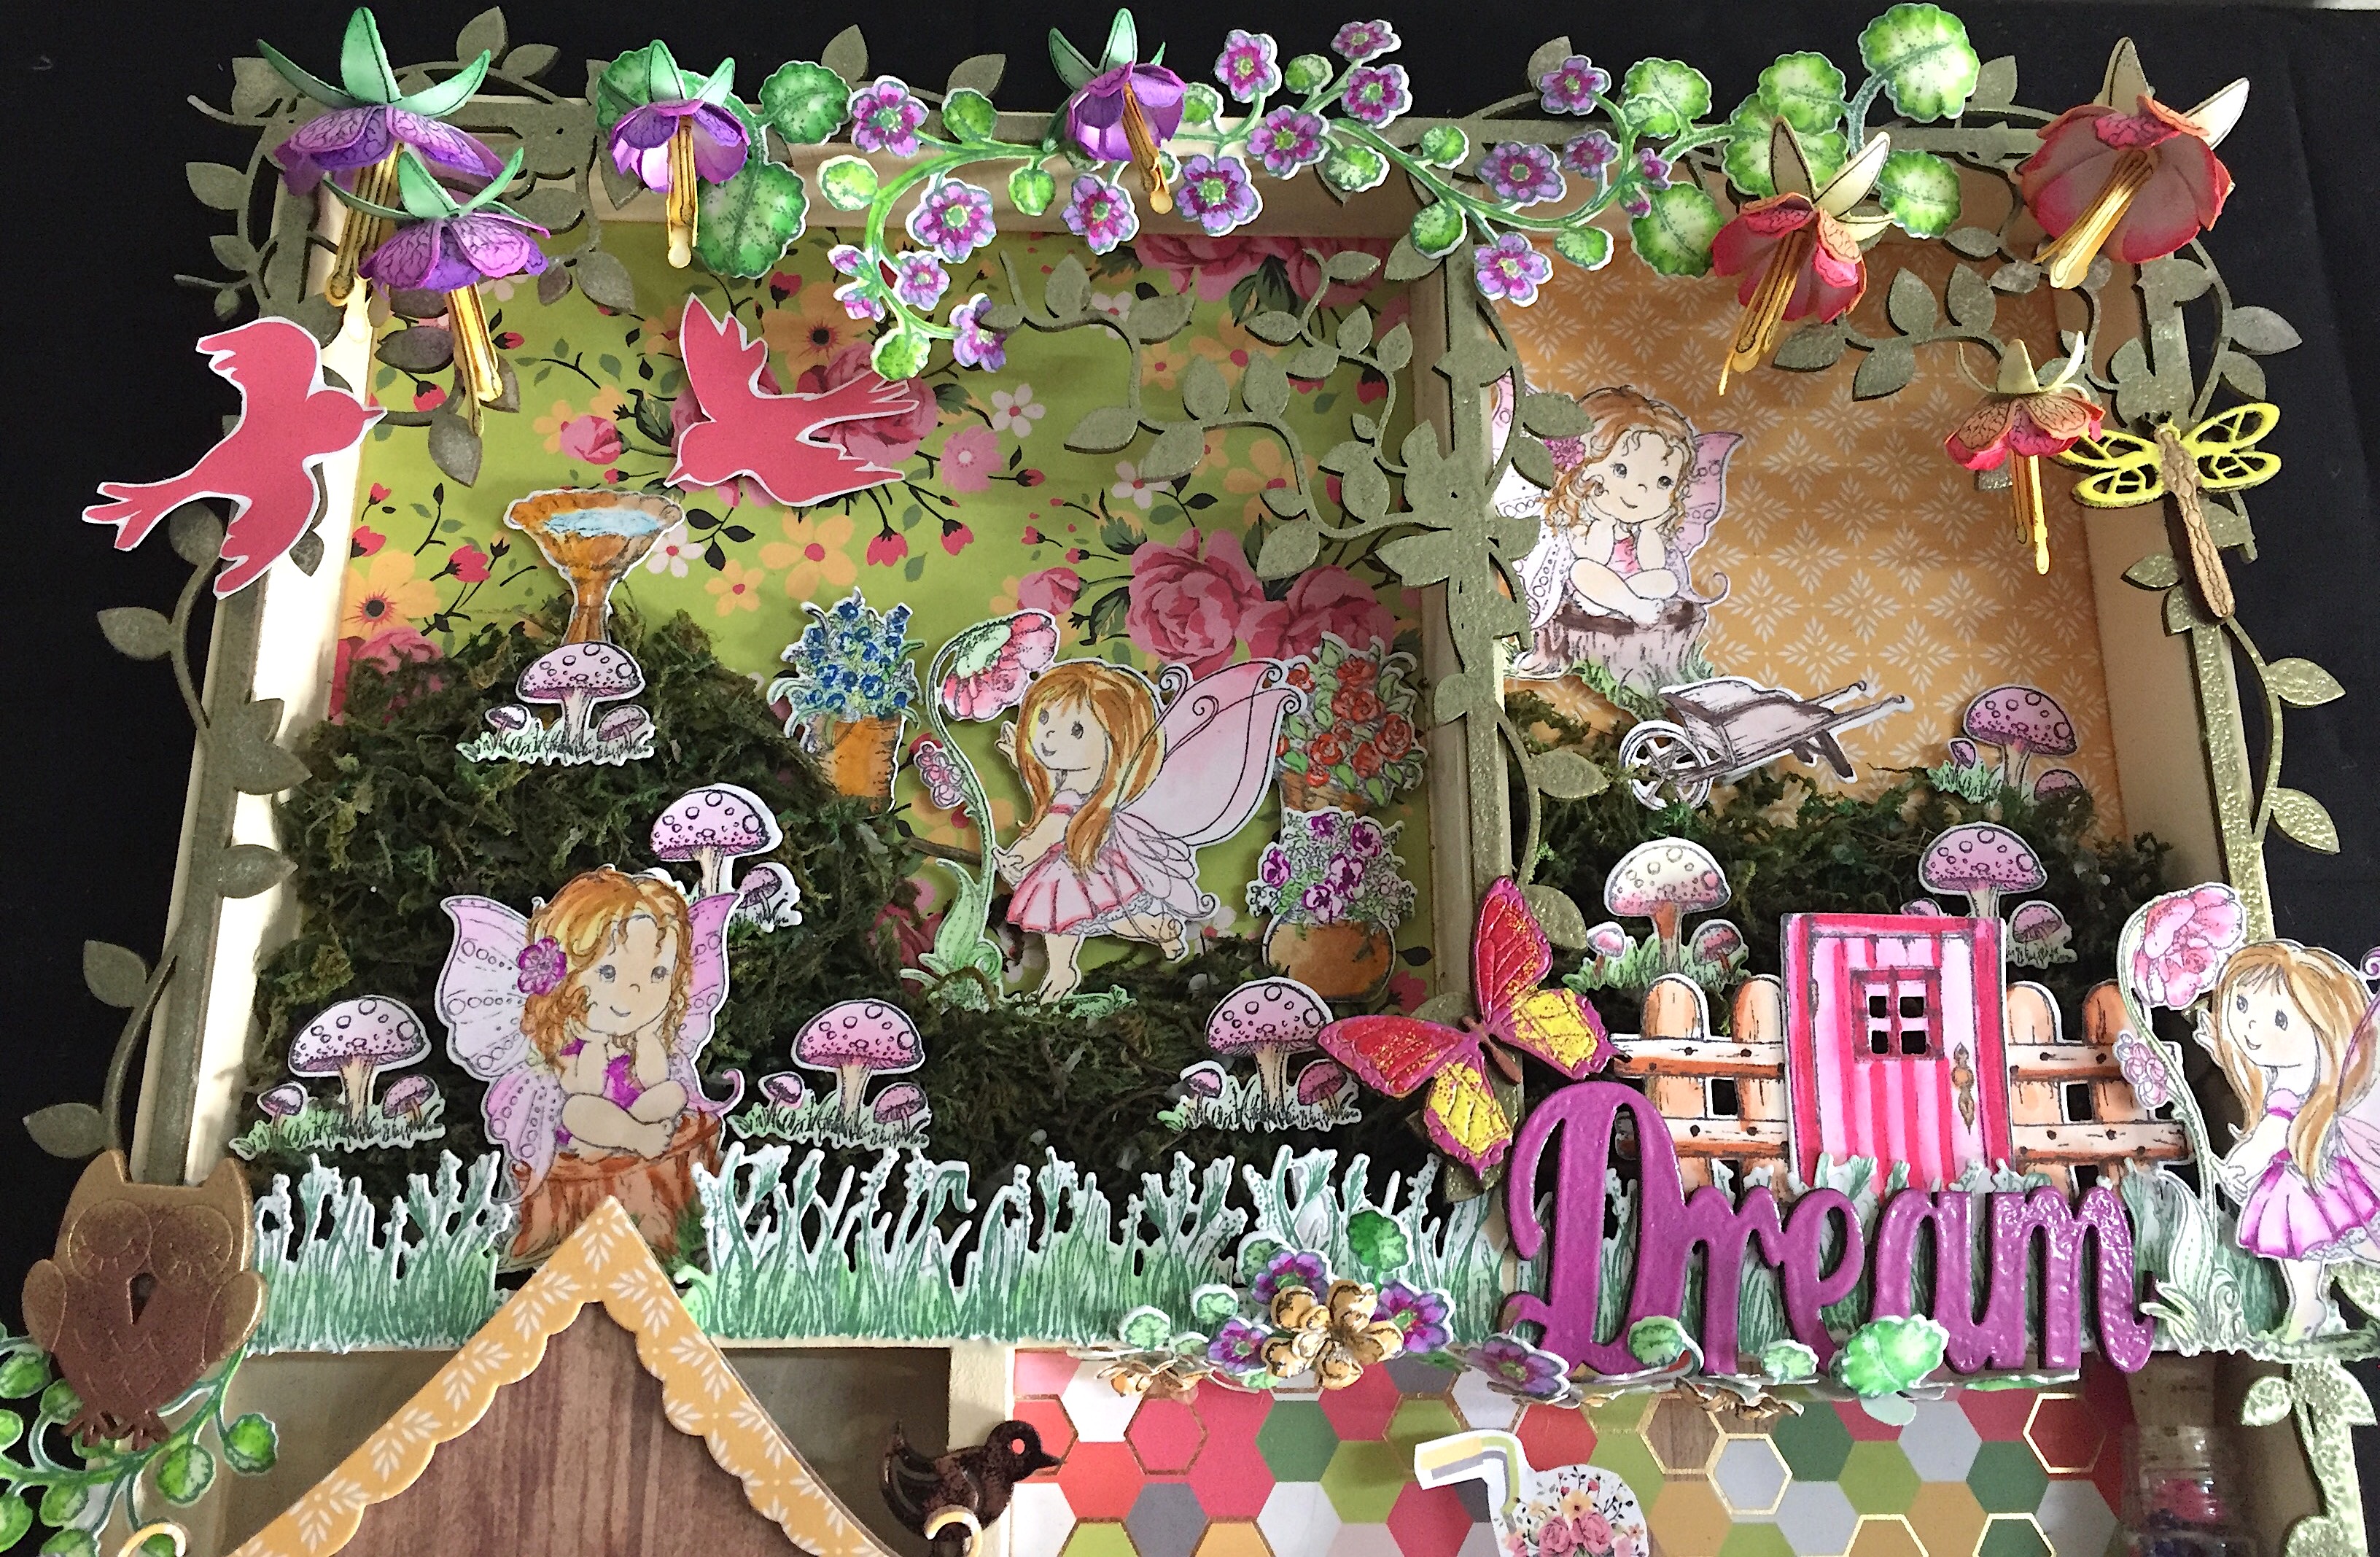
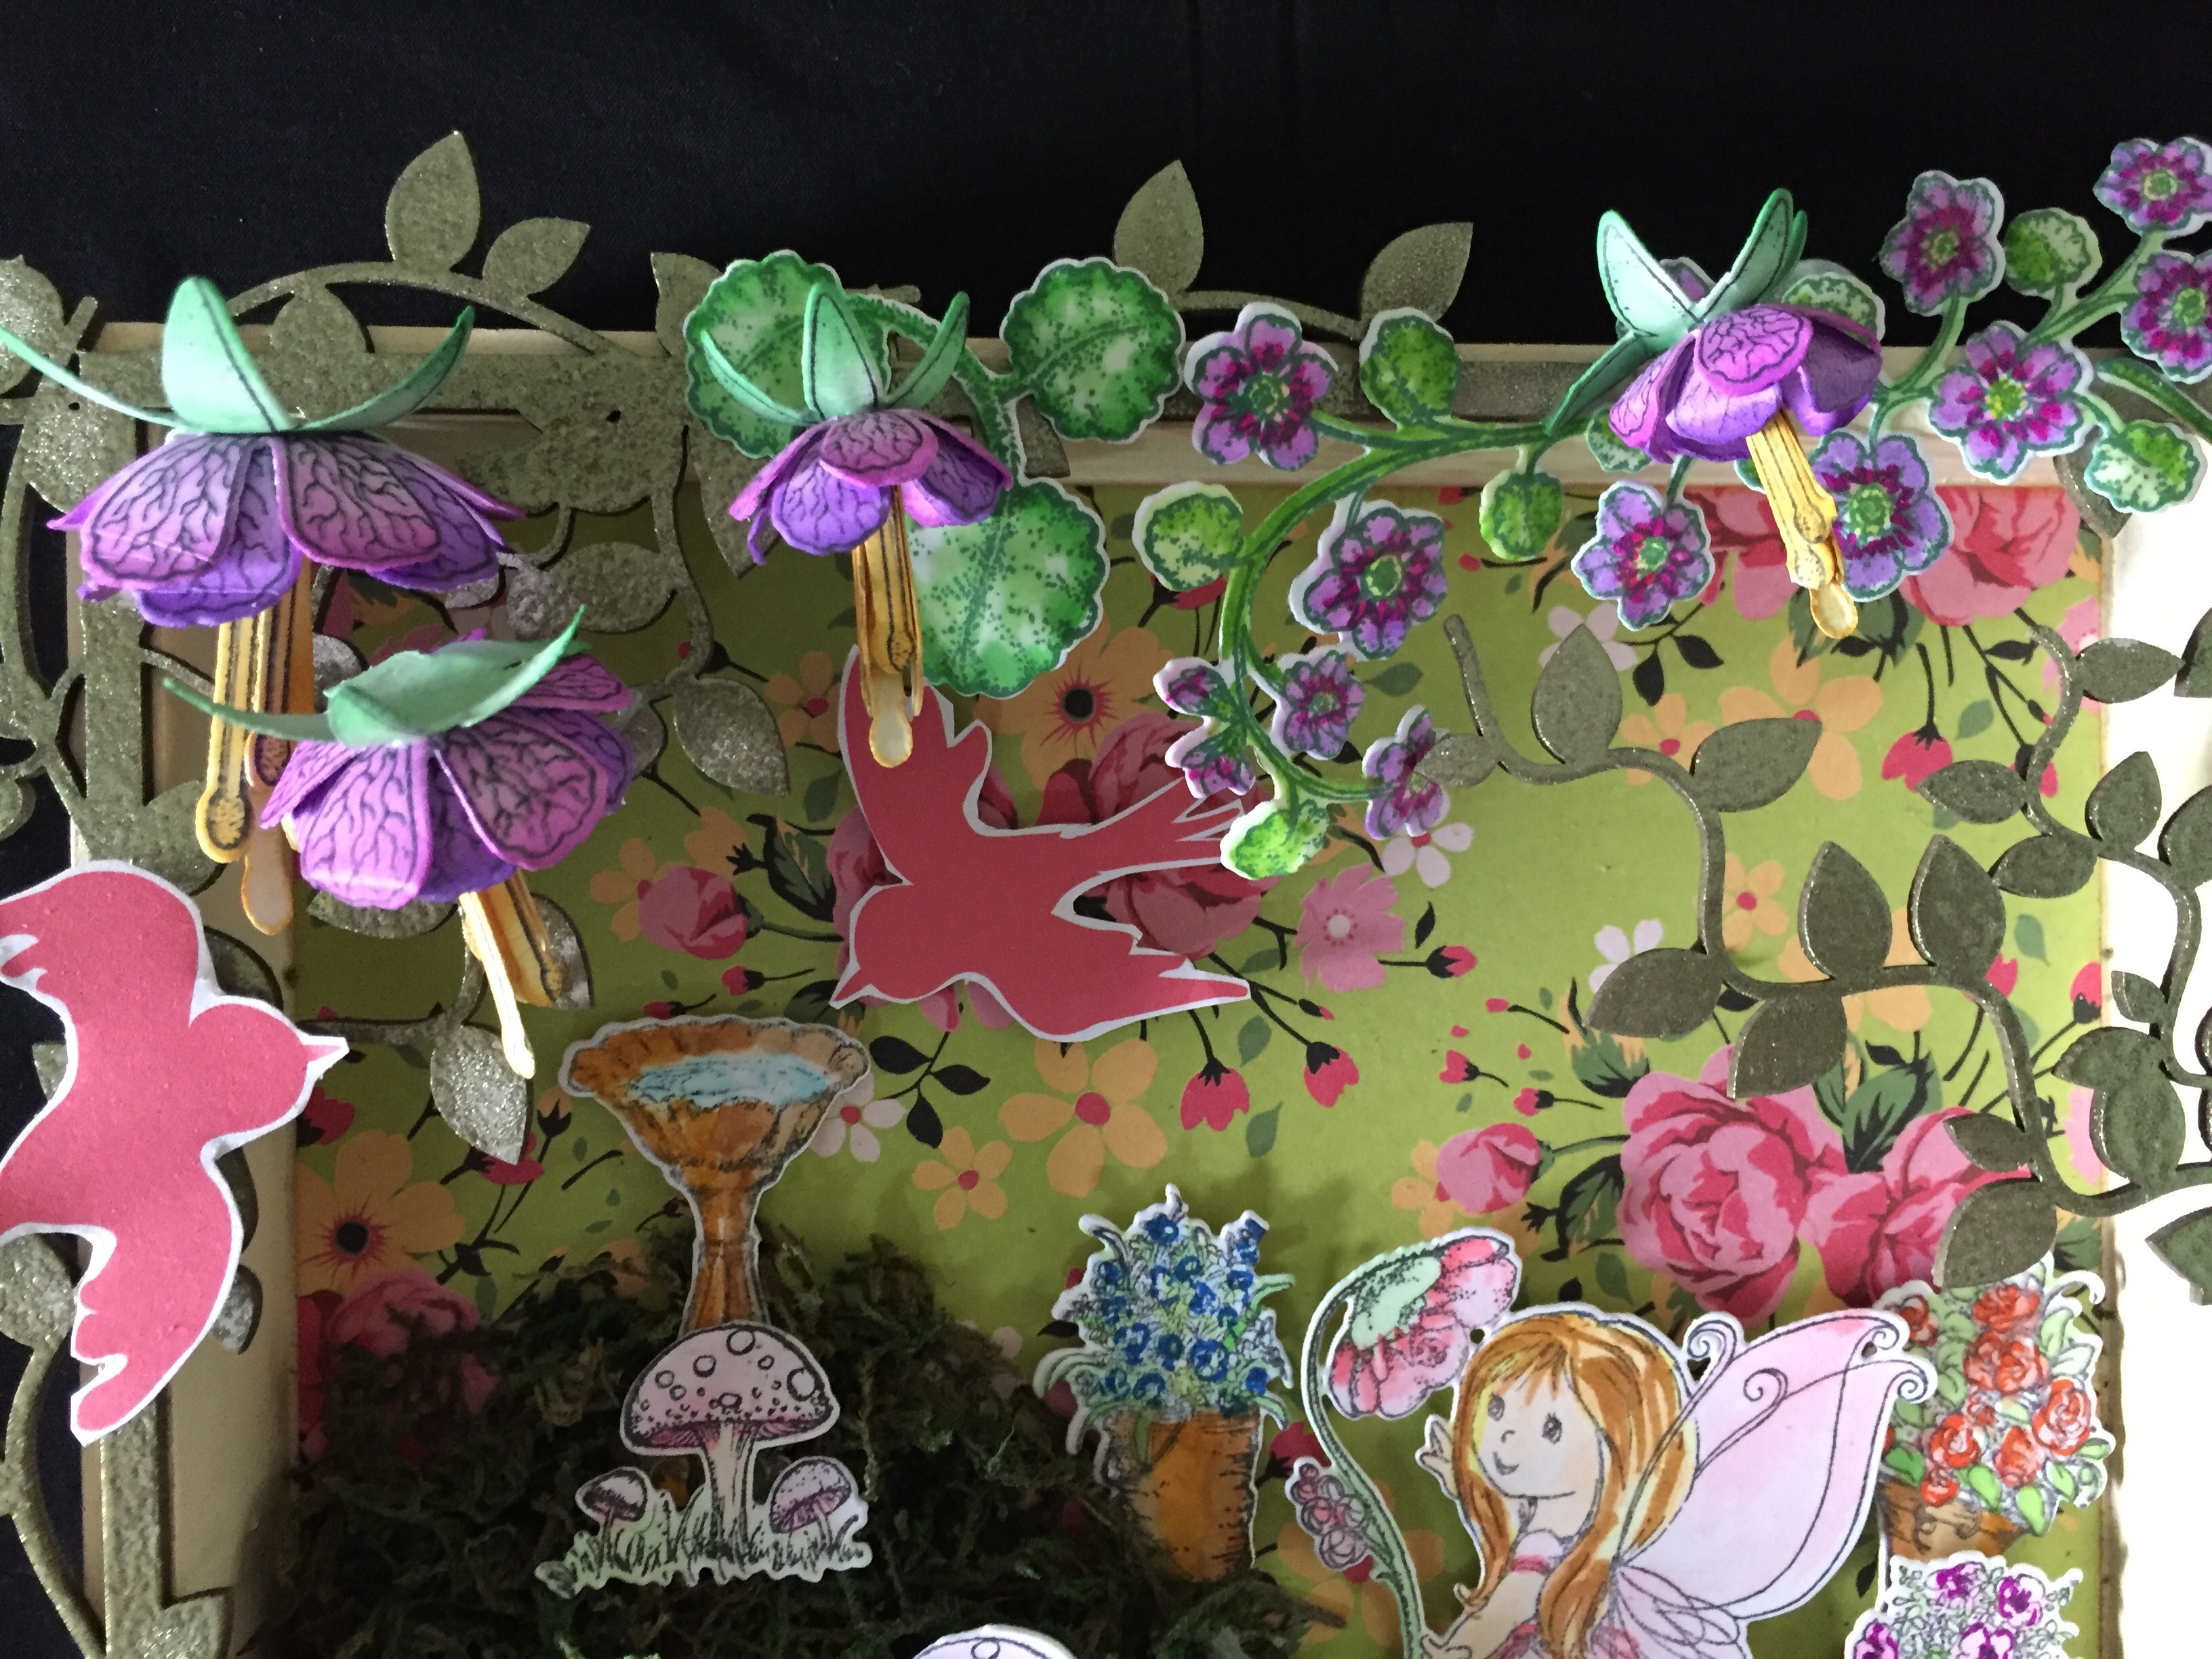
Hope you enjoyed this project!
Sunila & Aditi
This is fabulous.. Loves it totally.. I fell in love with the fairy
ReplyDeleteGorgeous and absolutely magical...loved it!!
ReplyDeleteThank you Afreen and Anushree!
ReplyDelete