Tuesday 28 March 2017

My Garden Shadow Box

Hello Friends,

Today I have a super cute project for you all.I have a full tutorial on the same.This one was like a dream project where I have combined various art forms like decoupage work and clay work.Thanks to Craftsneed store where it was super easy to shop for various crafts together.So let me showcase pictures before I talk more on this.


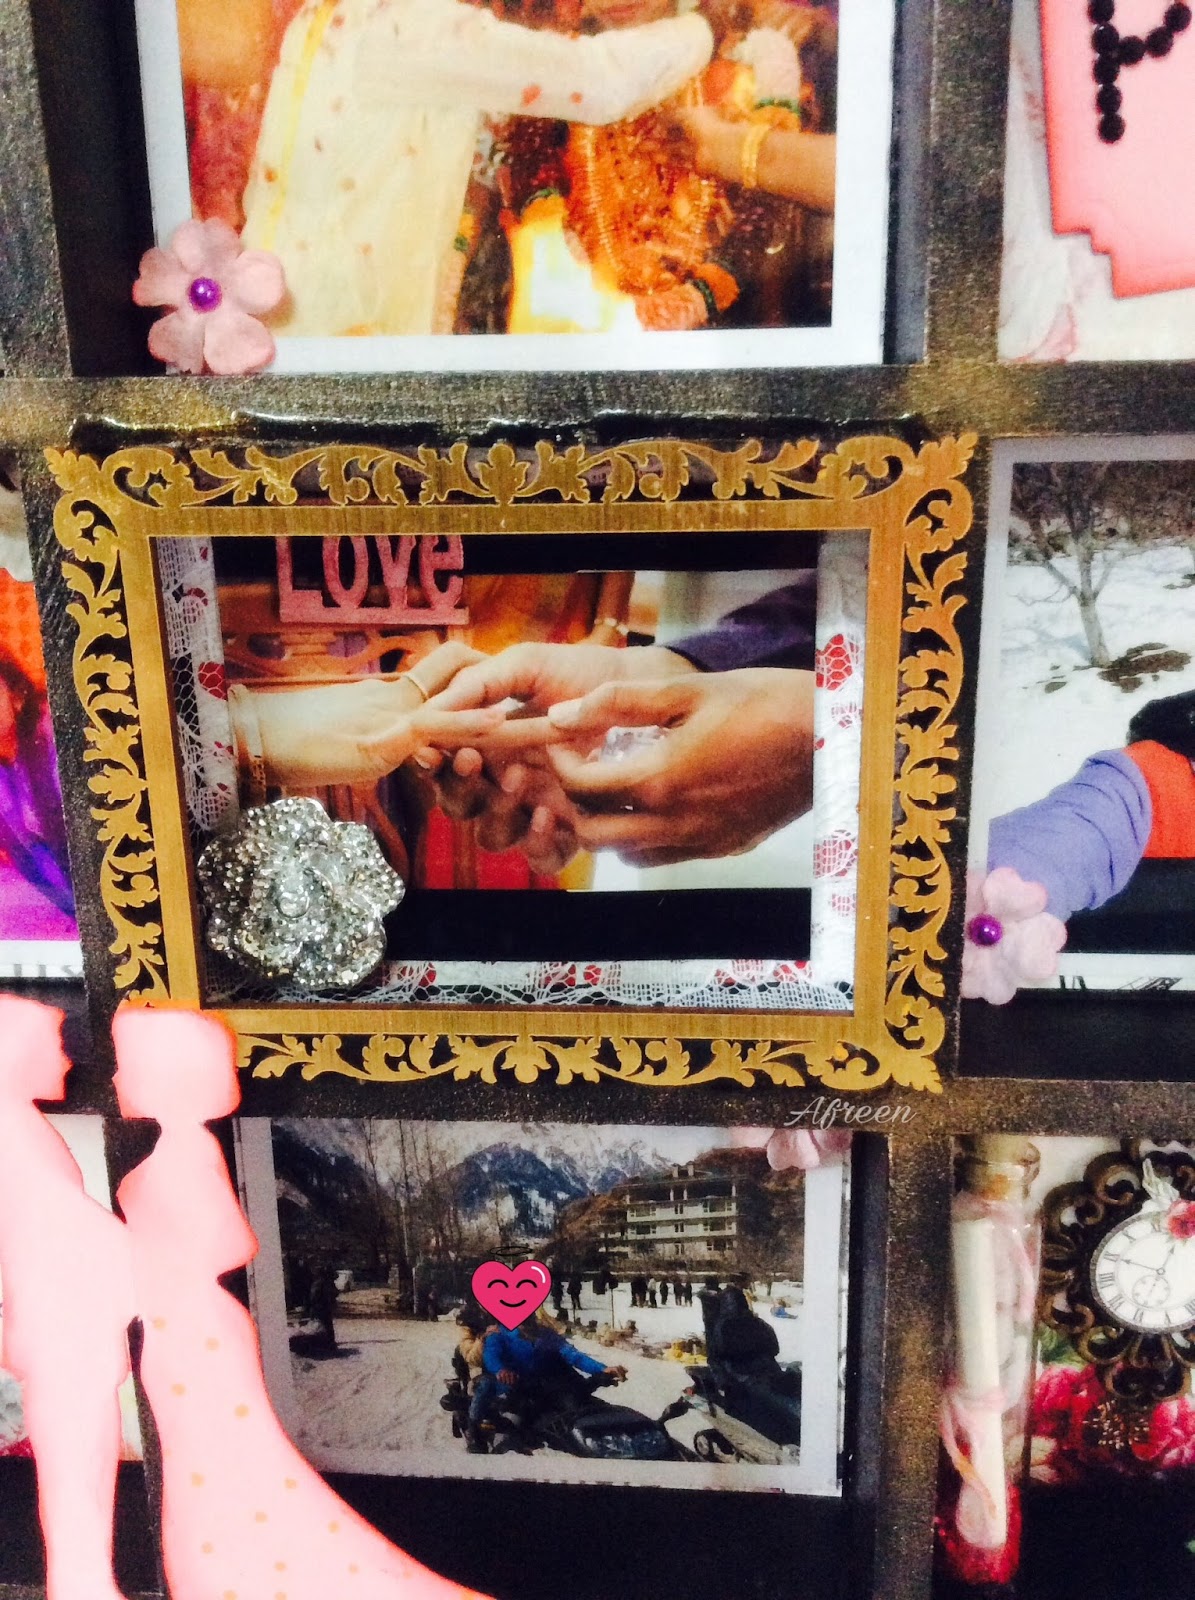
Attaching more pics with close ups


Instructions:
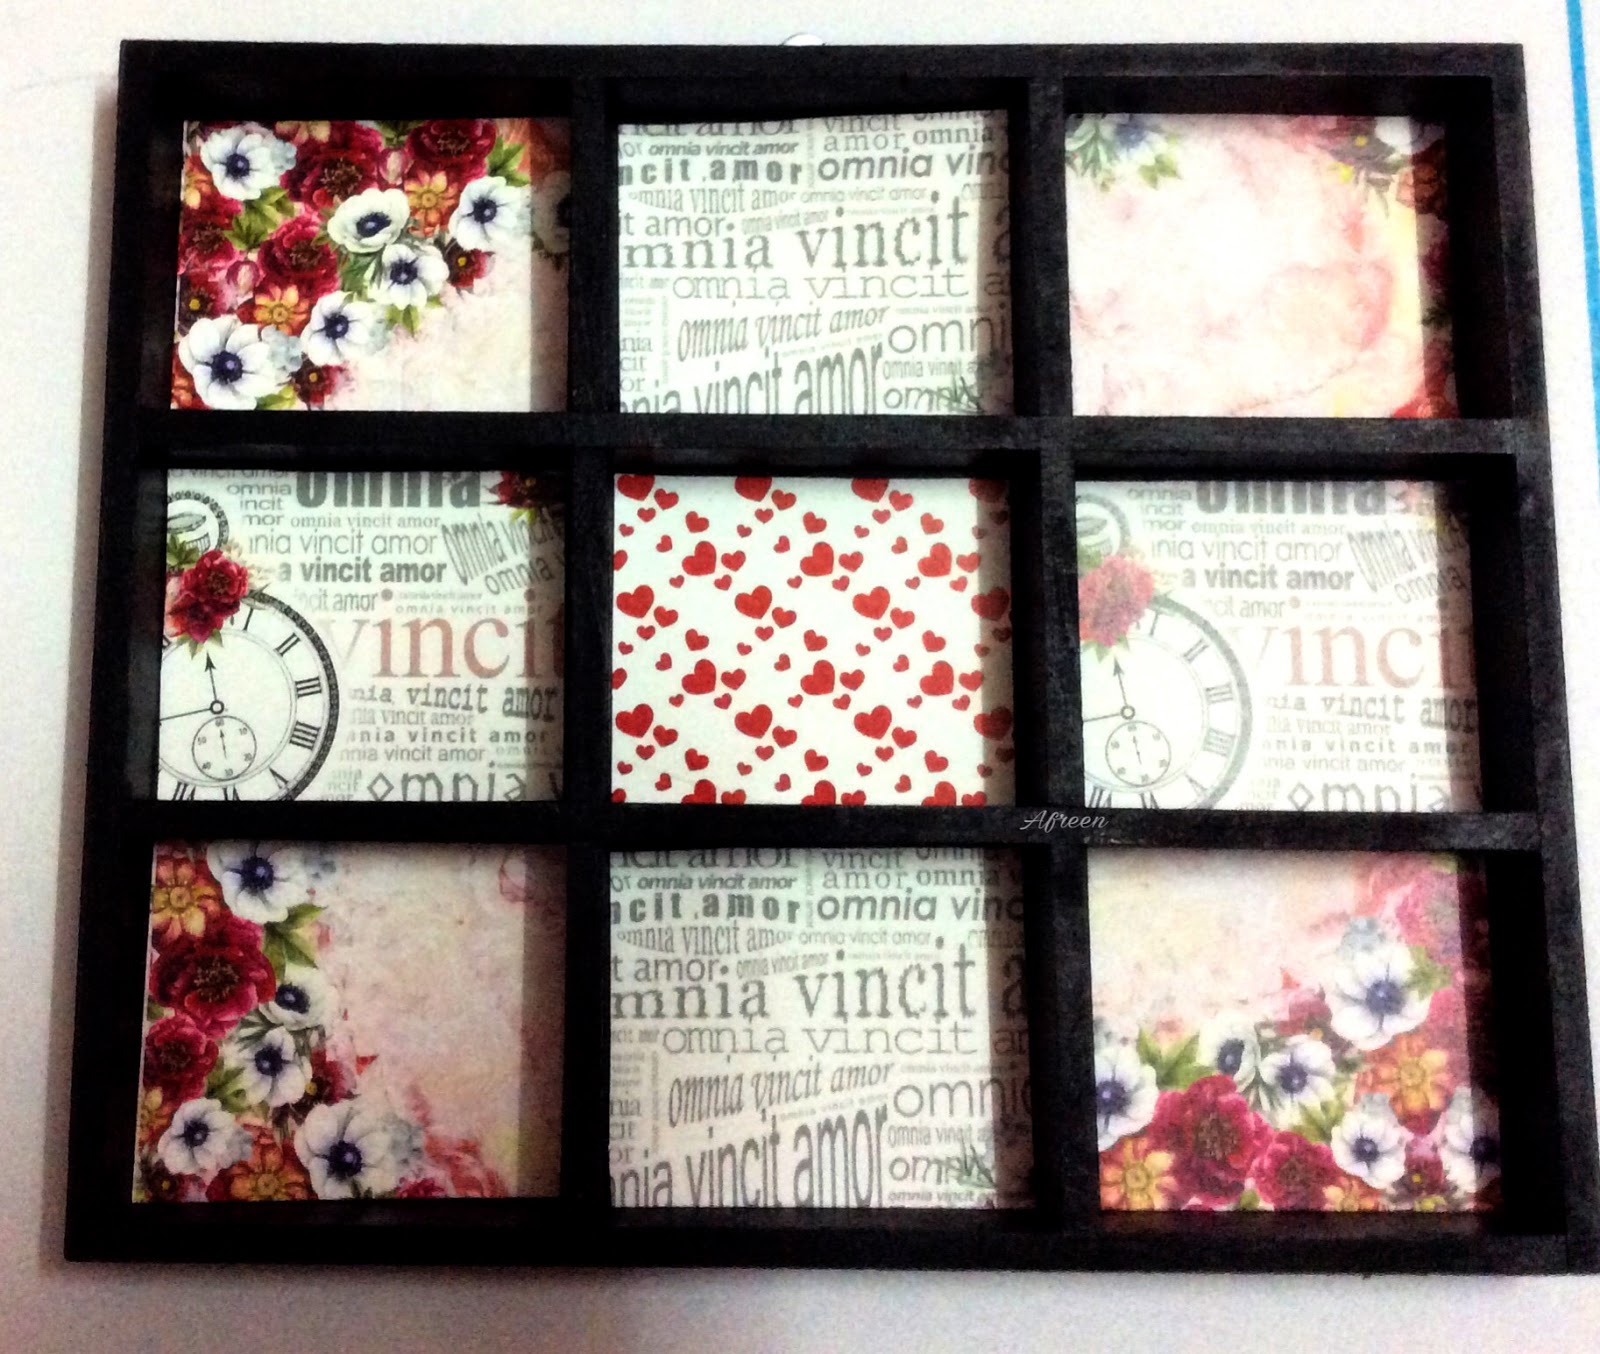
For this project,I have tried making a shadow box myself by using thick chipboard.I have kept the size as 12*10 inches.Then I have attached gold plain card stock after making three partitions on the box.There were some portions which I was not able to cover with paper,then I used Inka gold and painted those small portions with that.


I have used Decoupage sheets from Craftsneed store.I literally loved the prints.They looked just apt for my vegetable and fruits garden.


I have adhered these decoupage sheets to the box with the help of Mod Podge and a Flat brush.


On the third left small section I used Washi tapes by Simple stories which I picked from the Craftsneed store.The background looked just awesome with those.


Once this all was ready ,I started my work on Clay. This clay I am using is Thai Clay which is available in the store. Believe me its super soft and colors mix so well in it.I use variety of oil colors to create my own colorful clay.


Here are my first miniature fruits and vegetables.


To attach to the box I created few animals Like cat,Small piggy,Honey Bee and all.I also made some green leaves and used few embellishments to complete my project.I also made a small garden banner which looked really pretty on the box.Thanks to Craftsneed Dt Afreen Banu for this cute adorable inspiration.She made a banner for her project and i just picked that lovely idea from there.


Few more pics of my project


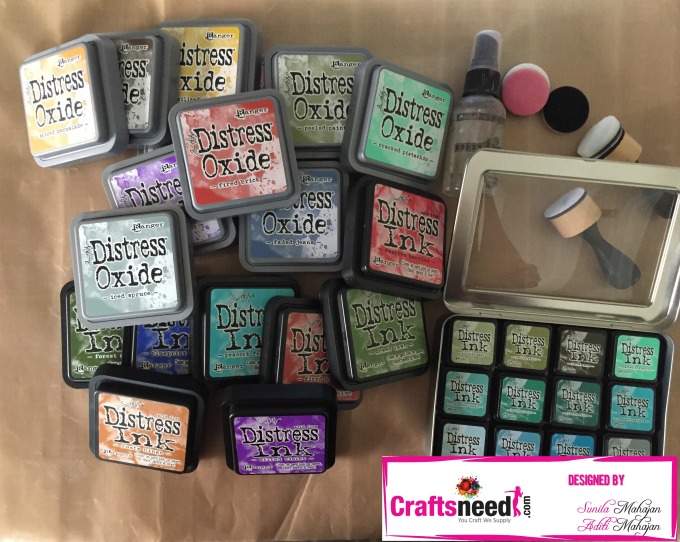
All supplies used are from the Craftsneed store, Here is the link http://www.craftsneed.com/  I am not giving separate links for all supplies as this store has wide variety.Click to believe me.I am very sure you will not be disappointed.

I had super fun making this sweet little project.Hope u liked it too.Have crafty Fun.

Cheers
Anushree


Friday 24 March 2017

Distress Inks and other distress products

Hello everyone,
Today we are touching a very interesting topic in this post- distress products and mainly distress inks by Tim Holtz, manufactured by Ranger Ink.
These are the most sought after products in the mixed media and crafting world. People use them for different purposes, however, we still think there is a lot to explore.
Distress inks come in two sizes the standard 2" ink pads and the minis 1" ink pads. They come in  60 colours both standard and minis. In the standard ink pads there is an addition of one more- Picket Fence (white). These are acid free, water based dye inks- and thats the best part. One can play with them, move them and have fun by just adding water.  
These inks are great for backgrounds, stamping, stenciling, embossing, colouring & shading. They work well with the other products in the distress range like paints, sprays, crayons, markers, etc.
The latest product released are the distress oxides. These are water based dye and pigment fusion inks. When sprayed with water they create an oxidised effect. They can be used in the same way as the distress inks.
main image

We'll take you through few of the different techniques with both these inks with examples.
  1. Backgrounds- Like we said before these are great to create backgrounds. Rub the ink pad onto your craft mat, add two - three colours and spritz water. Lift the colour on your work surface (paper/tag, etc..)  by swirling it on the craft mat. Dry with the heat tool after each lift to set the colour and continue lifting colour. You can go on and stop once you're happy. In between spritz water as that creates some marvellous effects especially where two colours blend.
      

  2. Stenciling - Use a stencil and go over it with ink on the blending tool with foam.  Go in a circular motion. You can cover the surface or stencil randomly. You can use two- three different stencils on one surface. These create great backgrounds as well as ready projects. Another great effect can be achieved by spritzing water through a stencil on an inked background. technique8
  3. Stamping- Yes, distress inks are great for stamping. You can use them with clear acrylic as well as rubber stamps. They take time to dry, so don't touch them immediately as you might end up smudging the ink. These are water based inks remember? So when stamping, mist the ink on the stamp with water slightly to achieve a water-colour effect. You could mist the stamp with water (without any ink) and stamp it on an inked background. This lifts the colour, with the stamp design appearing.technique11
  4. Colouring/Shading- These are great for water-colouring your stamped images as well. Simply use a water brush and the ink. You can use it from the pad directly, for rub some onto an acrylic block/craft mat and use. technique10
  5. Blending- Both distress ink and oxides are great for blending colours. Oxides however blend better than the inks. When working with different shades of one colour, a great ombre can be achieved by blending colours. Apart from that you can create more shades, by mixing colours like paints. technique 7
  6. Distressing- As the name suggests, the inks are great for distressing the surface especially paper to achieve a grungy, vintage or shabby-chic look. This is best achieved with the brown tones for the distress inks. The brown tones form the oxides give a great oxidised/rusty look.
  7. Embossing- Since these inks take time to dry, you can use them for heat embossing. Stamp an image, sprinkle some embossing powder and heat set it. You can also use it for the resist- emboss technique. Stamp and image using versamark and heat emboss it using clear embossing powder. Rub ink using the blending tool, and the emboss magically appears as it resists the inks.technique9technique 5
The other distress products are also as versatile as the inks and can be manipulated with water. They are great to use with each other to create final projects. 
Here are some finished projects using the above techniques:love-tag-fin
technique 3
technique 4
cherry blossom.jpg
In this post we've shared a few of the techniques, and there is still a wide ocean to explore. Hope this  was informative and has you ready to play with your inks. 
Regards,
Sunila & Aditi

Friday 17 March 2017

Memories Shadow box

Hello Everyone..

 This is Afreen here, Today I want to share this beautiful love theme memories shadow box... In this I used many embellishments , flowers to give perfect love theme look... Now here you go..


For making this  shadow box all you  need is
cover this shadow box using any acrylic paint of your choice, here i used camlin black acrlyic paint

Coat acrylic paint using any thick brush 

supplies used
embellishments used few from this

mdf used few from this


Cut some pieces of pattern sheets of your desired size..here i have cut 3.5 x3 inch 


Adhere them inside the shadow box using white glue/glossy accent,
I used glossy accent

this is how it looks after adhering pattern sheets


In this i used few flowers, feathers and mdf frame to decorate , i fussy cut couple image from the paper pack and adhered to the frame


For this partition ,Die cutted  spellbinder labels die in a piece of pink cardstock, distressed the edges with Memento lady bug , used stone alphabet stickers and adhered fussy cut heart shape to decorate.. then added wooden clip on the left corner of the label & adhered to the parition... added few flowers on the bottom right corner .. finally added butterfly Metal charm in the edge of the box

For center , i adhered lace over the pattern sheet and adhered the pic and to add beauty i used flower embellishment, finally adhered frame to it, just to give focus 

 Die cut cherrylynn die in a piece of pink cardstock, then distressed the edges with memento lady bug, and added glittery effect using Normal gold gel pen.. then in a piece of white cardstock i wrote a quote and distressed the edges &adhered to the partition .. finally added few flowers to it.. adhered Key charm on the left side portion of the box


For this, i fussy cut clock element from the paper pack and adhered to the frame embellishment , then filled some sprinkles in message bottle adhered to the left and added few flowers and feathers in bottom right corner..


In between spaces i added pics and some co ordinating MDF shapes...
I added some mica powders using my brush.. jus dab a little in a ohp sheet and pick very minimal quantity and brush it off in the spaces u like... then finally i added handmade banner... in a baker twine i adhered fussy cut fish tail banner and adhered them to the top of the  box

Materials used:
  1. Shadow box (http://www.craftsneed.com/mdf-partition-box-12x10x1 )
  2. Sizzix Big shot Machine ( can be pre ordered,EMI available)
  3. Metal embellishments (http://www.craftsneed.com/metal-charms-2)
  4. Mdf laser cut outs (http://www.craftsneed.com/laser-cut-outs )
  5. Perfect affair paper pack 6x6  (http://www.craftsneed.com/search?q=perfect+affair )
  6. Paper flowers & feathers (http://www.craftsneed.com/pollens-4)
  7. Baker twine (http://www.craftsneed.com/bakers-twin-set-of-6-colors)
  8. Glossy accent (to stick metal emellishments) http://www.craftsneed.com/ranger-glossy-accents-mini
  9. Spellbinder label die (http://www.craftsneed.com/craft-dies-2)
  10. Momento lady bug ink
  11. Laces (http://www.craftsneed.com/ribbons-laces )
  12. Camlin black acrylic paint
  13. Cherrylynn couple die (http://www.craftsneed.com/craft-dies-2)
  14. Martha Stewart scoreboard (http://www.craftsneed.com/martha-stewart-crafts-scoring-board-and-envelope-tool)
  15. Pink cardstock ( http://www.craftsneed.com/search?q=cardstock)

All materials are available at Craftsneed at very Nominal prices
EMI facility available .. Pre orders are taken mail at Craftsneeed@gmail.com
Do check website for all kinds of craft supplies.. Jewellery making materials, paper crafts, crochet, clay art supplies available at craftsneed
International orders are welcome :)

Thanks for stopping by, do leave some love 
With love
Afreen

Tuesday 14 March 2017

Beginners info on jewelry making supplies


Hello Friends,Anushree here

Today I have got you bundles of information on Jewelry making supplies.So if you are someone who always loved seeing others making beautiful jewelry and have wondered how to start doing one then this post will surely help you find your way.Lets start sharing information on this wonderful craft.


Jewelry Tools and Supplies:

Whenever we start any craft,its very important to have right set of tools and supplies.Then only we can achieve desired results.Below I am mentioning few basic tools which everyone should have for jewelry making.

Pliers -- These are probably the one must have supply for making beaded jewelry.This is most often used tool by a jewelry artist.They can be used to create a wide variety of jewelry projects.There are few types of Pliers:
1. Round nose
2. Chain Nose
3. Flat nose
4. Crimping pliers
5. Wire or side cutters

Sharing a picture of pliers I own


Round nose pliers can be used for bending wire and making loops because of their curved nose.
Chain and nose pliers have a rounded exterior nose and flat interior nose,this makes them the ideal choice for compressing and creating a flat surface.They can also be used for fine detail work.
Crimping pliers are designed specifically for crimping beads and making sure they are securely in place.
Wire or side cutters make it easy to cut the stringing materials.

For jewelry making make sure you are using jewelry pliers and not ordinary pliers from local hardware store.Jewelry pliers are typically finer and smaller than usual pliers.In addition,they have highly polished and smooth finish inside the nose.This is important because this is what actually comes in contact with your beads.

Wire,Chord or chain -- 


Choose these based on the project you want to make and types of beads you are working with.Beading thread comes in variety of sizes and colors.There are varieties that stretch so that you can make stretch bracelets and some do not,which are perfect for bead stitching and bead loom projects.

Beading wire -- It is right choice for projects that include wrapped loops,wire wrapped beads and more.We need to choose right gauge for our particular project. Thick jewelry wire is typically 14-16 gauge and ideal for large shapes,bases and clasps.Medium jewelry wire is between 18-20 gauge and best for  average sized jump rings and clasps.Thin wire is 24-26 gauge and must for delicate,detailed pieces.

Jewelry Findings


These can be essential because they are what keep everything together!These are the small parts used to join the components together to complete the project.They come in a variety of designs,colors and styles.Some of the most common includes :
1.Clasps,which come in a variety of styles and are an easy way to finish off project by attaching two sides
2. Bails,which allows to create pendants from variety of materials.
3. Connectors,these are decorative ways to connect two sides of a project.
4. Jump rings are probably most popular findings.Use them to attach clasps to chains or cord ends,attach beads to chain in clusters,fasten pendents and charms,attaching earrings to fish hooks,create unique jump ring jewelry.
5. End cones are decorative ways to finish off a project and connect multiple strands of beads.
6. Eye and head pins are essential for creating own bead links,head pins,charms and bead drops.
7. Caps,they have variety of uses,including dressing up of beads,show off focal pieces,corral multiple strands of beads or provide a place to attach a jewelry clasp.
8. Crimps,which secure beads onto a strand and can also be used to end bead strands with a loop.


Beads -


Beads for jewelry making is where it gets fun and we can show off our creativity.Selection of beads speak our personal style.Beads come in a wide variety of shapes,sizes,styles and colors,so the options are endless!Some of the common bead materials include:
* Ceramic
* Crystal
* Bone and horn
* Glass
* Metal
* Pearls
* Resin
* Rhinestone
* Plastic and acrylic
* Shell
* Wood

If you are just starting out with beaded jewelry making,invest in medium or entry level type of tools,price wise.You don't have to break the bank with most expensive options in the market,but having a good set of tools you can rely on will make the process a little easier.Many of the essential supplies are sold in kits or sets.

All my supplies are from Craftneed store,You can simply click on link provided and start off this beautiful craft http://www.craftsneed.com/jewellery

Hope you have enjoyed this post.Kindly leave some love and do comment for queries.Will try answering asap.

Happy crafting!!
Anushree 


a quick candlight