Saturday 31 December 2016

Kimono style Pregnancy hanger record book

Hi all,

And yes its time to say goodbye to 2016 which was such an awesome year to all of us.Before we leave 2016 here ,lets wrap it up with another lovely project by me.This one is my favorite till date. Lets have a look at some clicks


So this is like i have first dressed up a baby hanger in kimono style using few of my stitching skills.Decorated the front of dress with Papericious Mom to be paper pack cut ous. The below hanging album is also created with same Papericious paper pack.To hang it to the main hanger base ,I have used ring binders.

Attaching more pictures which will describe the whole making efficiently.


I have used Pink netted cloth with some satin fabric to create the dress.


Below is the pic of back of the hanger.


I also created a shaker element for front of the dress.


Below is the picture where i have tried making mover element with the help of external die cut.


Below is the sheets I used for making the record book.


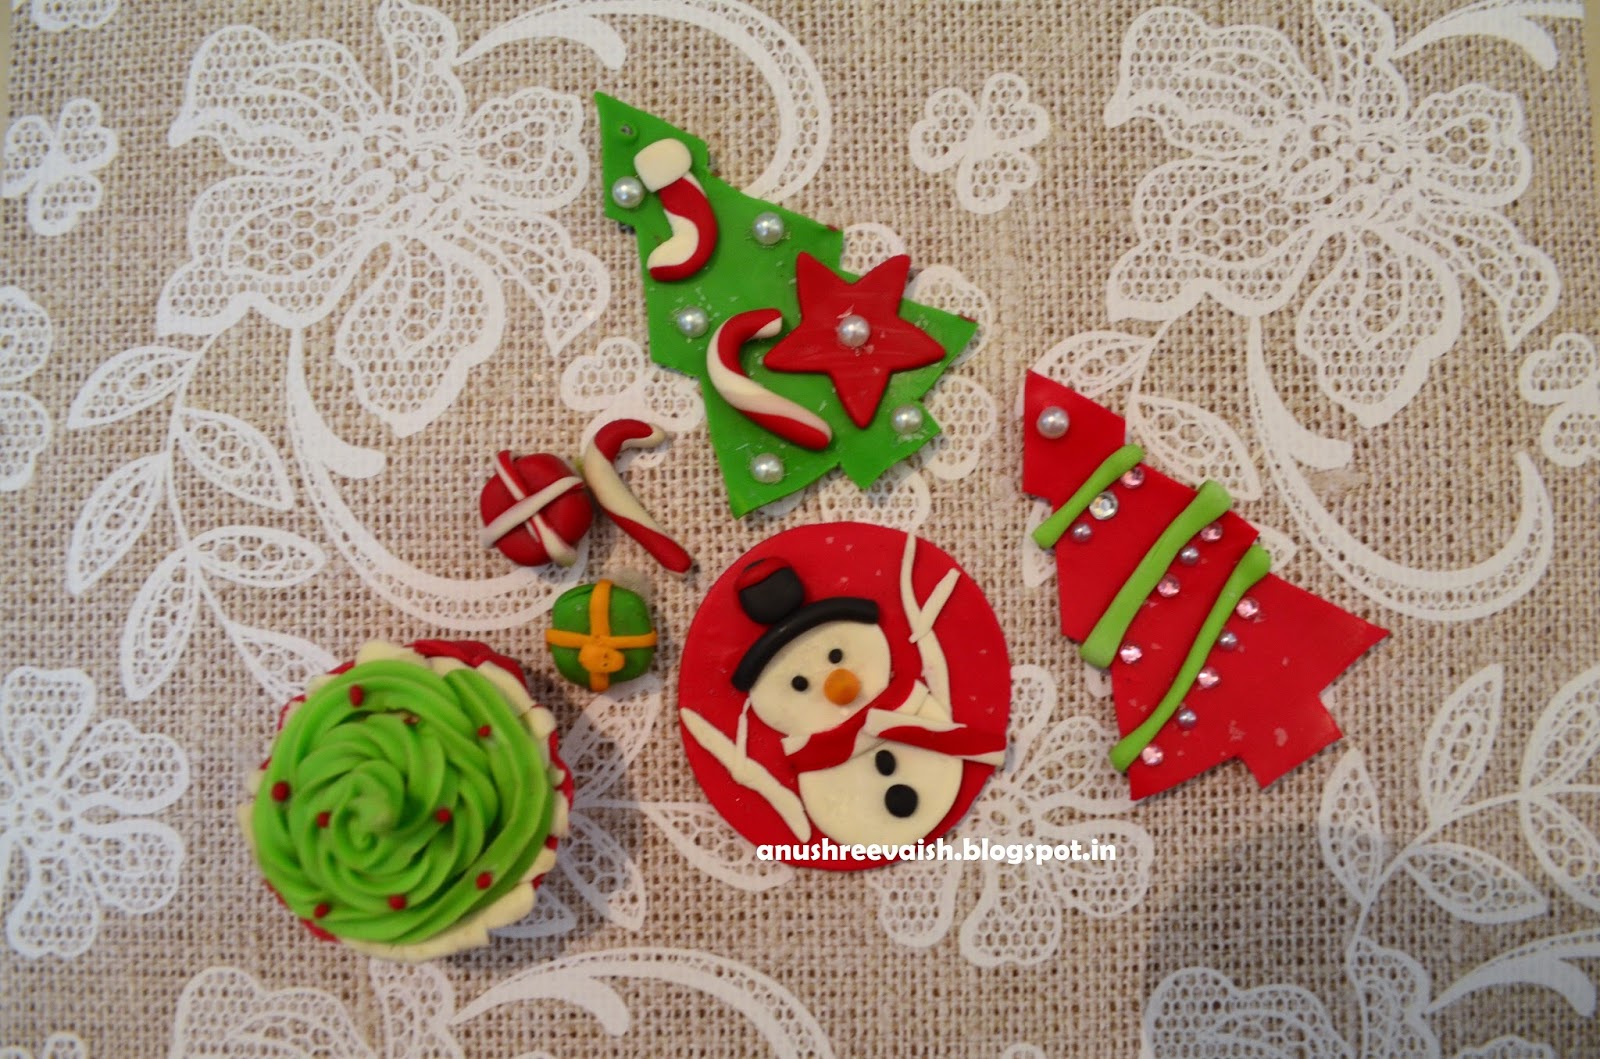
These cut outs shown below are from same paper pack.


Now some final images of my work.


Below is a picture of back of Hanger where I have used Ribbons to create that actual Kimono style.


For this project,I have used Papericious Mom to be paper pack,Ribbons,Ring binders,Card stocks and few embellishing flowers .All products are from the store http://www.craftsneed.com/ .

Hope you all enjoyed it.Wishing once again a very happy and prosperous new year.

Happy crafting.See u soon in 2017.

Hugs,
Anushree


Friday 23 December 2016

Paper pattern from Nakshatra designz

Hi crafters,
This is the first post from our store. So to start with I will publish some interesting release from the  brand  Nakshatra designz. These are December month edition. Mesmerising designs, must try your hands on these papers for your projects like cards, albums, decoupage, diy crafts., etc
 This is the first edition of this December month "In Love". This month edition is based on love theme.


This beautiful 12"x12" paper pack contains 8 designs, 16 sheets, per designs 2 sheets . The thickness of the sheets is 220 gsm. The same designs also comes in the pack size of  6"x6".

 The second release is "AMOR DE ORO - Golden Love". The colour full red, black and golden combo is really inviting . I'm sure if u have this on you hand u can never stop your creativity, will try something interesting to gift to your loved ones.


This eye catching 12"x12" paper pack  contains 12 designs, 24 sheets , 2 sheets per design. The thickness of the sheet is 220 gsm. The same designs also comes in the pack size of  6"x6".

The final release of this month is Journal cards/tags "Chalkies love". These are note cards, size 3"x 4" 24 cards, 12 designs, each design 2 sheets. These pocket cards are very useful for adding accents and sentiments while making your albums, cards, etc., 


 Other view of the cards


Wow!! isn't it treat to  your eyes? I totally love them all. Hope the same from your end too. so why wanna wait. start shopping right now on your favourite Online crafts store http://www.craftsneed.com/
Happy crafting!!!


Merry Christmas !!

Ho Ho Ho!! Merry Christmas to all..Christmas is here, the season of spreading love and joy. It’s the most wonderful time of the year ..Here’s wishing you all from the full team of www.craftsneed.com , May all the sweet magic of Christmas conspire to gladden your hearts and fill every desire.

My Today’s post is all about Christmas..So let me first show you what I have in my treasure this Christmas for you all.


Did you like it? Honestly I completely loved making it .Let me take you through some close ups followed by instructions.


Instructions:  For jar project and cupcake, I have used polymer clay and Thai clay by Craftsneed. Believe me its super soft and ideal for baking as well. While polymer clay needs to be baked , Thai clay is an air dry clay which doesn’t needs any baking process. Here I will describe how to work with both.

For Polymer clay – I took desired color and straight after opening the packet passed it through my pasta machine. The pasta machine has two rollers through which clay passes and extrudes out as a flat sheet. All pasta machines have roller settings  which helps in getting required thickness or thinness of the clay sheets. I passed my clay approximately four times through the machine to smooth en it up (This is also known as curing process)and get perfect finished texture. After that I started cutting it into desired shapes and sticking layers as and when required. As the clay is still not baked , it’s still sticky to hold layers without any glue.


 Once finished with the polymer clay embellishments, now we need to bake it to make it sturdy . To bake polymer clay creations, we need an oven that can be accurately programmed to generate temperatures between 215°F (102°C) to 325°F (163°C). This range is sufficient to bake any polymer clay item. You can use a regular oven, a toaster or a convection oven BUT not a microwave oven. I will still suggest if you are a first timer, try baking smaller pieces first. I have used parchment sheet under my baking objects. So preheat the oven and place the clay objects inside. Heating time depends on the thickness of the clay project. I baked for 30 minutes.


Polymer is quite soft when removed from the oven. It needs to be cooled completely to reach its final hardness. When polymer clay is cured correctly, the cooled pieces will be difficult to break, but if it is thin it might bend easily.

Thai clay: Now I will describe the process of Thai clay as well…rest all same till curing and sticking layers to clay, after that we need not to bake it. It is an air dry clay, so just leave it overnight to gain strength.


After my clay pieces were ready I stuck some pearl embellishments with the help of clear glue. I also did a small Christmas card with the help of Dies,stamps and much loved Zig colors and adding that snow effect with the help of snowflake paste.


I have put diamond dust in the jar first as base which will also hold my clay embellishments. I have not stuck my clay pieces to dust in the jar but I feel that can be done if needed.

Below is list of supplies I have used for this full project.

1           .    Glass jar, A small tray, pebbles
2           .    Polymer/Thai clay by Craftsneed : Red,Green,Orange,White and Black
3           .    Pearl embellishments
4           .    Clear glue
5           .    Diamond dust by Twinklets
6           .    Clay tools By Craftsneed
7           .    Pasta machine,Oven and parchment sheet
8           .    Spellbinders Christmas tree die
9           .    White cardstock
1           .  Snowflake paste
1           .   Stamp from my besties
1           .  Zig colors

All supplies are available at www.craftsneed.com . You can always place a preorder .

Hope you enjoyed it. Please leave love and comments below.

Crafty hugs,
Anushree


Tuesday 20 December 2016

Fairy Garden

Hello and welcome everyone.
Today I have made a DT project for craftsneedindia.blogspot.. Its my first post for it and I am bit nervous and excited too..

Today I am gonna take you to land of fairies. Yes you heard it right, Fairy Land. And I have its tutorial too. So sit back, relax and enjoy the tutorial.
Firstly, the final look of my project.


Instructions: Take a waste cello tape roll and color it Green.Now for base, take the inner diameter of the roll and fix that circular board inside it and glue it so that it wont come out. and paint it with same color from outside.


Now on to next step of making grass. Take a green colored paper and cut the strips from it in shape shown below:


I have taken 3 strips of A4 size. and for the first strip start sticking it to the inner wall of roll. And for the next layer, glue to the bottom tip of strip, vertically and not on sides.Then stick the strip vertically inside in the circular shape co-coordinating with the roll. You can make it as dense as you want.Now lets move on to main thing, that is Fairies and flowers. I have Stamped, colored and fussy cut few fairies and birds. The first image shows the stamped images. I used different shades to color all the fairies as I wanted it to be colorful. For this particular fairy, I used DI Frayed Burlap, tattered rose, Memento Tangelo, Lilac poises and Dandelion. I colored them using KOI water-brush.


You might notice, the fairy shown in the second pic is having a layered dress. I tried to give it a 3D look by adding dress layers to it. (hope the pic shows the effect).

 I made few different flowers from Iris paper available at http://www.craftsneed.com/

 The best part of this project, the secret message. I made a mini accordion fold card using card stock and Nakshatra designs paper available at www.craftsneed.com/nakshathra-designz

Pinned it with a matching U-pin, that also from CraftsNeed. I just loved this pin and the way it matches with my theme..

Now, one more way to hold secret message. See the pic below and you will understand all by yourself. 
One thing you should take note of that the color of card stock I chose is Green, as it matches with the grass and is not easily visible at first sight. So it does really keep secret.


Now, all fairies, flowers, birds, and messages are ready to go in the garden. but before that lets decorate the garden from outside too.
I have used a lace to adhere the border. 
and used the pink small flowers on side. and used few pearls to add some bling.
Now, start arranging all. This part can be done as per your wish. I started with the largest fairy standing at the backside. and placing them one by one and you are DONE !!

P.S. You are not sticking any fairies and flowers to the roll if you are keeping the hidden message below them. If you do so, your message won't come out and it will be hidden forever !!


I love the way fairy is putting her hand in the flower.


List of Supplies :

Cardboard and cello tape Roll
Card stock
Fairy Stamp set
Iris paper
Distress inks (for coloring the fairies and flowers)
Memento inks (for coloring the fairies and flowers)
Pearls, Laces
Nakshatra Designs Paper stack
Message bottle


All supplies used are available on the site.You can also place a preorder. Hope you like my project. Do share your views in comments.
Thanks,
Hugs,
Riddhi Shah

a quick candlight