Hello crafters,
Today I am posting a tutorial of my second month 4th project as DT. When I had received this months crafting haul from craftsneed I was awestruck at those wonderful pattern papers designed by Rhonna Farrer "Fly your wings and Fly"... loved the print on it carried. The hot air balloons on them were the one that pleased my eyes since its my dream to take my flight once in my life time in these balloons...
By the way getting back to my project it seemed endless imagination to work with these goodies I chose these balloons first and thought of giving a vintage look to it into fusion if card and shadow box. this project was super easy and quick.
Please do leave your comments if this pattern paper was justified by the work I did on it....


here goes the method...
I cutout the printed elements from the paper and used the striped print as my background Once cut all these I used blend of my distress inks and starting with lightest in the center with darker tones at edges. I used photo vintage distress ink on my MDF cutout to match the base of chocolate box . I chose a chocolate box which was quite sturdy and about the size of 5.75" * 5.75". I stuck the base of inside box with those stripe print design with the decoupage glue and let it air dry.

here I used the thai clay from craftsneed and used birds and hot air balloon. let them dry and primed them with white gesso and colored them with acrylic colours then by brushing off with a sponge using vintage distress ink to give a shady look. For cloud since I didn't had any dies I had drew clouds on left of scrape paper and fussy cut them. these were all different size again coloured with distress inks.


once all the elements were inked, clay embellishments were ready and background too was dry I started sticking on my box placing them appropriately positioning them with double sided foam tape to gave them a dimension.
for sentiments I used again the scrap papers of same pattern papers stamped and diecut using dies and stamps from marienna collectables which gives apt vintage fonts. I stamped fonts (miss you and bon voyage) using vintage photo distress ink and glued them on the sides of box . Once all cutout elements were adhere then MDF swirls cutouts were too glued at the center giving a look of doorway to the entire box. Below is the final picture for the inside lay of box.

For the outer box and base of box I needed to cover it with something to hide the chocolate labels.
I cut the 4 strips for sides and a square for front. After random inking and stamping on them I snipped at the centre of square piece and cut halfway through diagonal and folded backwards these 4 triangular edges to create a tear open front . later inked all the edges and left over floral cutouts too placing them at the center of opening.
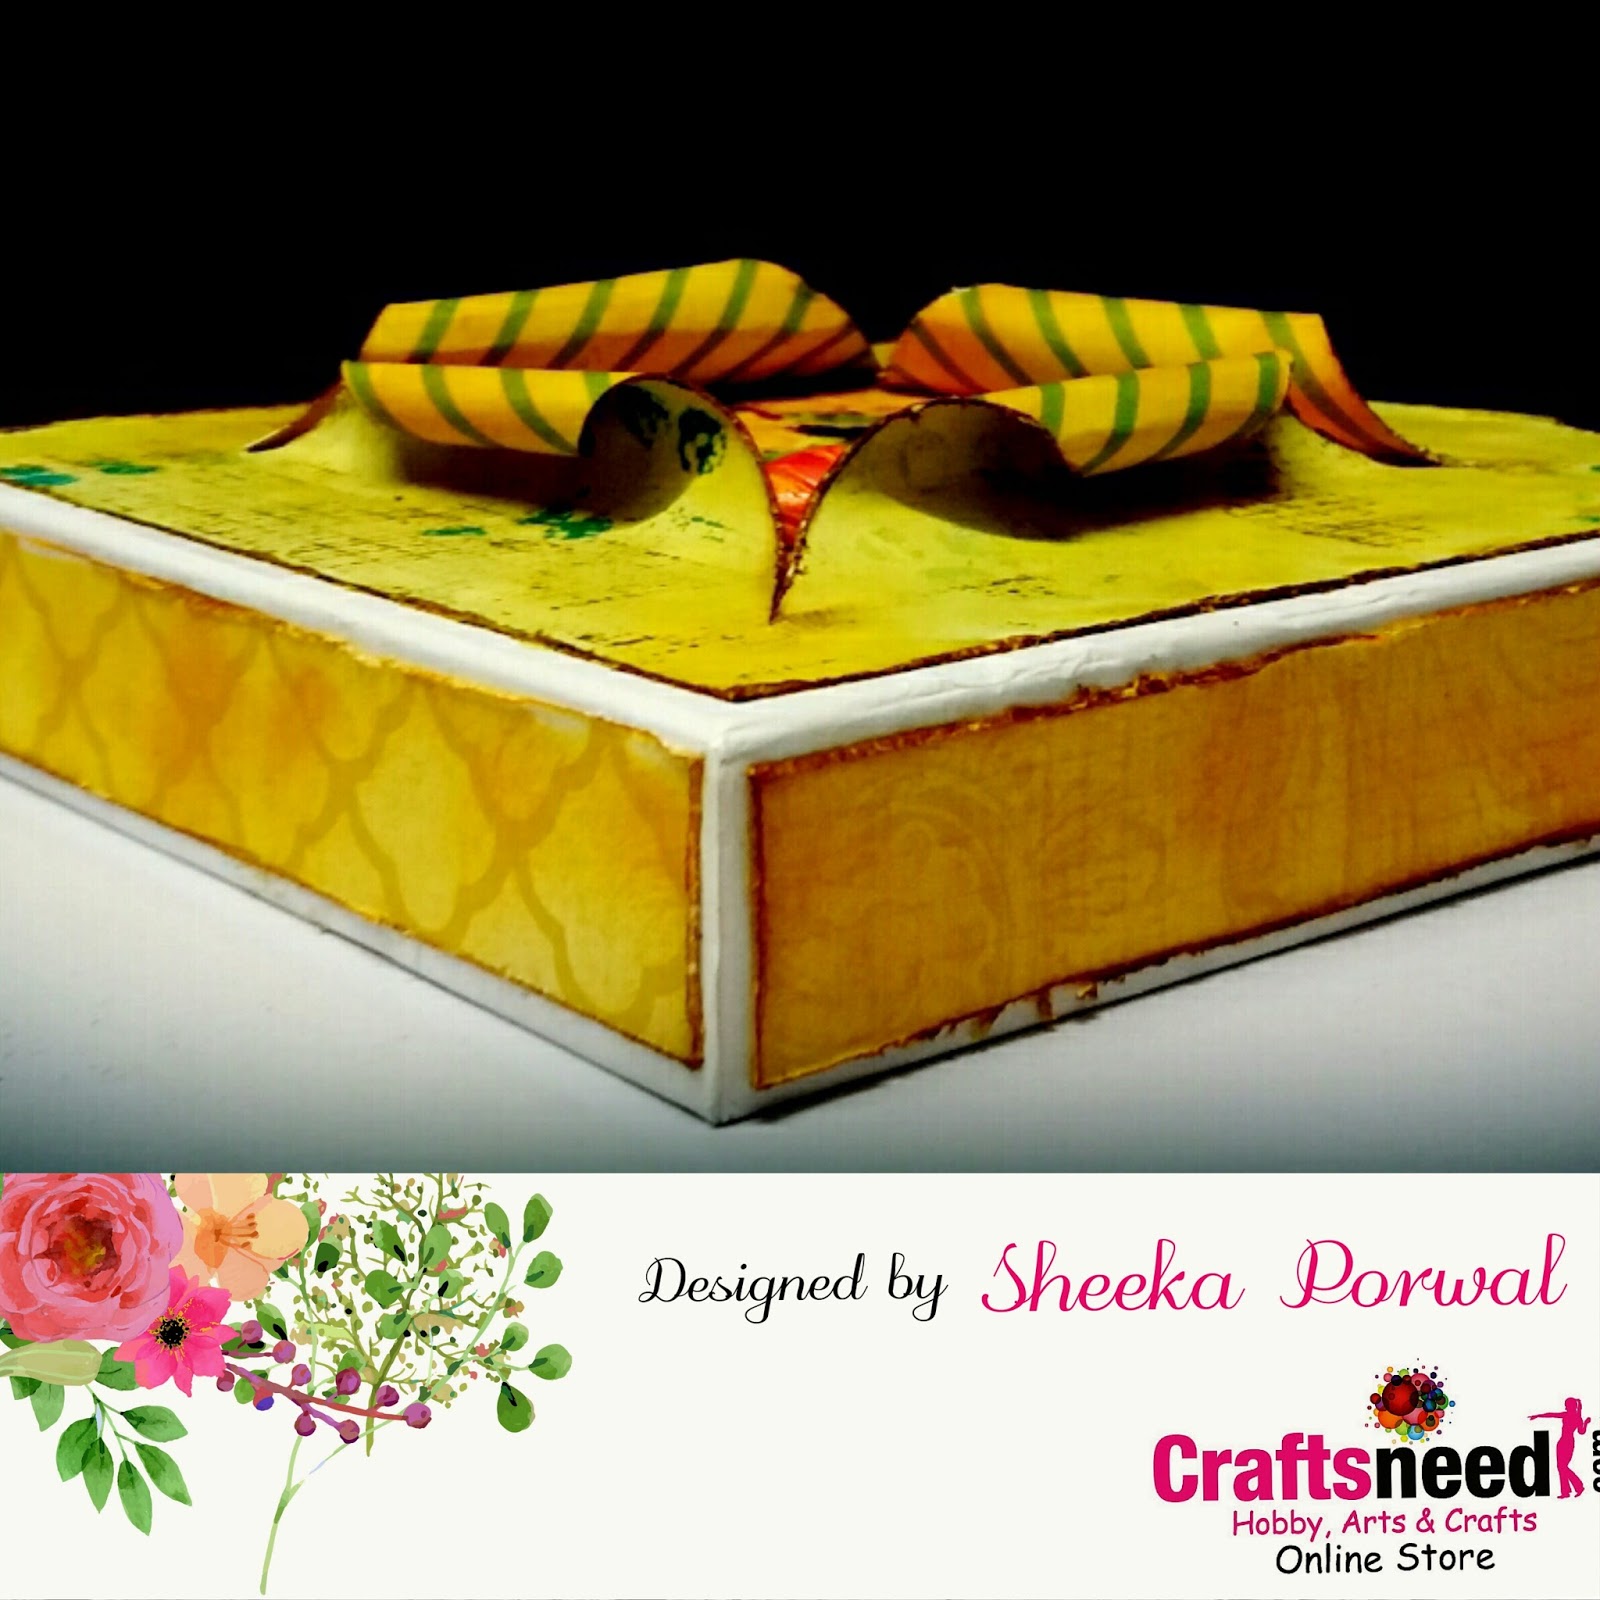
this is the top of the box

this is how it looks from sides
supplies used
Pattern paper by Rhonna Farrer "Fly your wings and Fly"
Decoupage glue
shadow box
white gesso
Acrylic colours
Thai clay from craftsneed
Silicon molds (I used birds and hot air balloon design)
MDF cutouts
dots and checkers stamps
Timholtz distress inks : spiced marmalade, mustard seeds,
vintage photo
Beautiful project Sheeka. Loved the Hot air Balloons to the core.
ReplyDelete